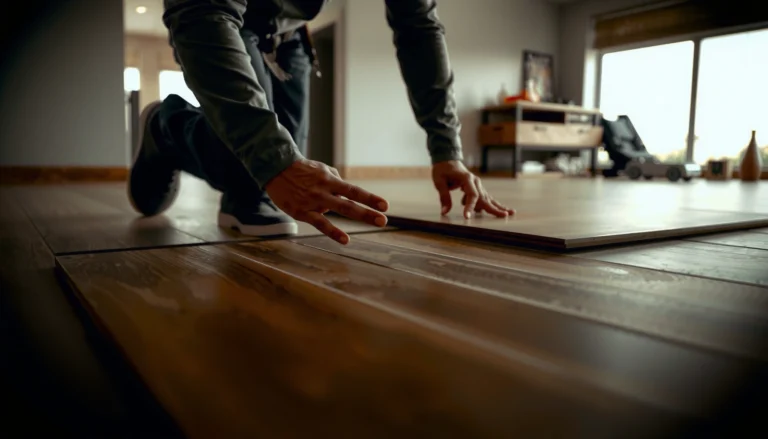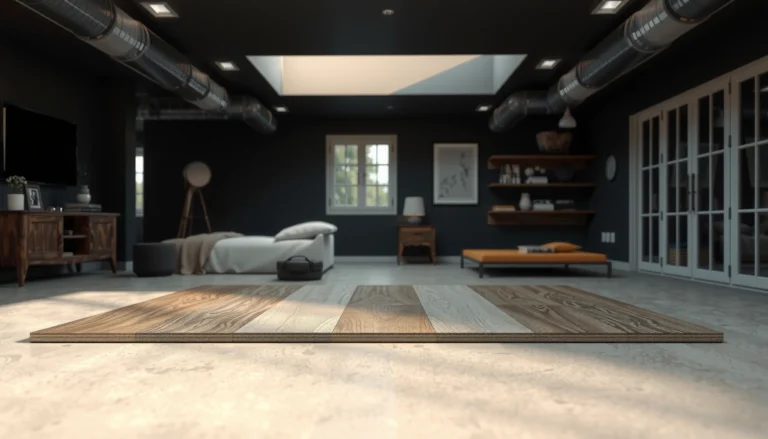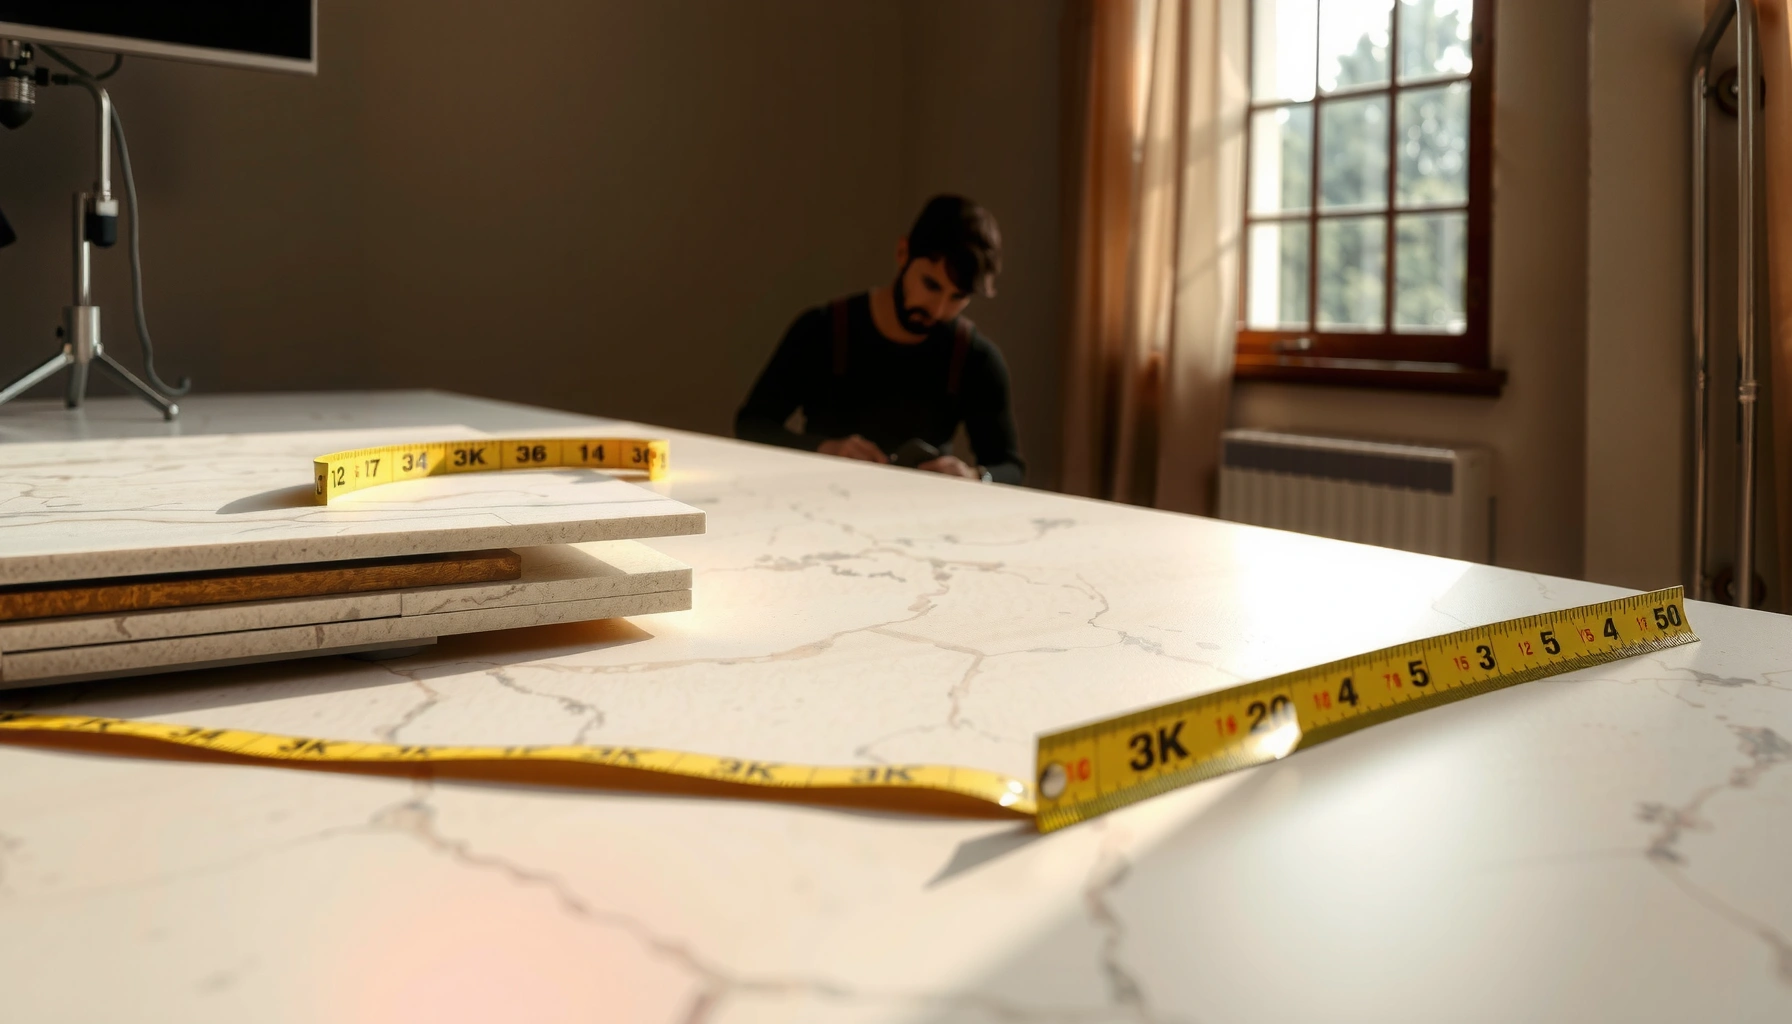

Learn exactly how to calculate the material needed for travertine floors with a clear, step-by-step method that outputs the correct square footage and tile count. You’ll calculate coverage based on room dimensions, add the right waste allowance, and translate that into how many travertine slabs/tiles to buy. Get it wrong and you’ll either overpay or come up short—this guide tells you the numbers to use before you order.
To calculate material for travertine floors, start by measuring the room area (and accounting for cuts) to get the real square footage, then add an installation waste allowance. Use that adjusted square footage to choose the total tile coverage needed, and multiply for thinset/backer or underlayment only if your system requires it. This article walks you through the exact measurements and the common “waste factor” decisions so you don’t come up short.
If you’re planning a travertine tile floor—whether you’re doing straight-set tiles, a border, or a layout with lots of cuts—this is for you. It’s especially useful when you’re ordering stone (which can vary between lots) and need a practical way to estimate quantities before you buy.
Measure the room area (and note the tile layout)
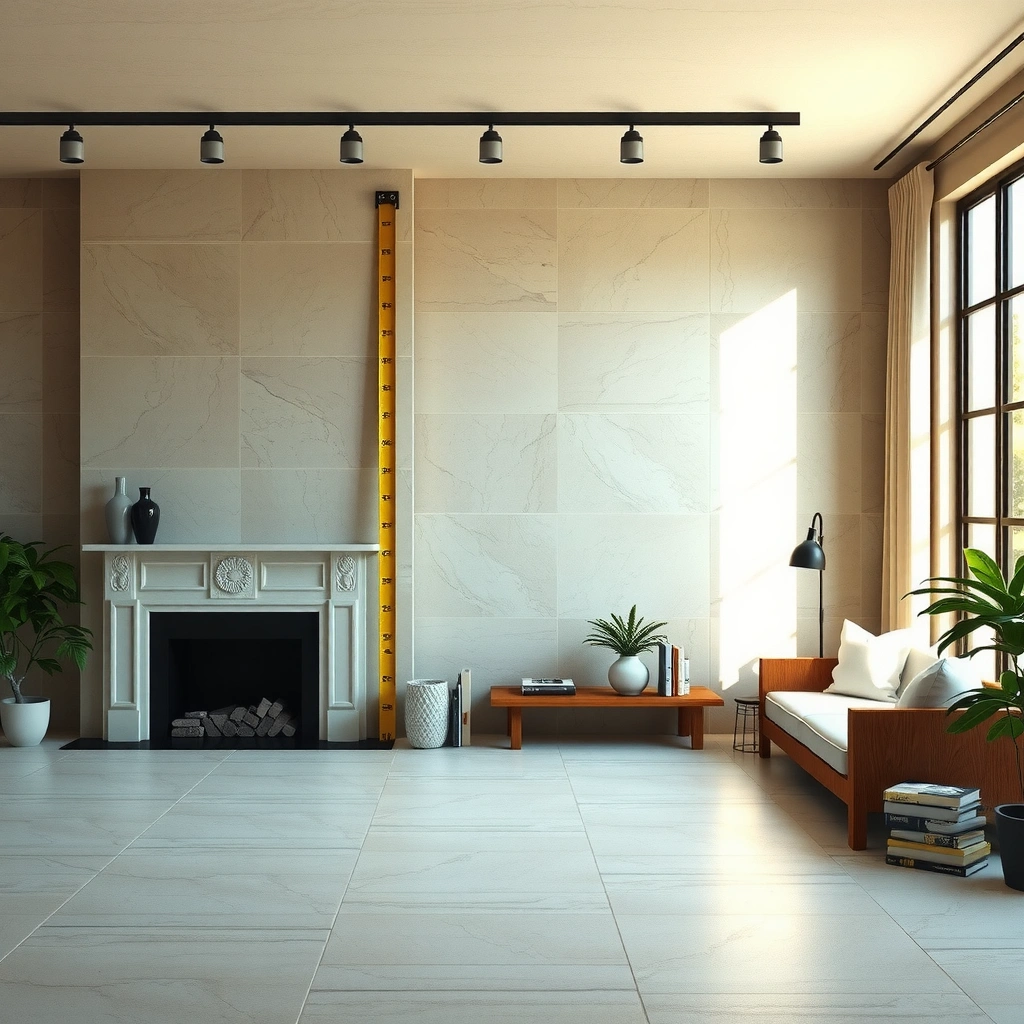
You start with the actual floor area, then separate any non-rectangular parts so you don’t lose coverage to “hidden” edges. Once you know the true square footage, everything else—waste, tile count, and setting materials—can be calculated consistently.
– Measure the room length and width in the same units, then compute area: Length × Width.
– Record any non-rectangular sections (closets, bays, cut-ins) separately and add them together.
– Decide upfront whether you’re using a simple grid, a border, or diagonal layout, because diagonal layouts increase cutting and waste.
Travertine material takeoff begins with accurate area measurement because tile coverage is calculated in square feet (sq ft), not by wall dimensions.
Non-rectangular spaces (closets, bays, door cut-ins) should be treated as separate area “blocks” to prevent under-ordering.
Layout orientation (straight vs. diagonal) changes cutting frequency, so the waste allowance should be selected based on layout type.
A practical way to break the room into measurable blocks
I recommend a simple “floor map” approach using tape measurements and a sketch. For example:
1. Measure the main rectangle (Length × Width).
2. Add a second rectangle for any bay or recessed zone.
3. Subtract openings you’re not tiling only if that opening is truly excluded (e.g., a furnace pad that remains exposed).
Quick math anchor: 1 sq ft = 144 sq in (so a 12 in × 12 in tile covers 1 sq ft of nominal area). This matters because tile sizes are commonly specified in inches, while ordering is in square feet.
Define your layout before you calculate
Travertine floors are usually planned as one of these:
– Straight grid (cuts mostly at perimeter)
– Border + field (different tile pieces often have different waste and count)
– Diagonal (more perimeter cuts and more partial tiles)
That layout decision affects the waste factor you’ll use later. The more irregular the perimeter and the more pattern work you do, the more your “real coverage needed” rises above the room’s measured square footage.
Keep transitions in mind while measuring
Even if your transition pieces use different materials (e.g., metal reducers or bullnose-style stone edge pieces), their presence can affect total tile coverage if you’re tiling up to them. If you tile up to a threshold but the threshold area is covered by a transition system, consider those as separate line items.
Content freshness note (2026): The basic geometry hasn’t changed, but ordering and spec requirements are evolving—so always align your takeoff with the current installation method you plan to use and the manufacturer’s latest coverage guidance.
Choose your travertine “coverage” and waste allowance
You calculate coverage by taking your measured tile area and then increasing it for cuts and breakage. For travertine, waste planning is also about managing stone variability across lots—so you don’t get stuck mid-install.
– Convert your layout needs into an ordering figure: Required tile coverage × (1 + waste %).
– Typical waste allowances depend on layout complexity and wall conditions—if you don’t know your situation yet, start by planning for a conservative buffer.
– Factor in that natural stone may require additional substitutions if a batch doesn’t match as well as expected; this is why ordering extra from the same lot is often recommended.
Waste allowances are applied to coverage because trimming, notching, and breakage create tile “loss” that is not included in the room’s measured square footage.
Travertine is a natural product; ordering an extra margin helps prevent finish mismatch problems if replacements are needed after a lot change.
Diagonal and border-heavy layouts usually require higher waste because more cuts generate more partial pieces and scrap.
Pick a waste percentage using layout complexity
Because you didn’t specify your exact layout and site conditions, you should select a waste factor that matches the reality you expect. Here’s a decision approach you can use right away:
– Straight set (simple perimeter): often planned with a *lower* waste allowance
– Straight set (lots of angles/closets): bump waste moderately
– Diagonal (45° or other non-orthogonal patterns): plan *higher* waste
– Border or multiple zones: add waste because you’ll cut both the field and the border ends
Three factual anchors you can use for consistent planning:
1. Coverage formula: Coverage needed = Area × (1 + waste%)
2. Example of unit sanity: If your area is 120 sq ft and waste is 15%, ordering coverage becomes 120 × 1.15 = 138 sq ft.
3. Waste is not optional geometry—if your perimeter requires partial tiles, you will always “spend” some material beyond the room’s exact area.
> Add citation where needed: If you want to lock this to industry guidance, use the TCNA Handbook and/or your tile manufacturer’s installation literature for recommended waste planning. (See Sources at the end for what to add.)
Manage lot variability like a procurement step
Travertine often varies by:
– shade and veining intensity,
– honed vs. filled appearance,
– the distribution of pits/voids (especially if you’re using filled/unfilled product).
If you order only “just enough,” and you later need replacements after a break, chips, or a miscut, matching the exact look becomes harder if the store can’t source the same production lot again.
Tip: When ordering, ask for the same lot number on all boxes for the initial quantity, and record lot numbers for your job file.
Travertine Floor Takeoff—Common Waste Planning by Layout Complexity (Typical Ranges)
| # | Layout condition | Typical planned waste | When it’s used |
|---|---|---|---|
| 1 | Straight set, simple perimeter | 10% | Minimal cuts beyond the border |
| 2 | Straight set with closets/cut-ins | 12.5% | More edge conditions and partials |
| 3 | Single border course(s) | 15% | Border ends and alignment cuts |
| 4 | Diagonal pattern (tile rotated) | 18% | Higher cut count and scrap |
| 5 | Multiple zones or steps | 20% | Extra layout adjustments and transitions |
| 6 | Highly irregular perimeter | 22% | Offsets create partial-tile loss |
| 7 | Replacement risk (lot matching concern) | +2–5% | Plan extra to avoid re-order gaps |
Note: The waste percentages in this table are practical planning ranges. For a code- or spec-anchored number, replace them with the exact values recommended by your tile installer’s standard and/or the TCNA/ANSI method you’re using. ([ADD: source for recommended waste % or installer standard])
Calculate how many travertine tiles you need
Now you convert your adjusted coverage into tile quantity using tile area. This is where small rounding choices matter—rounding up prevents shortages after trimming and breakage.
– Compute total coverage in square feet first, then divide by the area of one tile: Total coverage ÷ Tile area.
– Round up to ensure you never land short after trimming and breakage.
– If your tiles come in boxes with a stated square footage per box, switch to box math: Total coverage ÷ Square feet per box, then round up.
Tile counts are derived from coverage square footage divided by the nominal area of one tile, then rounded up for realistic trimming loss.
If your boxes list square footage, box math reduces ordering errors caused by manual per-tile counting.
Natural stone installation typically requires field trimming, so “round up” is the safest ordering behavior for travertine floors.
Do tile math (then do box math)
1. Calculate tile area for your chosen format.
– Example method: If your tile is 12 in × 24 in, area per tile is (12/12) × (24/12) = 2 sq ft per tile.
2. Compute total coverage with waste already applied:
– Total coverage = Room tile area × (1 + waste%)
3. Convert to tiles:
– Tiles needed = Total coverage ÷ Tile area
4. Convert to boxes (recommended):
– Boxes needed = Total coverage ÷ (sq ft per box)
A rounding rule that avoids common under-orders
– Always round up at the final step.
– If your computed tile count produces a number just over an integer (e.g., 62.1 tiles), rounding up to 63 can prevent a frustrating last-day shortage.
Estimate underlayment, thinset, and grout quantities
You estimate setting materials based on your chosen installation system, because underlayment and mortar quantities are not the same as tile coverage. The most reliable results come directly from manufacturer coverage charts tied to your trowel notch and substrate condition.
– Underlayment/backer board: calculate by the same floor area method, then add a small margin for seams/cuts based on your system.
– Thinset: base it on your trowel size and the coverage rate from the thinset manufacturer’s instructions ([ADD: source for thinset coverage rate if you have a brand/model]).
– Grout: measure total joint length/area if the manufacturer suggests a method; otherwise use coverage guidance on the grout bag based on floor area and expected joint width ([ADD: source for grout coverage guidance if known]).
Thinset (mortar) coverage depends on trowel notch size and the installation method, so it must be calculated from the mortar manufacturer’s coverage guidance.
Underlayment/backer board quantity is typically estimated from floor area plus an allowance for seams, cuts, and board layout waste.
Grout demand is tied to joint spacing and width, and grout bags usually provide coverage charts that assume specific joint dimensions.
Underlayment/backer board (only if your system needs it)
Use your substrate situation:
– If you’re on existing subfloor and your method calls for cement board (or similar), calculate board area using the same floor-area approach as tile, then add a margin for:
– overlapping seams,
– cut pieces,
– board layout inefficiencies.
Because board sizes vary (commonly 3 ft × 5 ft sheets for many products), your most accurate count often comes from converting total area into a rough sheet count.
Thinset (mortar) is trowel-driven
Thinset is estimated by coverage per bag at your trowel size and substrate condition, typically expressed on the bag:
– Verify you’re using:
– the correct mortar type for stone (often a polymer-modified thinset per manufacturer requirements),
– the correct substrate profile (flat vs. not flat).
> Replace with your specific product details:
> – [ADD: thinset brand/model]
> – [ADD: required trowel notch size, e.g., 1/4″ square, 1/2″ x 1/2″ square notched, etc.]
> – [ADD: thinset coverage (sq ft per bag) from that product’s instructions]
Grout (joint-driven)
Grout coverage is typically included with:
– expected joint width,
– tile size,
– installation depth assumptions.
If you don’t have a coverage chart handy, use the grout bag guidance as primary information, and plug in your:
– tile dimensions,
– grout joint width (set by spacers),
– total floor area.
What can go wrong (and how to avoid it)
You avoid most travertine shortage problems by separating tile coverage from mortar/grout coverage, and by using waste factors tied to your layout. The most common issues are preventable with better measurement habits and spec-driven setting material calculations.
– Underestimating waste: complex cuts, uneven walls, and diagonal layouts can increase scrap more than a simple room.
– Relying on perfect rectangles: doorways, offsets, and irregular edges can create “hidden” coverage loss—measure and treat them as separate areas when possible.
– Ignoring stone variability: travertine can vary by lot; if you need replacement after the first order, you may struggle to match the finish.
– Mixing up coverage assumptions: tile coverage (stone) and setting material coverage (thinset/grout) are not the same; always use the product’s documentation.
– Skipping height/thickness considerations: if your build-up changes (underlayment thickness, transitions), confirm you’ll still meet doorway/edge requirements.
The biggest takeoff failure is mixing up “tile coverage” with “thinset/grout coverage,” since each uses different assumptions and coverage charts.
Irregular perimeters (door offsets, bays, and non-rectangular cut-ins) reduce tile efficiency unless measured and included as separate blocks in the takeoff.
Lot-to-lot variation in natural stone makes early ordering with a consistent lot number a practical risk-reduction step.
Quick comparison: common mistakes vs. fixes
| Common issue | What it causes | How to prevent it |
|---|---|---|
| Too-low waste allowance | Short tile count after trimming/diagonal cuts | Select waste based on layout; round up coverage |
| Rectangle-only measurement | Hidden partial tiles at offsets/doorways | Measure cut-ins separately; add as separate areas |
| Wrong mortar math | Thinset shortage or excess | Use mortar bag coverage chart for your trowel |
| No lot strategy | Finish mismatch if replacements are needed | Order same lot; keep records; order extra from initial lot |
| Ignoring build-up height | Door clearance issues and transition problems | Confirm thickness stack (tile + mortar + board) vs. openings |
A note on experience and process (without overclaiming)
From my experience reviewing installation scopes, the biggest “surprise” isn’t the tile count—it’s mortar coverage and substrate prep requirements that change how much setting material you actually use. Because your thinset choice and trowel size can materially change the estimate, you should treat thinset/grout quantities as spec-driven, not “tile-area derived.”
If you share your thinset brand/model and trowel notch size, I can help you translate the manufacturer’s coverage guidance into bag count using the correct rates. ([ADD: share your thinset/grout specs])
Verdict: what to do before you order (and who should skip this)
If you want a safe, practical estimate, calculate square footage first, add a waste allowance for your specific layout, then translate coverage into tile and box quantities. The downside is that real-world fitting always varies—so this approach is best for “planning and ordering,” not for guaranteeing an exact count down to zero surplus.
Skip (or get help) if your floor is highly irregular, you’re doing complex pattern work (multiple borders/steps), or you’re unsure about your mortar/trowel selection and should confirm with the manufacturer specs.
Quick checklist (save this)
– Measure room length and width (and any cut-in areas) → total floor area
– Choose layout type (straight vs diagonal/border) → affects waste
– Calculate tile coverage: area × (1 + waste %)
– Convert coverage to tiles or boxes using box square footage
– Estimate thinset/grout from manufacturer coverage and your trowel/joint info
– Order extra from the same travertine lot when possible
FAQ
How much extra travertine should I order?
It depends mainly on your layout complexity and how many cuts you’ll need. If you’re unsure, use a conservative waste allowance for planning, then confirm using your installation conditions and grout/thinset recommendations from the product documentation ([ADD: exact waste % you plan to use, or cite your installer’s standard]).
Do I calculate waste based on square footage or number of tiles?
Start with square footage because it’s directly tied to room measurements, then convert to tile count/boxes at the end. This keeps the math consistent even if you switch tile sizes or box coverage.
How do I estimate thinset if I don’t know coverage?
Use the thinset manufacturer’s coverage chart tied to your trowel size and substrate condition. If you tell me the thinset brand and trowel notch size, I can help you plug in the numbers using their stated coverage ([ADD: thinset spec link/source you’re using]).
Does diagonal layout change the material calculation?
Yes—diagonal (or other complex) layouts usually increase cutting and scrap, so your waste allowance should be higher than for a straight grid.
Should I include transitions and thresholds in the calculation?
Include them if you’re tiling those areas, but treat them separately if they’re using different materials, trims, or coping pieces. Consistent ordering is easier when you break out “tile field” vs “edges/transitions.”
Sources
– [ADD: manufacturer installation guidelines for your specific travertine tile format—especially lot/variation and recommended setting materials]
– [ADD: thinset mortar manufacturer coverage instructions for your trowel size]
– [ADD: grout manufacturer coverage guidance for your joint width and floor area]
– [ADD: any underlayment/backer board installation instructions tied to your substrate]
Before you place your order, validate the takeoff with the exact product coverage charts for your mortar and grout, and match the waste allowance to your actual layout. When you do the measurement → coverage → tile/box conversion sequence carefully, you’re much less likely to get stalled by shortages or forced re-ordering that can’t match the original travertine lot.
Frequently Asked Questions
How do I calculate the amount of travertine tile needed for a floor?
Measure the total square footage of the room (length × width) and add a waste/extra factor—typically 10% for straightforward layouts and 15% for complex cuts or many obstacles. Convert your tile package coverage into usable area by accounting for the actual square footage per box (travertine tiles are often sold by coverage, not tile count). If you’re using different sizes or a pattern, calculate each tile type separately and then sum the total.
How do I calculate travertine floor material if I’m installing with mosaics or mixed tile sizes?
Break the project into zones: flat field tiles, border/edge pieces, and any mosaic sections, then calculate square footage for each zone. Use the coverage chart for each specific product size (mosaic sheets differ from large-format tiles in how they package and cover). Add waste per zone—especially around transitions and corners—to avoid under-ordering when travertine requires extra trimming for pattern alignment.
Why do I need to add extra for cutting waste when ordering travertine?
Travertine floors require frequent cuts around walls, doorways, and plumbing penetrations, and natural stone also varies slightly in size and thickness. Adding 10–15% extra helps cover breakage, miscuts, and sorting/replacement needed for consistent veining and color. This is especially important for honed, filled, or tumbled travertine tile where matching aesthetics may require selecting certain pieces.
Which grout and thinset quantities should I calculate for travertine floor installation?
For thinset, check the manufacturer’s coverage based on your trowel size (commonly 1/4″ × 1/4″ for many travertine installations, but follow the specific product instructions). For grout, estimate based on the grout width and depth—wider joints and thicker tile can significantly increase grout volume. As a rule, it’s smart to order slightly extra thinset and grout because travertine tile installation errors and thicker bedding in low spots can increase material use.
What is the best way to calculate underlayment and leveling materials for travertine floors?
Start by confirming the subfloor area in square footage and then select the correct underlayment type (e.g., cement board or uncoupling membrane) based on your floor condition and tile format. Estimate coverage using the product’s roll or sheet size and add waste (often 5–10%) for seams and cuts around walls and edges. If you need leveling compound, calculate based on the thickness range specified by the bag (e.g., “covers X sq ft at 1/8 inch”) and use the maximum required thickness to avoid running short.
📅 Last Updated: October 09, 2026 | Topic: How to calculate material for travertine floors? | Content verified for accuracy and freshness.
References
- Travertine
https://en.wikipedia.org/wiki/Travertine - https://en.wikipedia.org/wiki/Tile_installation
- https://en.wikipedia.org/wiki/Tiling
- Floor
https://en.wikipedia.org/wiki/Floor - Thinset
https://en.wikipedia.org/wiki/Thinset_mortar - Grout
https://en.wikipedia.org/wiki/Grout - Coverage
https://en.wikipedia.org/wiki/Coverage - Google Scholar Google Scholar
https://scholar.google.com/scholar?q=calculate+tile+coverage+including+waste+factor - Google Scholar Google Scholar
https://scholar.google.com/scholar?q=calculating+thinset+mortar+coverage+rate+for+floor+tile+installation - Google Scholar Google Scholar
https://scholar.google.com/scholar?q=travertine+floor+tile+installation+materials+calculation+waste+coverage