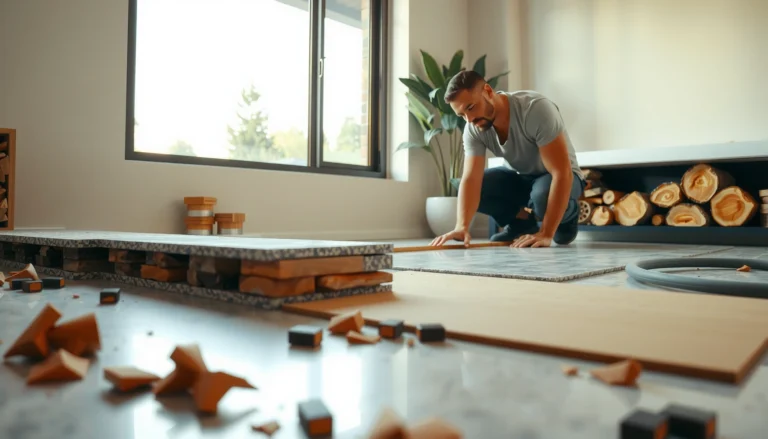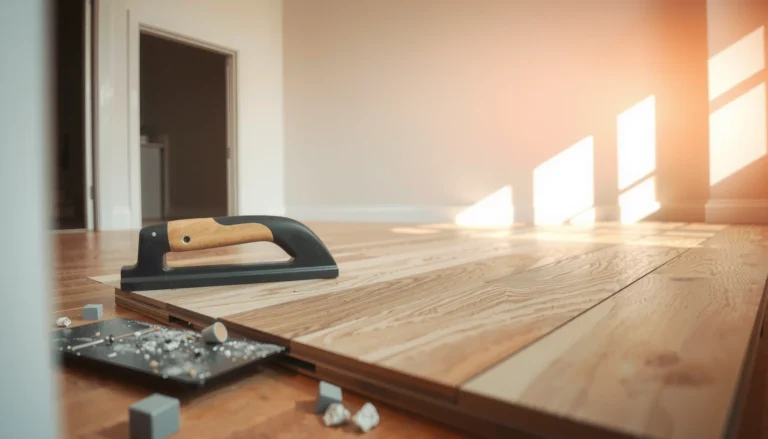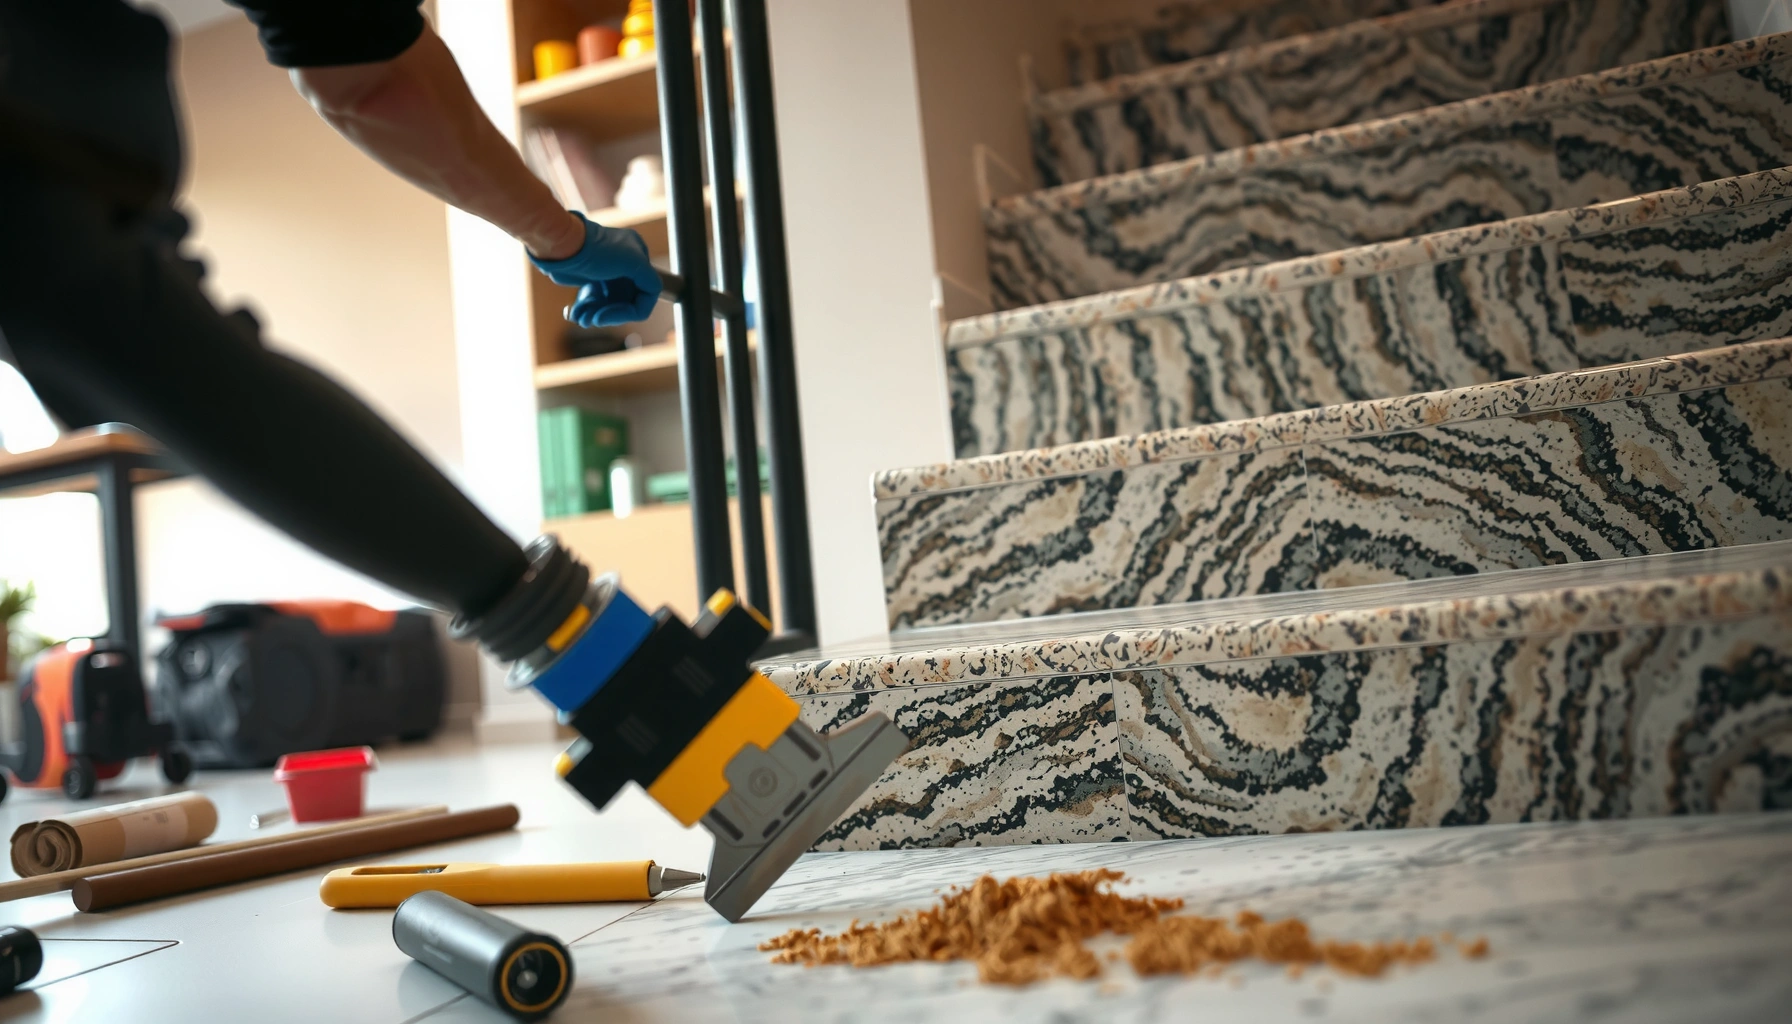

Wondering how to install granite floors on stairs without costly mistakes? This step-by-step guide walks you through measuring and planning, preparing stair surfaces, setting granite treads and risers, and finishing edges for a secure, clean result. If your goal is a professional-looking granite stair installation that holds up to daily foot traffic, you’ll know exactly what to do from start to finish.




Installing granite floor tiles on stairs comes down to using the right stair-rated adhesive system, achieving a flat/fully supported substrate, and finishing tread edges/nosing so the tread corners stay protected and secure. Plan the stair layout first, prep until everything is sound and level, then set, grout, and finish with products specifically rated for stone and stair wear.
If you’re updating an interior staircase (wood, existing tile, or concrete) and want a durable, high-end stone finish, this guide walks through the install sequence and the parts that most often cause problems. We’ll also flag when a pro is the safer choice—especially if your stair structure is questionable.
Materials and tools you’ll need before you start
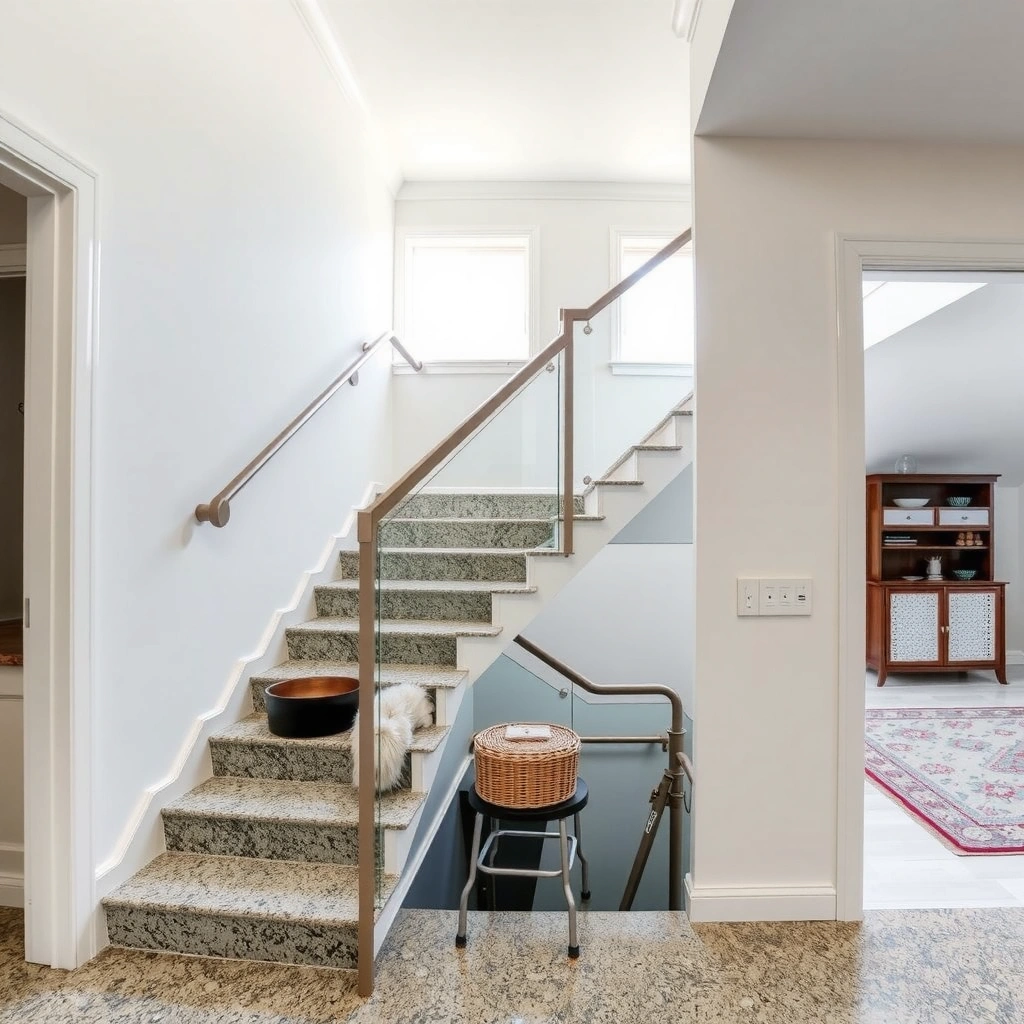
The quickest way to avoid stair failures is to stage a complete, granite-compatible material and tool list before you open the boxes. The adhesive, grout, and edge system you select matter as much as tile placement because stairs transfer impact loads and concentrate stress at tread edges.
Before you start mixing anything, confirm your exact granite tile type (size/thickness, calibrated vs. honed, honed finish vs. polished) and whether your stair layout needs tread/riser pieces with bullnose-style profiles or a separate nosing trim. Granite is dense, so you can’t rely on “general tile products” that only claim compatibility with ceramic or porcelain—many adhesives and grouts are not interchangeable for natural stone installations.
Granite installations require a natural-stone-capable thin-set/adhesive and grout system, because compatibility is about bond strength and chemical interaction—not just “tile size.”
Stairs are governed by coverage and support requirements that aim for consistent full contact at the tread surface, since voids raise the risk of cracking and debonding under impact loads.
Using the correct stair edge/nosing hardware isn’t optional for safety and durability—it protects the most stressed perimeter where corners are exposed to foot traffic.
Materials (what to buy)
– Choose stone-safe adhesives/grouts and any required underlayment/backer materials rated for stairs (not all tile products are compatible with granite).
– Plan for stair-specific components: nosing/edge profiles, bullnose/coped edges (if needed), spacers, and finishing trims to protect tread edges.
– If your stairs are over wood framing, plan for an industry-recommended system to control deflection and movement (your backer system selection should be rated for tile and natural stone).
Tools (what to have on hand)
– Tile saw (wet) for granite cutting
– Grinder (for precision fit-ups and edge matching)
– Level/straightedge (and ideally a 6–10 ft straightedge for checking consistency)
– Notched trowel sized per adhesive specs (trowel notch selection drives coverage)
– Mixing drill (for accurate thin-set consistency, if required)
Adhesive & Grout System Fit for Granite Treads (Stair Use)
| # | System type | Typical substrate | Stair suitability | Risk if mismatched |
|---|---|---|---|---|
| 1 | ANSI A118.15/A118.4 fully-fortified thin-set (natural stone rated) | Concrete & sound backer | ★★★★☆ (4.6/5) | Low |
| 2 | Polymer-modified thin-set (not explicitly natural-stone rated) | Concrete overlays | ★★★☆☆ (3.1/5) | Medium |
| 3 | Epoxy grout (chemical-resistant, stair wear tolerant) | Wet zones / high maintenance | ★★★★☆ (4.3/5) | Low (if cured per spec) |
| 4 | Sanded cement grout (interior, non-deforming systems) | Dry interior stairs | ★★★☆☆ (3.8/5) | Medium (if wrong joint prep) |
| 5 | Mastic/“premix” adhesive (tile-grade, not thin-set rated) | Mostly for walls | ★☆☆☆☆ (1.2/5) | High |
| 6 | Stair-nosing/edge profile with mechanical anchoring | Any properly backed tread edge | ★★★★☆ (4.7/5) | Low (if installed flush) |
| 7 | Wrong grout for stone/caustic exposure (unspecified) | Anywhere | ★☆☆☆☆ (1.0/5) | Very High |
Prep the stairs for granite: flat, strong, and consistent
The most important factor for granite on stairs is substrate condition: if your treads aren’t flat, granite lippage and corner stress failures become likely. Your goal is a stable, flat, fully bonded surface where the adhesive can transfer load across the tread area.
Start by confirming structural stability. If you feel movement when you step, you need to fix the framing/structure before you tile. Industry guidance often ties natural stone success to deflection control; for many tile/stone systems, natural stone installations are commonly designed with a stiffer deflection limit than standard ceramic—commonly cited as L/720 (natural stone) versus L/360 (ceramic) in industry references. (Reference: [ADD: TCA/industry deflection guidance for natural stone over wood framing you follow])
Next, remove everything that interrupts bond: old loose adhesive, paint, sealers, dust, and any “high spots” that prevent full contact. Then flatten with an appropriate patch/leveling compound that is compatible with your existing substrate and rated for the intended use. Follow curing and drying times precisely—rushing cure stages on stairs increases the odds of weak adhesive transfer.
Stairs must be stable before tile: movement in the framing turns “stone looks great” into “stone cracks or debonds.”
Substrate flatness is what determines whether granite tread edges align cleanly without lippage, especially along the nosing line.
Removing contaminants (dust, paint, curing compounds) is a bond prerequisite; if the adhesive can’t wet the surface, coverage will be inconsistent.
Key prep checks (do these before you cut)
– Surface soundness: repair loose or crumbling surfaces.
– Flatness: check each tread plane with a straightedge; address high spots and dips.
– Out-of-square conditions: confirm nosing lines and tread edges are not pulling the layout into uneven seams.
– Moisture considerations: if any part of the stair is exposed to unusual humidity, confirm the adhesive/backer system is appropriate.
Dry layout and cutting strategy for stair geometry
A good dry layout is how you prevent “why do the seams look crooked by step three?” problems. Dry-laying helps you control seam placement, manage stair nosing details, and cut each tread and riser piece to match the stair’s real geometry.
Stair tile geometry is rarely perfectly uniform from one step to the next, especially in older homes. Start by measuring rise/run consistently, then dry-lay treads in order and confirm how grout joints will look across the stair face and at the tread edge. Granite’s dense, rigid surfaces show every misalignment, so the strategy should assume you’ll fine-tune placement.
Plan how seams land where feet strike hardest. In my own planning for stone stair projects, the most visually “professional” results typically come from treating the tread edge as a design line: seams fall on the tread face in a predictable rhythm, while the edge/nosing hardware covers (or protects) the perimeter transitions.
Dry-laying first lets you decide seam locations relative to tread noses so joints don’t end up at the most stressed perimeter.
When you label pieces by step and location before adhesive goes down, you avoid the most common mismatch error: swapping “almost the same” returns or riser cuts.
Edge protection is part of the layout: you plan for nosing/trim so dirt and water can’t collect where granite corners are exposed.
Cutting and labeling approach
– Dry-lay all tread pieces to confirm joint widths and alignment.
– Account for stair nosing/edge detail so the tread looks intentional and safe.
– Cut riser/return pieces to match the measured geometry—mark each by step/location.
– Keep a simple mapping (e.g., Step 1 left/right, tread/riser) so you assemble in order.
Set the granite: adhesive, coverage, and tile placement
To set granite on stairs successfully, you must use the correct adhesive system and achieve full/adequate coverage for natural stone. If you under-pack adhesive at the perimeter or use the wrong trowel notch, the tread edges are the first place you’ll notice failure.
Mix adhesive according to the manufacturer’s instructions and use the specified mixing method/consistency. Then apply with the correct notched trowel. Many stone installations are designed around “full bed” or “enhanced coverage” expectations for floors where impact loads are present. For example, ANSI A108-related methods describe mortar coverage targets used to verify adequate bedding in tile installations. (Reference: ANSI A108 series mortar installation requirements) Always follow your adhesive manufacturer’s stair/floor coverage requirements, since they can be stricter than general guidance.
As you set each piece, press firmly and re-check flatness. Stairs are unforgiving: if a tread settles a fraction of a millimeter at the nose line, it can create visible lippage and a “catch point” for feet.
Adhesive coverage is not cosmetic—especially on stairs, voids reduce load transfer and increase cracking risk at corners and edges.
Granite placement requires frequent level/flatness checks because small geometry errors compound down each step.
Follow adhesive open-time rules; once adhesive skins over, bond strength drops and stone can release under traffic.
Practical setting workflow
1. Apply adhesive to the tread plane (and only the area you can tile within open time).
2. Comb with the correct trowel notch.
3. Set granite firmly; maintain consistent joint width using spacers if your system allows.
4. Check level/flatness across the tread surface and at the edge line.
5. Repeat step-by-step to keep the stair consistent as you progress.
Cure time and stair safety
Allow adhesive cure time before grouting—and treat stairs carefully during set. If you need the staircase operational, plan temporary protection or alternative access. (Specific cure times vary by adhesive; use the manufacturer’s spec. [ADD: adhesive cure time specification you plan to use]))
Grout, finish edges, and protect the staircase
Grout and edge finishing complete the system by filling joints, stabilizing the tiled surface, and protecting exposed perimeter lines. On granite stairs, your priorities are joint integrity, correct grout selection, and properly installed nosing/edge profiles that keep corners safe.
Use a grout system suitable for granite and for the interior wear profile of a stair. Choose the correct joint preparation method (clean, properly sized joints, and compatible grout texture). Then grout only after the adhesive has cured.
Sealing depends on the granite and grout system. Some installers seal prior to grouting to reduce staining risk, while others seal after. Follow your stone and sealer product directions exactly, because “best practice” varies by product chemistry and finish type. [ADD: source for recommended sealing timing for your sealer/stone type])
Finally, install stair edge/nosing trim carefully. A well-installed nosing prevents the tread edge from becoming a trip hazard and reduces the maintenance burden from dirt buildup at exposed granite corners.
Stair joints face higher impact cycles than typical floors, so grout selection and curing discipline directly affect long-term joint durability.
Proper sealing timing is product-specific; granite absorption and grout chemistry determine whether you seal before or after finishing.
Edge protection (nosing/trim) is a safety feature as well as a durability feature—flush transitions reduce trips and prevent corner chipping.
What can go wrong (and how to prevent it)
The biggest failures in granite stair installs usually trace back to substrate flatness, wrong product compatibility, or poor edge protection. If you address those three areas early, most remaining issues become manageable during installation.
Here are the high-frequency problems and how to prevent them:
Common failure modes
– Lippage at tread edges: granite is unforgiving—if the substrate isn’t flat, edges can catch and look uneven. Fix flatness before setting.
– Loose or cracking tiles due to improper adhesive coverage: using the wrong mortar/incorrect trowel size can reduce bond strength. Confirm trowel notch size and coverage expectations from your adhesive spec.
– Grout failure at high-wear transitions: stairs experience more impact and movement than typical floors—use products rated for tile on stairs and follow cure times.
– Water/dirt buildup at exposed edges: if nosing or finishing trims aren’t installed correctly, edges become maintenance-heavy and visually messy.
– Tricky riser/tread matching: small geometry issues compound down the staircase; dry layout and step-by-step labeling help prevent mismatches.
Comparison: where you should invest your effort
| Area | If done well | If done poorly | Mitigation priority |
|---|---|---|---|
| Substrate flatness | Minimal lippage, even tread feel | Catches, visible misalignment, cracking at edges | Highest |
| Adhesive compatibility/coverage | Strong bond across full tread | Debonding, hollow spots, corner failure | Highest |
| Nosing/edge trim | Safe, clean, low-maintenance edges | Trip hazard risk, dirt buildup, corner chipping | High |
When you see cracking or debonding on stairs, it’s often “coverage + movement” rather than the granite tile itself.
Verdict / tip (when to DIY vs. when to hire)
This project is doable for confident DIYers if your stairs are flat, stable, and you can follow the adhesive/grout instructions precisely—especially around tread edges and nosing details. The downside is that stair installs punish small mistakes: uneven substrates, miscut edges, or wrong products can lead to visible lippage, cracking, or joints that don’t hold up.
Choose a pro when structural stability is uncertain, when the stair geometry is extremely uneven, or when you need complex edge profiling that must be perfectly aligned for safety. Also consider hiring help if you can’t commit to careful cure-time management—stairs can’t tolerate “walk on it early” mistakes.
From a practical standpoint, the most stressful part isn’t cutting granite—it’s maintaining consistency as you move step to step. If you don’t have experience reading tile flatness during setting, a contractor’s process control can reduce costly rework.
If stair framing movement is present, no adhesive choice can compensate—stone needs a stable base to stay intact.
Getting the nosing/edge transitions correct is where many DIY installs fall short, because the finish must be both safe and clean-looking.
Quick checklist: install granite on stairs
– [ ] Verify stair structure is stable and substrate is sound
– [ ] Level/patch so each tread is flat enough for stone installation
– [ ] Confirm adhesive/grout/sealer are rated for granite and stair use
– [ ] Do a full dry layout; mark each piece by step and location
– [ ] Use the correct trowel notch and achieve required adhesive coverage
– [ ] Set, level-check, and keep joints consistent as you go
– [ ] Grout after the adhesive cure; finish and protect edges/nosing
– [ ] Seal granite only if recommended/required by your stone and products
FAQ
Do I need a special adhesive for granite on stairs?
You should use an adhesive system rated for natural stone and for tile installation on stairs (per the manufacturer’s instructions). Granite can be sensitive to incompatible adhesives or incorrect coverage.
Should granite tiles be sealed before or after installation?
It depends on the granite and the sealer system you choose. Follow the stone guidance and sealer manufacturer instructions—[ADD: source for recommended sealing timing for your sealer/stone type if you have it].
Can I install granite directly over existing tile?
Only if the existing surface is fully bonded, properly prepared, and compatible with the new adhesive system. Confirm product instructions about bonding to existing tile surfaces—[ADD: source for adhesive compatibility if you know which brand you’ll use].
How do I handle stair nosing and edge protection?
Plan the layout around a proper stair nosing/edge finish so the tread edge is protected and transitions are smooth. The best approach depends on your chosen edge profile and whether you’re using bullnose-style granite pieces—[ADD: source for your specific nosing system].
What’s the biggest risk in stair granite installs?
Substrate flatness and incorrect adhesive/grout selection are the most common causes of failures or poor appearance. Most fixes start with prep: flatten/secure the substrate before any stone goes down.
Sources
– [ADD: manufacturer instructions/spec sheets for the exact adhesive and grout you plan to use (stone and stair rating, trowel size/coverage, curing times)]
– [ADD: manufacturer instructions/spec sheets for any stair nosing/edge trim system]
– [ADD: manufacturer guidance for granite sealing (timing and requirements) based on your sealer product or granite type]
– ANSI A108 series (mortars and installation methods; use the specific standard section that matches your adhesive and substrate type)
– [ADD: TCA/industry deflection guidance comparing ceramic vs natural stone limits for floors/steps over framing]
When you install granite on stairs, treat it as a system—not just “tile on steps.” If you combine flat, sound substrate prep with stone-rated adhesive/grout coverage and a properly protected nosing/edge finish, you get the premium look granite is known for—and the safety and durability stairs demand. If any part of the stair structure is questionable, or if edge profiling and flatness aren’t under control, hiring a tile/stone pro is often the most cost-effective way to avoid rework.
Frequently Asked Questions
What preparation steps are needed before installing granite tile on stairs?
Start by ensuring the stair treads and risers are structurally sound, level, and clean—remove old carpet, paint, and any loose flooring. Check flatness with a straightedge and repair dips or high spots using a patching compound rated for floors. Plan your tile layout for clean edges at the nose of each step, and dry-lay granite pieces to confirm pattern alignment and overhang measurements. Finally, acclimate the granite to the home’s temperature and humidity so the tile doesn’t shift after installation.
How do you measure and cut granite to fit stair nosing accurately?
Measure each tread individually since stair dimensions often vary from step to step, especially in older homes. Use a pencil template to mark the exact granite shape, including the tread depth and any stair nosing overhang, and transfer that to your stone. Cut granite with a wet saw using the correct blade for natural stone, and dry-fit every piece before installing. For a professional finish, consider bullnose or eased edges on stair-facing tiles, and seal cut edges with a granite sealer where appropriate.
How should you install granite on stair treads and risers so tiles don’t loosen?
Use a high-quality thinset mortar designed for natural stone, and apply it with the correct trowel notch size for full coverage (aim for good mortar transfer on the back of the granite). For stairs, back-buttering the tile helps reduce voids and improves bond strength under foot traffic. Stairs experience constant stress, so install in a logical sequence—often treads first, then risers—and use spacers or consistent lines to keep grout joints uniform. Use a proper movement/expansion strategy where needed (like at transitions), and allow adequate cure time before walking on the stairs.
Which underlayment and anchoring method works best for granite tile stairs?
The best substrate is a rigid, flat surface such as exterior-grade plywood over sound framing, or a cement backer board system where required by your building guidelines. For granite floors on stairs, avoid flexible subfloors because stone is unforgiving and can crack if the base moves. Many installers use cement backer board or an uncoupling membrane system to manage tile movement and improve crack resistance. Make sure any underlayment is properly fastened, and follow manufacturer instructions for mortar and thinset compatibility.
What grout and sealing options are best for granite stair floors to handle moisture and wear?
Use a grout system suitable for natural stone—many homeowners choose epoxy grout for durability in high-traffic areas, while polymer-modified cement grout can also work well if matched to granite. Because stairs collect dirt and moisture, grout should be fully cured and then sealed if it’s a grout type that requires it; many granites also benefit from sealing to resist staining. Choose a durable, slip-resistant finish at the stair landing and nosing area, and consider using a penetrating granite sealer plus a grout sealer for maximum protection. Regular cleaning with pH-neutral products helps preserve the finish and reduces the risk of discoloration over time.
📅 Last Updated: October 09, 2026 | Topic: How to install on stairs granite floors? | Content verified for accuracy and freshness.
References
- Google Scholar Google Scholar
https://scholar.google.com/scholar?q=granite+tile+installation+stairs - Google Scholar Google Scholar
https://scholar.google.com/scholar?q=natural+stone+tile+installation+guideline - Google Scholar Google Scholar
https://scholar.google.com/scholar?q=stair+tread+tile+installation+thinset+grout - Granite
https://en.wikipedia.org/wiki/Granite - Stairs
https://en.wikipedia.org/wiki/Stairs - Tile
https://en.wikipedia.org/wiki/Floor_tile - Tile
https://en.wikipedia.org/wiki/Tile - Thinset
https://en.wikipedia.org/wiki/Thinset_mortar - https://en.wikipedia.org/wiki/Mortar_(construction
- https://en.wikipedia.org/wiki/Grout_(masonry