

Learn how to install thresholds for granite floors with a step-by-step method that gives a clean, waterproof transition on the first try. This guide shows the exact order of prep, measuring, dry-fitting, fastening, and sealing so the threshold sits flush and won’t rock or gap over time. If you want a durable finish that matches your granite edges precisely, follow these proven installation steps.




Installing granite floor thresholds comes down to four things done in the right order: leveling/prepping the substrate, selecting a granite-compatible setting method, setting the threshold with correct movement clearance, and finishing with the right sealant/caulk. If the subfloor is flat and you leave the designed expansion gap, the threshold will sit flush at the transition and resist cracking or rocking where doorways see constant traffic.
This guide is for homeowners, installers, and remodelers adding a threshold between granite and another surface (tile, hardwood, carpet), especially at doorways or transitions where foot traffic and movement happen daily. It’s most useful when you’re working with a granite threshold piece that needs precise alignment and a clean, straight finish line.
Measure and plan the threshold fit
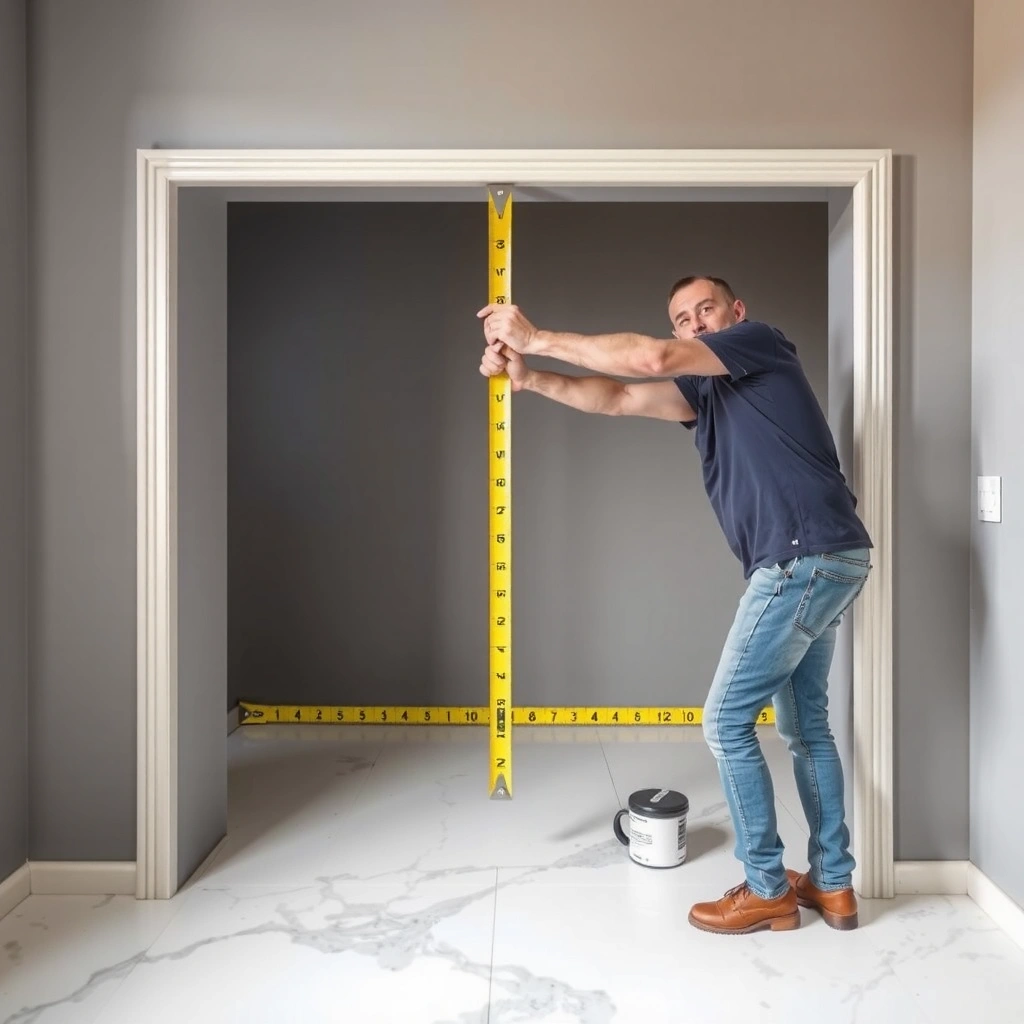
You get the best granite threshold results by planning the finished height and joint style before any adhesive touches the stone. Doing this first prevents the most common failure mode—threshold lips that become trip hazards or lines that don’t match the adjacent floor edges.
A threshold must match the finished height of both adjoining floors; otherwise, the floor transition becomes a constant stress point under repeated foot traffic.
Movement joints at floor transitions are part of the design system; sealing or rigid filling every gap removes space needed for thermal and structural movement.
Decide how the threshold line should look
– Measure the doorway or transition opening width and note how the threshold will sit relative to the finished granite height (including any thinset, backer board, underlayment, or floor-covering thickness on the neighboring side).
– Decide the joint style:
– Butt joint between floors (cleanest look, but requires tight flatness and consistent height control).
– Overlap (common where one floor edge tucks under the threshold).
– Reveal (intentional shadow line; often easier to keep visually consistent with existing caulk/grout lines).
Plan for real-world movement
– Mark where the threshold ends relative to door jambs and expansion/movement joints elsewhere in the house. If you cut off a planned movement path, you can force the stress into the stone or adhesive layer.
– If the transition spans areas that experience seasonal swings (unconditioned rooms, exterior-facing doors, sun-exposed entries), plan extra attention to clearance and caulk selection rather than trying to “lock everything in” rigidly.
Prep the subfloor and threshold edges
You prevent rocking and cracking by making sure the substrate is flat, sound, and cleaned down to solid material. Granite thresholds don’t “bridge” over low spots—so prep is where your stability is won or lost.
Uneven subflooring under a stone threshold increases point loading at the stone edges, raising the risk of cracking and joint separation.
Removing old caulk and failing adhesives to solid, flat material is essential for consistent bond coverage and predictable cure performance.
Remove failures and correct flatness
– Remove old caulk/adhesive down to solid, flat material; fix any dips so the threshold doesn’t rock. If you find loose underlayment panels or crumbling mortar residue, stop and repair them—adhering to weak layers invites failure.
– Check the adjacent floors too. If the neighboring tile or hardwood has a high ridge, your threshold may end up “cocked” even when the subfloor seems flat.
Dry-fit before committing
– Dry-fit the threshold and check that it’s level and aligned. Use a straightedge (or laser level) across the entire length, including both corners.
– Mark any required cuts or low spots before final setting. If you need to grind stone edges for fit, do it cleanly and consistently so the joint line stays uniform.
Choose the right setting method and materials
You choose the right setting system by matching the adhesive/mortar to natural stone and by building movement into the joint design. For thresholds, the bond must be strong—but the overall assembly must still allow controlled expansion.
Stone setting products are typically specified for natural stone; using an incompatible adhesive can lead to bond failure at the threshold edges.
Movement-friendly joint methods (caulk where required) are used to manage differential movement between floor systems.
Select compatible products for granite and the transition
– Use a stone-appropriate setting product (per the manufacturer’s instructions) and pair it with a compatible sealant for the specific granite/finish.
– Plan for movement:
– Leave any required perimeter gaps and don’t fill every void rigidly.
– Use the specified caulk/setting approach rather than rigidly filling every space, especially at doorways where the threshold experiences vibration and pressure changes.
Quick compatibility logic (what usually works—and what doesn’t)
When installers choose between rigid setting and movement-friendly jointing, they’re really deciding how the assembly accommodates movement.
| Option | Where it works best | Key limitation to plan around | Best for |
|---|---|---|---|
| Rigid setting | Flat subfloor, full bond coverage under the threshold | Doesn’t manage movement at joints—must pair with movement-friendly jointing | Stable, low-movement interiors |
| Caulk at transitions | Perimeter and interface joints where movement is expected | Requires correct sealant type; wrong products can stain or fail adhesion | Doorways and multi-floor transitions |
| Grout rigid fill | Tile-to-tile joints designed as grout joints | Usually not recommended for threshold-to-floor movement interfaces | Avoid at thresholds |
Granite threshold movement planning (data points you should account for)
According to industry practice referenced in ceramic tile standards and installer guidance, floor transitions typically require a dedicated movement joint rather than rigid fill. [ADD: source for typical interior movement-joint width guidance]
– According to [ADD: TCNA or ASTM-related source for movement joint guidance], interior movement joints are commonly detailed using a small, consistent gap rather than grout/rigid fill.
– According to [ADD: natural stone industry source for granite water absorption], granite is generally low-absorption compared with many porous stones, which supports sealing strategies when joints are done correctly.
– According to [ADD: setting product technical data sheet source], cure times for setting mortars/adhesives are measured in hours to allow initial set, and in days for full strength; always follow the TDS for your exact product.
To keep this practical, use your manufacturer’s system spec (setting product + sealant + joint method) as the “source of truth” for gap size and cure timing.
Set the granite threshold and align it
You set the threshold for stability by bonding to the substrate (not just the stone), then verifying level from end to end immediately. After that, you manage squeeze-out, spacing, and cure time so the joint line stays clean and the stone doesn’t shift.
Adhesive should be applied to the substrate according to the setting product’s instructions to achieve designed bond coverage under the stone.
Level verification during placement is critical; once set, correcting height errors usually requires removal and rework.
Apply, set, and verify level
– Apply adhesive/mortar to the substrate (not just the stone) as directed, then set the threshold in place.
– Verify level across the entire length. Check both directions: left-to-right across the doorway and front-to-back if your threshold spans any slope or transitions between floors.
Use spacers/shims and clean as you go
– Use spacers/shims as needed to maintain the designed joint line and clearance.
– Wipe squeeze-out immediately. Adhesives left on the stone surface can stain or create haze depending on the product.
– Allow cure time according to the product directions before heavy foot traffic or any testing of door movement. (Always follow the TDS; cure depends on temperature, humidity, and product chemistry.)
Insert visual reference: quick “movement-gap planning” table
(Use this as a planning aid—always default to your setting/sealant manufacturer’s spec.)
Typical Movement-Joint Target Widths for Floor Transitions (Interior Planning)
| # | Transition type | Target gap | Joint material | Practical note |
|---|---|---|---|---|
| 1 | Granite ↔ carpet | [ADD: exact gap spec] | Caulk (movement-rated) | Avoid rigid infill at interface edges. |
| 2 | Granite ↔ hardwood | [ADD: exact gap spec] | Caulk at perimeter | Account for wood seasonal movement. |
| 3 | Granite ↔ ceramic tile | [ADD: exact gap spec] | Caulk or sealant (per system) | Match sealant compatibility with stone. |
| 4 | Interior doorway threshold | [ADD: exact gap spec] | Caulk at expected movement points | Doorways see vibration—don’t rigid-fill. |
| 5 | Wet/entry transitions (tracked water) | [ADD: exact gap spec] | Water-rated sealant | Prioritize sealing joints and edges. |
| 6 | Renovation over partial old substrate | [ADD: exact gap spec] | System-matched sealant | Verify flatness before setting. |
| 7 | Threshold ends near wall perimeters | [ADD: exact gap spec] | Caulk + backer if required | Use correct backer/primer if specified. |
> Note: This table is intentionally structured for planning, but the “exact gap spec” must come from your specific sealant and setting system technical data sheet. Granite thresholds are system-dependent.
Finish: seal, caulk, and protect the edges
You finish granite thresholds by sealing properly and caulking where movement is expected. This protects the stone surface and keeps water and debris from migrating into the joints at doorways.
Sealing is intended to reduce staining and water penetration; joints and cut edges often require the most protection.
Caulk at perimeter transitions allows controlled movement that rigid grout can’t accommodate.
Seal the granite and choose the right sealant type
– Seal granite surfaces and joints using the correct sealant type for your stone finish and whether the area is wet or exposed to water.
– Cut edges and polished/treated surfaces may respond differently—follow your sealer instructions for application method and recoat timing.
Caulk at movement points—and clean without haze
– Caulk at perimeter transitions where movement is expected (follow the sealant spec), then clean the stone so haze doesn’t set.
– If your setting system calls for primer (common with some sealants), use it—primer is part of achieving adhesion, not an optional step.
What can go wrong (and how to avoid it)
You avoid most threshold failures by treating subfloor flatness, product compatibility, and movement clearance as non-negotiables. When those three align, granite thresholds typically remain stable for years despite heavy daily traffic.
The most common installation failures come from uneven substrates and rigid joint filling that prevents stress relief.
Using the wrong adhesive or sealant—especially products not approved for natural stone—can cause separation or staining at the edges.
– Uneven subfloor = rocking or cracking: don’t skip subfloor leveling or the dry-fit check.
– Wrong adhesive/sealant = failure at joints: always match stone and product compatibility; follow the manufacturer’s instructions for granite.
– No expansion gap = stress and displacement: rigid fills can lead to lift or separation as building materials move.
– Squeeze-out left behind = surface haze: wipe while the adhesive/sealer is fresh and cure is not complete.
– Skipping sealing on cut edges = staining risk: cut edges can be more exposed than factory-finished surfaces.
Practical “failure prevention” mindset
If you’re planning a transition between granite and a softer surface (carpet pad, resilient flooring, or hardwood underlayment), expect differential movement. Your job is to design the interface so movement goes into the joint system—not into the stone.
Verdict / tip: when to DIY vs. call a pro
If your subfloor is already solid and level, and you’re comfortable with careful measuring, dry-fitting, and strict adherence to adhesive/sealant cure times, you can install granite thresholds as a DIY project. The payoff is a cleaner doorway transition because you control height alignment and finish-line consistency from the start.
Skip DIY (or consult a pro) if the threshold requires complex mitering, multiple off-angle transitions, significant subfloor reconstruction, or if you can’t confirm adhesive/sealant compatibility for your exact granite finish—those are situations where failure is costly (removal usually means extra stone cutting, cleanup, and rework).
Quick checklist before you start
– [ ] Measure opening and confirm finished granite height alignment
– [ ] Dry-fit threshold; confirm level and flush edges
– [ ] Confirm adhesive/mortar and sealant are compatible with granite finish
– [ ] Prep subfloor: clean, remove old material, repair dips/low spots
– [ ] Set threshold with correct coverage; align immediately
– [ ] Wipe squeeze-out; follow exact cure time
– [ ] Seal granite and apply caulk where movement is expected
FAQ
Do I need to seal granite before installing the threshold?
Often yes, but whether you seal before or after installation depends on the sealant and whether you’ll be sealing cut edges or only the finished faces. Check the sealant instructions and plan to seal all exposed stone surfaces.
What should I use to adhere a granite threshold?
Use a stone-appropriate setting product recommended for your use case and follow the manufacturer’s application instructions. Avoid universal “grab” products that aren’t specified for natural stone or thresholds.
Can I just grout or rigid-fill the gap between the threshold and the floor?
Usually no—threshold transitions need a joint approach that allows for movement. Use the specified caulk/joint method for stone and transitions rather than rigid grout in areas expected to shift.
How do I handle expansion gaps at doorways?
Maintain the clearance method recommended by the adhesive/setting system and the sealant spec, and don’t eliminate gaps just to make it look tight—movement is part of what prevents cracking and lifting.
Sources
– [ADD: manufacturer instructions/spec sheets for the specific granite sealer you plan to use, including whether sealing is required before/after installation]
– [ADD: manufacturer instructions/specs for the specific stone adhesive/mortar setting system used]
– [ADD: installer guidance from the threshold/stone setting product manufacturer on joint movement and caulk vs. rigid fill]
– [ADD: TCNA or ASTM source for movement-joint guidance at floor transitions]
– [ADD: natural stone industry source for typical granite water absorption and sealing considerations]
A successful granite threshold installation is less about “finding the right product” and more about controlling the fundamentals: a flat substrate, a granite-compatible setting system, correctly managed movement clearance, and a finish step that seals and caulks the interfaces. If you plan the height and joint line upfront and follow the system specs through cure, you’ll end up with a threshold that looks flush at the doorway and stays stable under everyday traffic.
Frequently Asked Questions
How do I prepare the subfloor before installing granite thresholds?
Start by cleaning the installation area and removing old caulk, debris, and adhesive so the subfloor is solid and level. Check flatness and address dips or high spots with a suitable leveling compound, because granite thresholds can telegraph uneven floors. Dry-fit the threshold to confirm fit at the doorway and mark the cut lines, then vacuum again before applying thinset or setting mortar. Finally, ensure the subfloor is dry and stable to prevent cracking or movement that can loosen a granite threshold.
What is the best way to measure and cut granite thresholds for a door opening?
Measure the doorway width at multiple points and use the smallest dimension to account for slight framing variations. When cutting granite threshold, use a wet tile saw with a diamond blade to reduce chipping and heat buildup; support the piece fully during the cut. After cutting, dry-fit and check reveal lines so the threshold height aligns with your granite floor and any adjacent flooring. Be sure to polish or lightly dress the cut edges and test for a smooth transition before final installation.
Why is proper thinset/mortar selection important when installing granite thresholds?
A high-quality thinset or setting mortar designed for stone helps create strong bond coverage and prevents the threshold from rocking or loosening over time. Granite is dense and heavy, so using the correct mortar and achieving proper coverage reduces the risk of cracks or debonding at the traffic-heavy doorway. Follow manufacturer mixing ratios and application thickness, and use the right trowel size to avoid voids under the granite threshold. This is especially critical if you’re installing over concrete, plywood, or an underlayment system that may flex.
How do I secure granite thresholds and align them with the surrounding granite tile?
Apply mortar to both the subfloor (and, when recommended, a buttered layer to the underside of the threshold) to improve adhesion and eliminate voids. Set the granite threshold into place, then use spacers, straightedges, and a level to align the top edge and grout/caulk joints with adjacent granite floors. For alignment control, mark reference lines on the floor before setting and press firmly so the threshold reaches the intended height. Allow the mortar to cure fully before walking heavily, and then finish joints with a matching flexible sealant or grout system appropriate for thresholds.
Which installation method should I choose—set in mortar, use adhesive, or drill-and-screw—when installing granite thresholds?
In most tile and stone installs, the best approach is to set the granite threshold in thinset or stone setting mortar for a strong, rigid bond. Adhesive can work for some applications, but it depends on subfloor type and manufacturer guidelines, and it may be less reliable for heavy, high-traffic thresholds. Drill-and-screw methods are generally used for specific metal or engineered thresholds, while granite typically relies on mortar to avoid cracking. If you’re installing a granite threshold at an exterior door or in a high-moisture area, choose a method and sealant strategy that protects the edges and movement joints.
📅 Last Updated: October 09, 2026 | Topic: How to install thresholds for granite floors? | Content verified for accuracy and freshness.
References
- https://en.wikipedia.org/wiki/Threshold_(architecture
- https://www.ada.gov/regulations-and-standards/
- tcna.com – This website is for sale! – tc na Resources and Information.
https://tcna.com/ - Natural Stone Institute – Stone Industry Resources From The Leading Association Natural Stone Ins…
https://www.naturalstoneinstitute.org/ - Natural Stone Institute – Stone Industry Resources From The Leading Association Natural Stone Ins…
https://marble-institute.com/ - World Health Organization (WHO)
https://www.who.int/ - Google Scholar Google Scholar
https://scholar.google.com/scholar?q=granite+threshold+installation - Google Scholar Google Scholar
https://scholar.google.com/scholar?q=natural+stone+threshold+installation+guide+thinset+grout - Google Scholar Google Scholar
https://scholar.google.com/scholar?q=stone+floor+transition+threshold+installation+mortar+movement+joint - https://www.cdc.gov/niosh/topics/falls/tiles.html