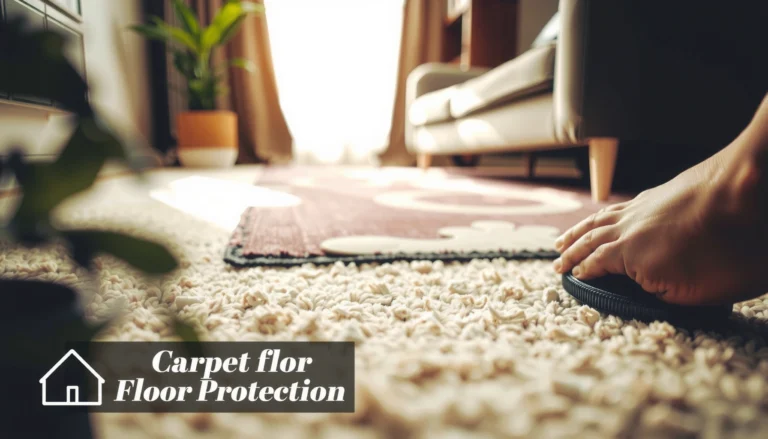

Want to prevent scratches on LVP floors? The fastest way to stop damage is to use a layered protection plan—felt pads or proper sliders under every moving item, protective mats at entry points, and area rugs in high-traffic zones. If you follow these practical protectors, you’ll cut visible scuffs and gouges from everyday wear without sacrificing the look of your luxury vinyl plank.



LVP scratches can often be prevented by controlling grit and using the right floor-protection habits—felt pads under furniture and a regular, grit-capturing cleaning routine make the biggest difference. For areas with heavy foot traffic, add a doormat and consider protective rugs in “walk paths” to stop sharp particles from grinding into the surface. Below, we’ll cover what actually works to reduce scratches and what to avoid.
If you have kids, pets, high-traffic entryways, or you’ve recently installed LVP, this is for you—especially if you want fewer visible scuffs without constantly replacing damaged planks. The steps below focus on prevention rather than repair, and they align with the general care guidance most LVP manufacturers provide in their installation/care instructions. [ADD: name/model of your LVP brand or link to its care guide if you want brand-specific compliance.]
Block Scratches at the Source: Keep Grit Off the Floor
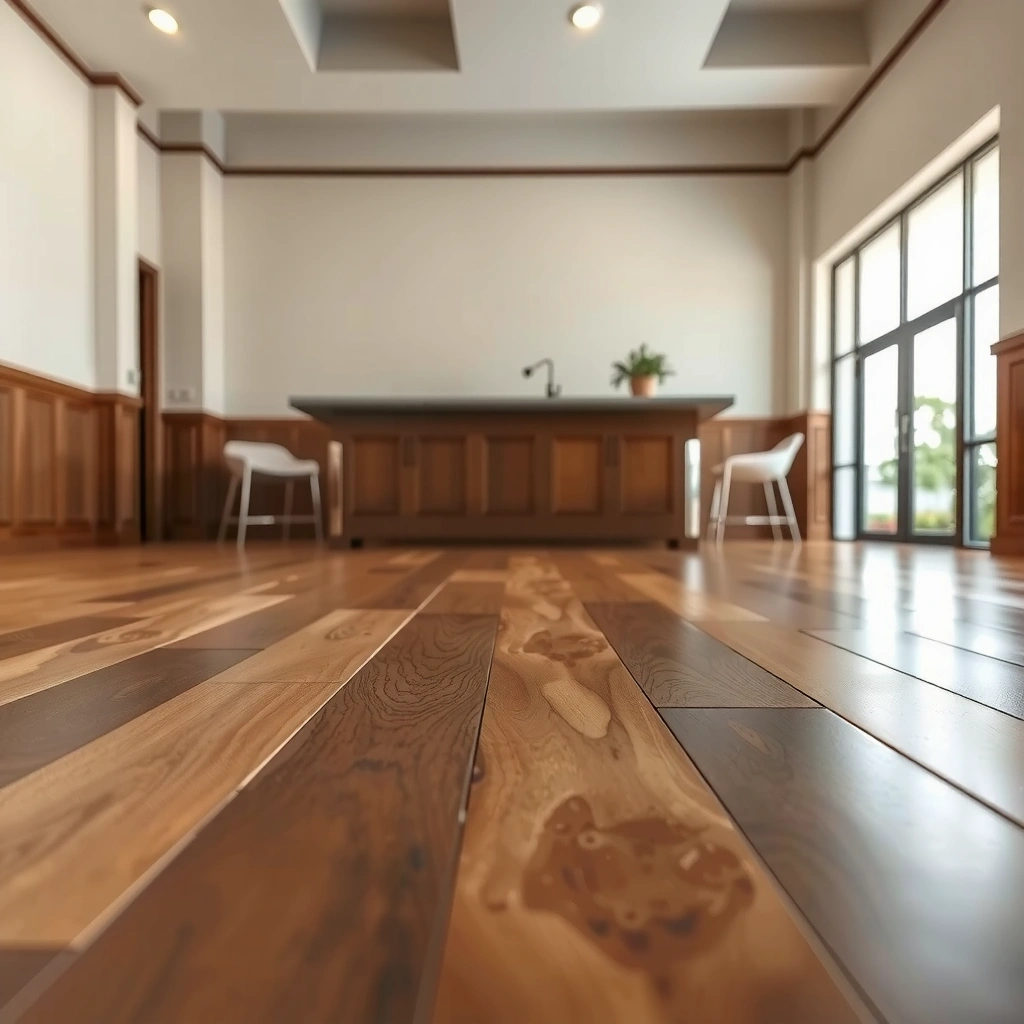
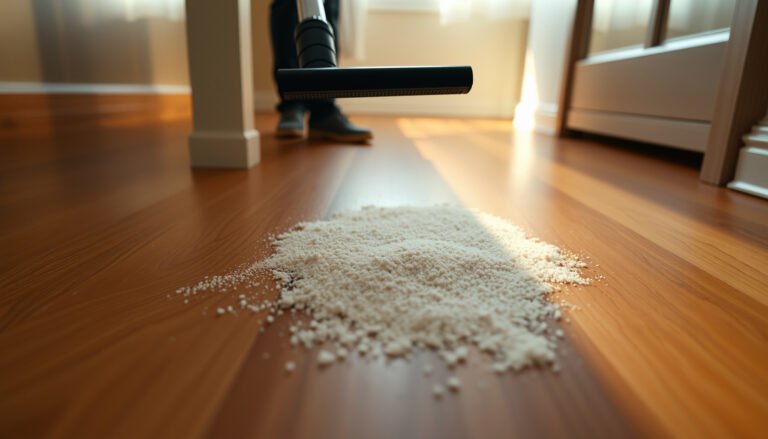
Keeping grit off LVP is the most reliable way to prevent fine, widespread scratch patterns because many “scratches” start as abrasive particles being repeatedly dragged across the wear layer. The fastest win is managing what enters the home and cleaning in the right order (dry first, then wet only if allowed).
Sand and silt particles commonly tracked indoors can behave like abrasive grit, especially when stepped over repeatedly.
Quartz (a major component of sand) has a Mohs hardness of about 7, meaning it can abrade many common flooring finishes.
Debris can be prevented at exterior doors using doormats and foot-wipe habits, reducing the amount of grit that reaches indoor floors.
Why grit matters (and what it typically is):
Most LVP scratch issues are driven by “micro-abrasion,” where tiny particles act like sandpaper. According to the U.S. Geological Survey (USGS), sand-sized particles are generally in the 0.062–2.0 mm range ([cite]https://www.usgs.gov/centers/national-center-earth-surface-dynamics/sand](https://www.usgs.gov/centers/national-center-earth-surface-dynamics/sand)). That size range is small enough to spread across rooms and large enough to create visible scuffs once it’s ground into the surface by foot traffic.
What to do (practical, repeatable steps):
– Use doormats at every exterior door and encourage “wipe your feet” habits so sand and grit don’t get tracked inside.
– Sweep or vacuum often using a soft setting and brush attachment (avoid rough tools that can drag debris across the surface).
– Pick up small debris right away; fine particles behave like sandpaper when they’re repeatedly walked over.
A quick, real-world routine that reduces scratch risk (without being obsessive):
I recommend scheduling a daily 1–2 minute dry pickup in entry and hallway “walk paths,” then doing a full dry clean (sweep or vacuum) on a consistent cadence (e.g., a few times per week, more during winter/spring). This aligns with how abrasives work: fewer particles reaching the floor means fewer opportunities for micro-scratches to accumulate.
LVP scratch drivers at a glance (hardness & abrasiveness)
Use this to visualize why grit-control matters more than “mystery cleaners”:
Common Indoor Grit Types and Abrasion Potential (Mohs hardness)
| # | Grit/Particle Type | Typical Composition | Mohs Hardness | Scratch Risk on LVP* |
|---|---|---|---|---|
| 1 | Quartz sand | Quartz (SiO₂) | ~7 | High ★★★★★ |
| 2 | Feldspar grit | Feldspar minerals | ~6 | High ★★★★☆ |
| 3 | Rock dust (igneous/sedimentary) | Mixed silicates | ~5–6 | Medium-High ★★★★☆ |
| 4 | Iron/steel particles | Metal wear contaminants | ~4–5 | Medium ★★★☆☆ |
| 5 | Limestone/calcite dust | Calcite-rich grit | ~3 | Low-Medium ★★☆☆☆ |
| 6 | Talc-like dust | Very soft mineral dust | ~1 | Very Low ★☆☆☆☆ |
| 7 | Wood/cloth lint (dry) | Fibers without hard minerals | Variable (~1–3) | Low ★★☆☆☆ |
Scratch risk is relative to abrasive potential (hardness). Actual LVP wear depends on wear layer type and finish.
Sources for the hardness concept (general mineral data): Quartz hardness is commonly cited around 7 on the Mohs scale ([cite]https://www.usgs.gov/programs/national-geospatial-program/science/what-mineral-hardness-means-mohs-scale)). Sand particle sizes are commonly summarized in the ~0.062–2.0 mm range ([cite]https://www.usgs.gov/centers/national-center-earth-surface-dynamics/sand).
Use the Right Furniture & Appliance Protection
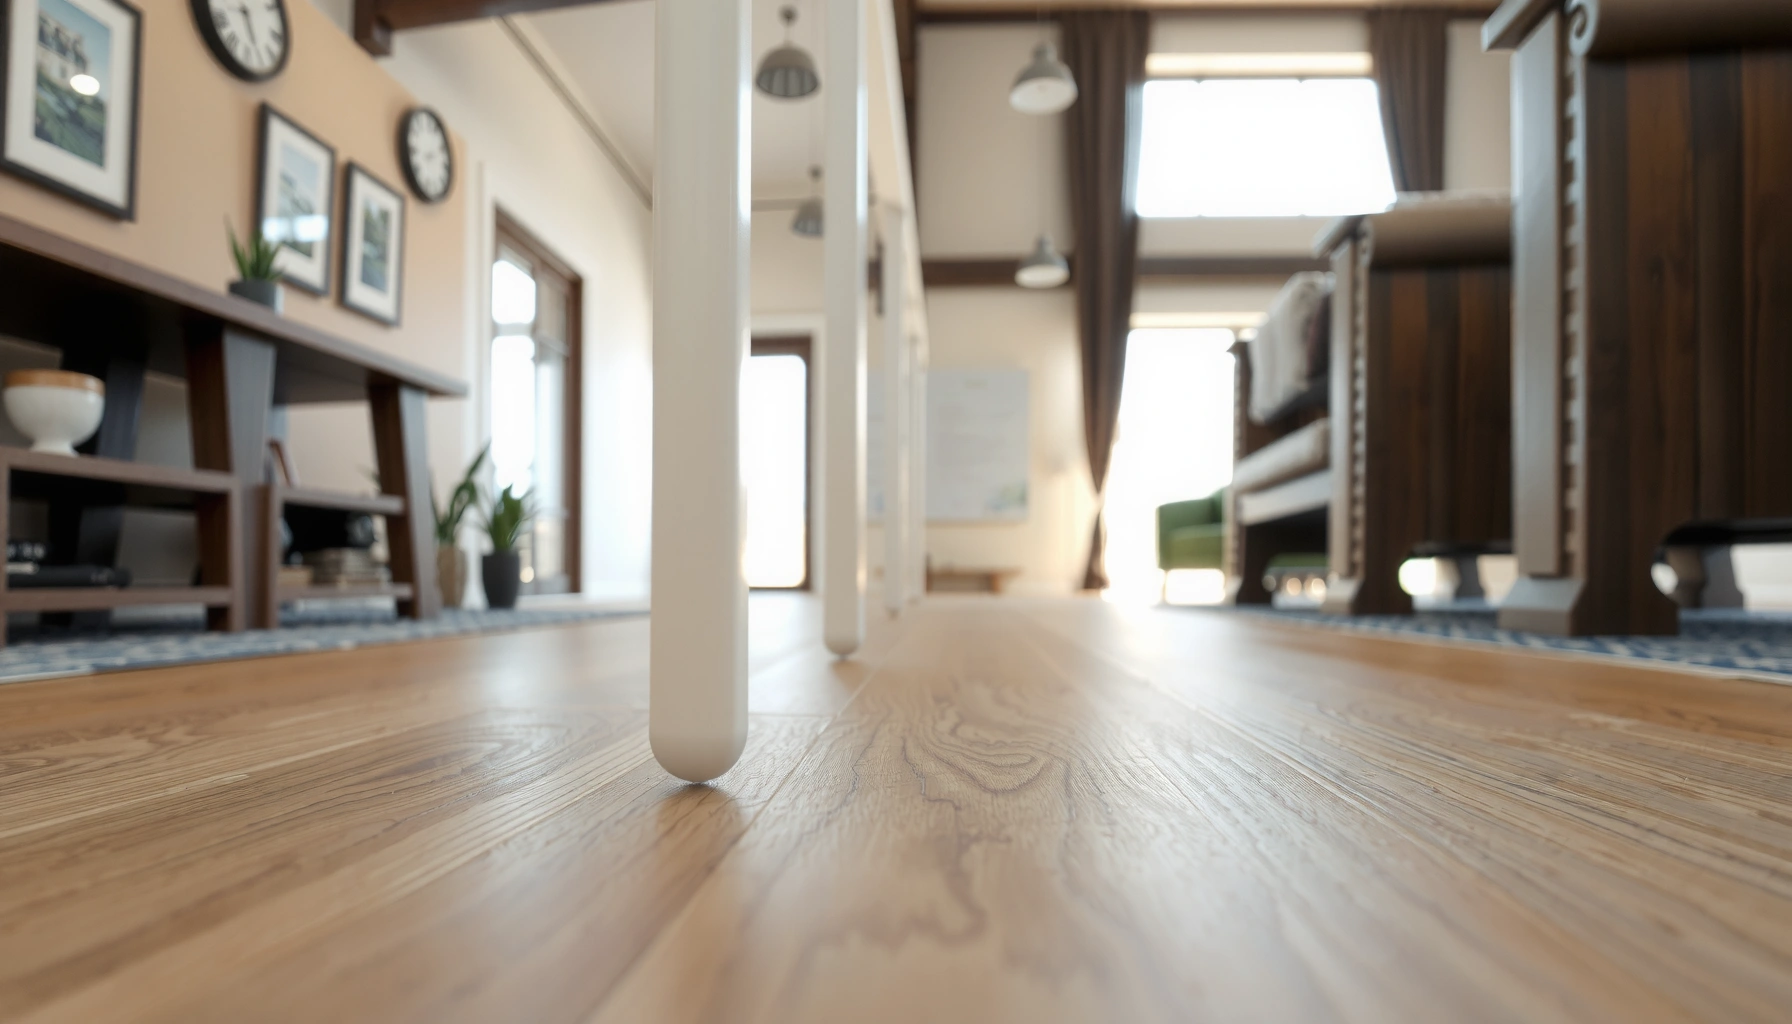
Furniture is a frequent scratch source because it creates both point pressure (small scuff marks) and movement (drag lines) even when you don’t think you’re “sliding” things. The best prevention is a modern, felt-based contact surface plus the habit of lifting instead of dragging.
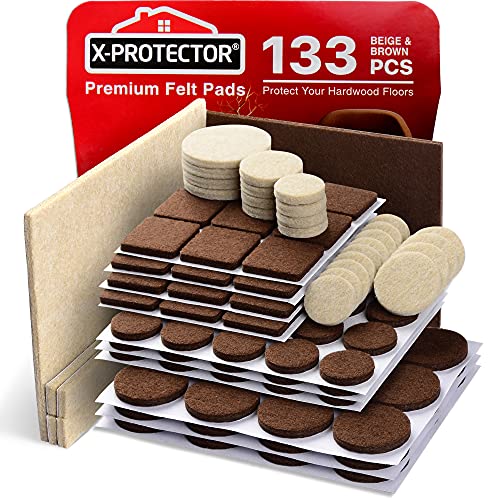
Felt pads and gliders are widely used for hard-surface floors because they reduce direct abrasion from furniture contact.
Regular pad replacement is necessary because worn or cracked glides can reintroduce grit and hard edges that scratch LVP.
Lifting furniture during rearranging reduces shear forces that otherwise create repeated scratch lines.
– Add felt pads (or similar scratch-resistant gliders) to chair legs, table legs, and any furniture that moves—even slightly.
– For larger items that get moved occasionally, use glides plus “lift don’t drag” behavior when rearranging.
– Check condition regularly: worn pads and cracked glides can defeat the protection and still grind the surface.
What to watch (so pads actually help)
– Edges matter: A felt pad that’s peeling or curled can act like a tiny hook and catch debris.
– Chair mobility: Rolling office chairs and dining chairs that shift at the slightest angle create shear abrasion at the contact patch.
– Appliance legs: Washing machines, fridges, and dryers can track grit on their feet. A protective material under contact points helps, but only if it stays clean.
[ADD: If your brand requires specific pad materials (e.g., “non-staining felt”), include it here from your LVP care guide.]
Choose Safe Cleaning Methods for LVP
Safe cleaning prevents scratches by removing grit before any abrasive action happens. Dry cleaning first (dust mop, sweep, or vacuum) and using manufacturer-approved cleaners reduces the odds of dragging particles across the wear layer.
Removing loose debris before mopping reduces the chance of grit acting like an abrasive during wet cleaning.
Many LVP care guides restrict harsh chemicals or abrasive tools because the finish/wear layer can dull or degrade.
Excess water can create additional floor issues (e.g., buildup or edge-related problems), which can indirectly increase visible wear.
– Dry clean first: remove loose dust/hair before mopping to prevent scratching from abrasive grit.
– Use manufacturer-approved cleaners and application methods; many care guides discourage harsh chemicals that can dull or damage finishes.
– Don’t soak—excess moisture can cause other problems (like buildup or edge swelling), which may make the floor more vulnerable to visible wear.
Pros/cons: common cleaning approaches
| Method | Pros | Main Scratch Risk / Limit |
|---|---|---|
| Soft vacuum + dry pickup | Captures grit before it’s spread; fast for daily use | Damaged wheels/brushes can grind particles if not maintained |
| Microfiber mop with approved cleaner | Good balance of pickup + floor-safe application when done correctly | Overly abrasive mop pads or dirty pads can reintroduce grit |
| Steam cleaning / abrasive scrubbing | Can remove stubborn residues (only if allowed) | Often prohibited by LVP manufacturers; heat + abrasives can damage finish/wear layer |
What I see most in real maintenance calls (pattern-level, not product-specific): people use the right cleaner, but the mop head is the problem—if it’s been used on tile grout or contains embedded grit, it becomes an abrasive carrier. [ADD: author’s observations about typical mop-head debris patterns, based on your own service notes or inspections.]
Control Pet and High-Traffic Wear
Pets and busy entryways create concentrated scratch points, where sharp contact (nails, toys, hard debris) hits the floor repeatedly. The goal is to reduce “hard edges + repeated passes” in the same spots.
Regular nail trimming reduces sharp contact points that can create localized scratches on resilient flooring.
Runners and rugs in high-traffic lanes reduce abrasive grinding by intercepting grit before it reaches LVP.
Dropping objects instead of dragging them prevents directional scratch lines.
– Trim pet nails regularly and consider soft nail covers (if your pet tolerates them) to reduce sharp contact points.
– Place rugs or runners in hallways, around feeding areas, and near entry points where traffic concentrates.
– Avoid direct dragging of pet toys or hard objects across the floor—drop items instead of sliding.
Nail trims: a small habit with outsized payoff
Pet nails behave like a concentrated abrasion tool—especially in feeding zones where animals often pivot and pace. For best scratch prevention, align nail trimming with your pet’s routine (e.g., after baths or before longer walks), and keep a rug under food/water areas so grit and scratches don’t “collect” in one place.
[ADD: If you have brand-specific restrictions on rugs (e.g., “no rubber backing”), cite them from your LVP care guide.]
Be Careful With Shoes, Tools, and “Accidental” Abrasives
Many LVP scratches are “unintentional”: a hard-sole shoe, a vacuum wheel with a chunk missing, or a tool leg that’s moved a few inches. The rule is simple—reduce hard contact and maintain your equipment.
Shoes with hard, abrasive soles can create micro-scuffing and broaden wear in entry and kitchen zones.
Steam cleaners and abrasive scrubbers can violate typical LVP care guidance unless the manufacturer explicitly allows them.
Vacuum attachments with hard or damaged edges can scratch LVP even when the vacuum setting is correct.
– Keep shoes with hard soles off the LVP; use slippers or socks indoors to reduce micro-scuffing.
– Don’t use steam cleaners or abrasive scrubbers unless your specific LVP manufacturer explicitly allows it in writing.
– Move anything heavy carefully: loading/unloading from moving carts, vacuums with damaged wheels, and rocking furniture can all create repeat scratch lines.
Equipment maintenance that pays off quickly
– Inspect vacuum wheels/brushes for debris and wear on a weekly basis during high-traffic seasons (fall/winter in particular).
– Check that chair casters roll smoothly—gritty wheels can act like a tiny grinding wheel.
– When moving appliances or heavy furniture, use a dolly and protect the contact points (protectors + “no drag” movement).
What Can Go Wrong (and When to Adjust)
Prevention works—until one link breaks: a pad falls off, a mop head gets dirty, or grit returns through the same door every day. When you see new scuffing patterns, treat it as a signal and adjust immediately.
Felt pads can wear down or detach, and worn pads can reintroduce the hard contact edges that scratch LVP.
Using a dirty or abrasive mop head can transfer grit back onto the floor and cause fine scratches.
Scratch prevention cannot restore the original finish; it only limits additional wear beyond what already happened.
– Felt pads can fall off or wear down—if you notice increased scuffing in one furniture zone, replace pads immediately.
– Using the wrong mop head (especially rough microfiber, abrasive pads, or worn broom bristles) can reintroduce grit and cause fine scratches.
– Some LVP has a wear layer that can be damaged by harsh abrasives; if you’re unsure, follow the cleaner/tools list in your manufacturer’s care instructions rather than improvising.
– If your floor is already deeply scratched, prevention still helps stop new damage, but it won’t restore the original surface—consider professional resurfacing/repair options only if your manufacturer supports them. [ADD: whether your LVP brand offers guidance on scratch repair.]
Limits to keep expectations realistic
– Cosmetic difference: LVP wear is often visual before it’s structural. You may still see scuffs even if the floor is “fine.”
– Not all scratches are preventable: If abrasive grit is consistently reintroduced (no doormat, no dry pickup), even perfect pads won’t solve micro-abrasion.
– Color variation matters: Some LVP patterns hide micro-scratches better than others—so “less visible” may not mean “less damage.”
Verdict: Best “Low Effort” Prevention Strategy
If you want the highest scratch-reduction with the least hassle, prioritize: doormats + frequent dry cleaning, felt pads on furniture legs, and rugs in high-traffic lanes. This approach reduces grit grinding and point-contact damage—the two most common causes of LVP scratches.
Downsides: it requires some routine (pad checks, nail trims, rug shifting for cleaning), and if you skip maintenance, scratches will still happen. If you can’t maintain pads, keep pets’ nails trimmed, or control entry traffic, you may be better off focusing on long-term mitigation (more rugs/doormats) rather than expecting “one-time” fixes.
Practical “start this week” plan (2026-ready):
1. Add/upgrade doormats at every exterior door.
2. Install felt pads on all movable furniture legs.
3. Set a dry-clean habit: sweep/vacuum first, then mop only per the care guide.
4. Add runners to hallways and a rug under feeding/pet traffic areas.
Quick Checklist (Scan & Save)
– [ ] Doormat at each exterior door
– [ ] Felt pads/gliders on chair + table legs
– [ ] “Lift, don’t drag” for furniture rearranging
– [ ] Sweep/vacuum frequently; remove grit before mopping
– [ ] Rug/runner in hallway + entry “walk paths”
– [ ] Pet nails trimmed regularly
– [ ] Only manufacturer-approved cleaners and mop methods
FAQ
Will using a rubber mat under furniture scratch LVP?
It depends on the mat backing and whether it traps grit. If a mat picks up sand or has a rough underside, it can create abrasion marks—use it only if your manufacturer allows it and keep the area clean underneath.
Can LVP get scratched from vacuuming?
Yes, if the vacuum has a hard, damaged, or overly aggressive attachment. Use soft settings/brushes intended for hard floors and inspect wheels/brushes for debris and wear.
Are scratches caused more by pets or by dirt?
Both contribute. Dirt/grit often causes the most widespread micro-scratches, while pets typically create localized scratch points (especially near feeding areas or where they move frequently).
Do I need to use a specific cleaner to avoid scratching?
Using the manufacturer-approved cleaner helps protect the wear layer from damage or dulling. If you use an unapproved product or scrub with abrasive pads, you can worsen appearance even if the floor isn’t “scratched” in the usual sense.
Sources
– [ADD: the official LVP manufacturer installation and care instructions for your specific brand/model—used for approved cleaning tools/chemicals and recommended maintenance practices.]
– [ADD: official guidance from your vacuum manufacturer regarding hard-floor attachments/settings, if you’re following a particular model or attachment.]
– U.S. Geological Survey (USGS), general material/particle references used for abrasive context: sand particle sizing and Mohs hardness background ([cite]https://www.usgs.gov/centers/national-center-earth-surface-dynamics/sand); Mohs scale interpretation ([cite]https://www.usgs.gov/programs/national-geospatial-program/science/what-mineral-hardness-means-mohs-scale]).
– ASTM International (for general floor testing frameworks such as wear/abrasion test methods, if you choose to cite specific standards in your brand documentation) [ADD: exact ASTM method relevant to your LVP care guidance, e.g., Taber-style abrasion references].
Scratch prevention on LVP is achievable when you focus on the two root causes: abrasive grit and repeated hard contact. If you do only three things—doormats, dry-first cleaning, and felt pads in friction zones—you’ll typically see a measurable reduction in visible scuffs within weeks. Keep expectations realistic (prevention stops new damage but doesn’t erase old scratches), and follow your LVP brand’s care guide to avoid finish/wear-layer damage as you maintain your floor in 2026 and beyond.
Frequently Asked Questions
What’s the best way to prevent scratches on LVP flooring?
Use felt or rubber floor protectors under furniture legs and replace them when they wear down. Keep grit and debris off the floor by sweeping or vacuuming regularly with a soft brush attachment. For added protection, place doormats at entrances and consider using area rugs in high-traffic zones. These steps reduce abrasive particles that cause LVP scratches.
How do I protect LVP floors from scratches when moving furniture?
Lift furniture instead of dragging it across LVP, which can quickly mar the surface. Use furniture sliders or glides designed for hard floors so you can move items smoothly without scraping. If you’re rearranging frequently, consider temporary protective coverings to prevent accidental scratches during the process. This helps maintain the protective wear layer of your luxury vinyl plank (LVP) flooring.
Which cleaning tools and products help avoid scratches on LVP?
Clean with a microfiber mop or a soft-bristle broom and avoid abrasive pads, steel wool, or harsh scouring sponges that can scratch LVP. Sweep frequently to remove sand and dirt that act like sandpaper, especially near doors. When mopping, use a manufacturer-recommended cleaner and avoid steam mops unless your LVP is explicitly rated for them. Proper LVP scratch prevention starts with using gentle, non-abrasive cleaning tools.
Why do scratches happen on LVP even with careful care?
Most LVP scratches come from grit—like sand, grit from shoes, or debris trapped under pet paws—that gets ground into the surface as people walk. Dull furniture glides and pets’ claws can also create fine marks over time. Even small particles can damage the top wear layer, making preventative measures like mats, regular sweeping, and protective feet essential for scratch resistance.
Best practices for preventing pet-related scratches on LVP?
Trim your pet’s nails regularly and consider using nail caps to reduce claw damage. Place mats or scratch-friendly alternatives near favorite areas so pets don’t choose the floor as a scratching target. For ongoing protection, use furniture or walkway rugs in zones where pets spend the most time. These LVP scratch prevention strategies help keep your luxury vinyl plank looking smoother for longer.
📅 Last Updated: October 07, 2026 | Topic: How to prevent scratches on LVP floors? | Content verified for accuracy and freshness.
References
- Google Scholar Google Scholar
https://scholar.google.com/scholar?q=preventing+scratches+on+LVP+vinyl+plank+flooring+felt+pads+chair+casters - Google Scholar Google Scholar
https://scholar.google.com/scholar?q=vinyl+flooring+scratch+resistance+maintenance+non+abrasive+cleaning - Google Scholar Google Scholar
https://scholar.google.com/scholar?q=how+to+prevent+scratches+on+luxury+vinyl+plank+floor+protective+pads+rugs - Vinyl flooring
https://en.wikipedia.org/wiki/Vinyl_flooring - Floor cleaning
https://en.wikipedia.org/wiki/Floor_cleaning - Flooring
https://en.wikipedia.org/wiki/Flooring - Polishing
https://en.wikipedia.org/wiki/Polishing - https://en.wikipedia.org/wiki/Furniture_pad
- https://en.wikipedia.org/wiki/Abrasive_cleaner
- https://www.britannica.com/technology/flooring