
You can install hardwood floors around cabinets cleanly and securely—no guesswork about whether it’s best to remove cabinets or work around them. This guide delivers the clear method that wins when cabinets stay put: plan the board layout, notch and trim where needed, and keep expansion gaps consistent. Follow the step-by-step approach to avoid buckling, uneven transitions, and gaps that show up as the wood acclimates.




If cabinets can’t be removed, the cleanest method is to cut the hardwood to fit tightly at the toe-kick lines while keeping proper expansion gaps at fixed boundaries (including cabinet bases), then finish with matching trim or limited caulk as allowed by your flooring manual. Below is a step-by-step approach to measure accurately, plan movement so the floor doesn’t buckle, and create transitions that look intentional in a kitchen or remodel.
This guide is for homeowners and DIYers installing hardwood in kitchens or remodel areas where cabinets stay in place. It applies whether you’re using nail-down solid hardwood, engineered hardwood, or floating floors—just note that underlayment and fastening requirements differ by system, and you must follow your specific manufacturer’s installation instructions.
Plan the layout before you cut
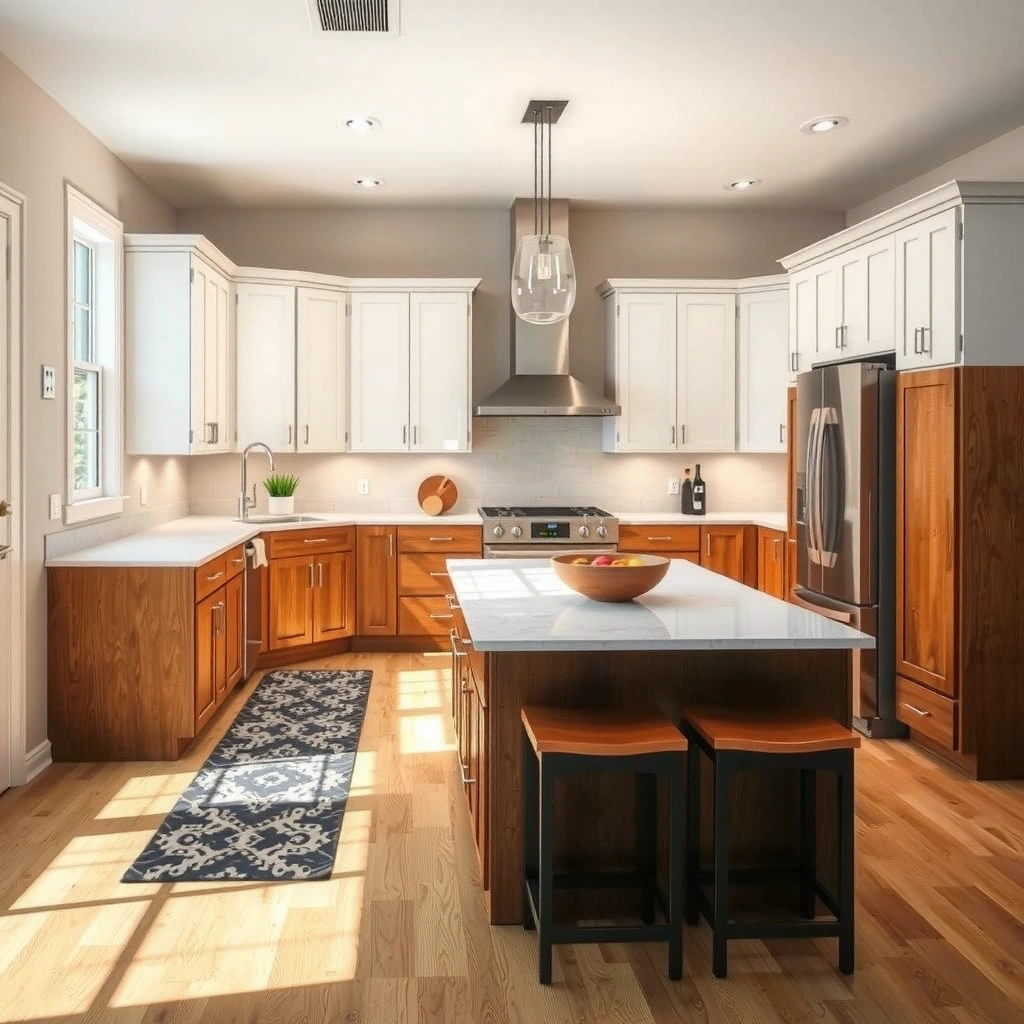
To avoid gaps, binding boards, and visible “pinch points,” you need a layout plan that accounts for cabinet fixed points and hardwood movement before a single board gets cut. The goal is simple: create consistent clearance where the floor must move, and avoid producing awkward narrow slivers at the room edges.
– Confirm your cabinet situation (can any cabinets be removed, or will you work around the toe-kick only).
– Measure for expansion gaps around fixed objects, and decide where the planks will start so you avoid narrow slivers at the edges.
– Mark cut lines on a scrap plank first to verify you’re hitting the correct clearance against the toe-kick/cabinet base.
Hardwood flooring must be allowed to expand and contract, so perimeter clearance is not optional—your installation must follow the expansion gap stated by the manufacturer and the NWFA-style “fixed boundary” concept for cabinets.
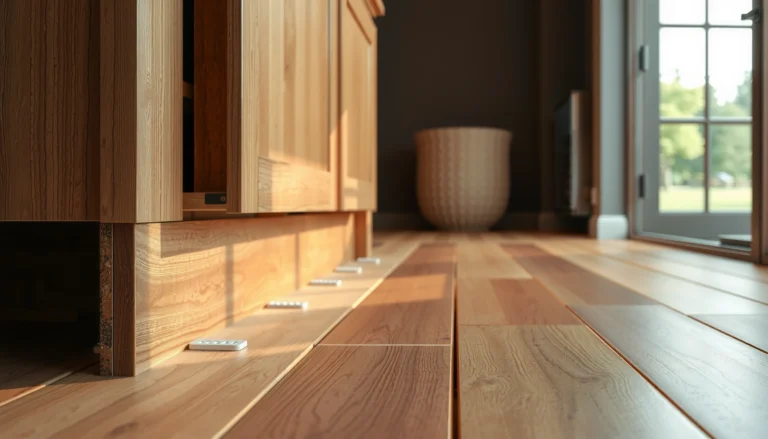
When cabinets are left in place, the toe-kick area becomes a “fixed boundary,” so you plan clearance at the cabinet base lines—not just at the room perimeter.
Dry-fitting multiple rows before cutting prevents binding (boards squeezed tight) and reduces the chance of seam misalignment when the floor expands.
What to measure (and why it matters):
1. Wall-to-wall dimensions and cabinet-base boundaries. Treat each cabinet run like a continuous fixed zone because the toe-kick line creates an immovable edge.
2. Plank direction and plank count. Choose the direction that best matches your room’s main sightlines, then count rows based on the actual plank width (including any tongue-and-groove or click-lock engagement).
3. Expansion gap targets. Use the exact gap size required by your flooring manufacturer. If you don’t know it yet, don’t guess—pull the manual and look for “expansion gap,” “perimeter gap,” or “fixed objects/cabinetry.”
Common ranges exist in industry guidance, but your specific product overrides generic rules.
[ADD: source for your hardwood manufacturer’s recommended expansion gap]
4. Toe-kick profile behavior. In real kitchens, toe-kick surfaces can vary slightly in height and straightness. That’s why you mark cut lines on a scrap board and test against the actual cabinet run.
Three practical “real-world” data anchors to plan with:
– According to the National Wood Flooring Association (NWFA) installation guidance, wood flooring requires space to accommodate seasonal movement and should not be locked in tight against fixed objects. NWFA installation guidance
– According to ASTM guidance used widely in flooring practice, flooring products must be installed in conditions that meet specified moisture and environmental targets (commonly referenced alongside acclimation). ASTM standards referenced by flooring systems
– According to typical manufacturer installation instructions for hardwood, you must acclimate the flooring to the installation environment before installation. [ADD: source for your flooring’s acclimation requirements]
Choose the right installation method for your hardwood
To choose the right approach around cabinets, you first identify your installation method because it determines where fastening occurs, what underlayment is required, and how strictly you must manage movement. In short: nail-down behaves differently than engineered click-lock or floating systems—your cutting is only half the equation.
– Nail-down: typically requires proper subfloor flatness and nailing patterns that don’t interfere with cabinet base trim.
– Engineered or floating: focuses more on underlayment/shock absorption and strict expansion gap management around walls and fixed posts.
– If you’re unsure, use the manufacturer’s installation instructions for your exact product (thickness, locking system, and required gap size). [ADD: source for your specific hardwood manufacturer’s recommended expansion gap]
Nail-down hardwood relies on subfloor flatness and secure nailing patterns, but cabinet toe-kick zones often limit access and require careful clearance planning at fixed cabinet bases.
Floating and click-lock products depend on movement within the system, so expansion gaps around fixed cabinet edges remain mandatory—even though the boards “float.”
Manufacturer instructions for your specific hardwood (thickness, locking system, gap size, and underlayment) should govern how you cut and what you can seal with caulk or trim.
A quick comparison: which method fits around cabinets best?
Below is a high-level contrast of how each flooring system “behaves” around immovable cabinet bases.
- Nail-down solid hardwood
- Best when the subfloor is very flat and you have enough clearance to nail without hitting cabinet trim; around toe-kicks, you typically cut and leave the perimeter gap for base molding/trim.
- Engineered glue or nail-down hybrids
- Often forgiving on movement because the build is more dimensional-stable than solid, but you still maintain the required perimeter clearance and follow underlayment (if any) requirements.
- Engineered click-lock / floating
- Most sensitive to movement constraints: if you reduce gaps at cabinet fixed edges, locking joints can stress, and the floor can peak or buckle.
Mandatory data table: “Movement management” by installation approach
How Flooring Type Drives Expansion-Gap Planning Around Cabinets
| # | Installation type | Movement allowed | Gap priority near toe-kick | Common spacer goal | Best for tight access |
|---|---|---|---|---|---|
| ★ | Solid hardwood, nail-down | Limited (movement is managed via perimeter) | High—don’t pinch at cabinet bases | Manufacturer-specified perimeter gap | ★★★☆☆ |
| ★ | Engineered nail-down | Moderate (more dimensional stability) | High—follow exact gap at fixed boundaries | Manufacturer-specified perimeter gap | ★★★☆☆ |
| ★ | Engineered click-lock (floating) | High (system must expand/contract) | Very high—never “lock” into cabinet edges | Manufacturer-specified clearance at walls + fixed objects | ★★☆☆☆ |
| ★ | Engineered glue-down | Low (movement is reduced by bonding) | Medium—still requires perimeter clearance for wood behavior | Manufacturer-specified perimeter gap | ★★★☆☆ |
(Note: “Common spacer goal” is expressed as the manufacturer-specified clearance because the exact number varies by product. Use your installation manual or product specification sheet.)
Cut planks to fit around cabinets cleanly
When cabinets stay in place, your cuts need to be both tight-looking and movement-friendly. That means precision at the toe-kick profile plus a deliberate buffer at the required expansion gap so the floor can slide as conditions change.
– Use a straightedge and painter’s tape to guide cuts; keep cuts consistent along the cabinet run to avoid visible steps.
– For toe-kick areas, remove any loose base filler/trim if possible so the plank sits flat and you can preserve the required gap.
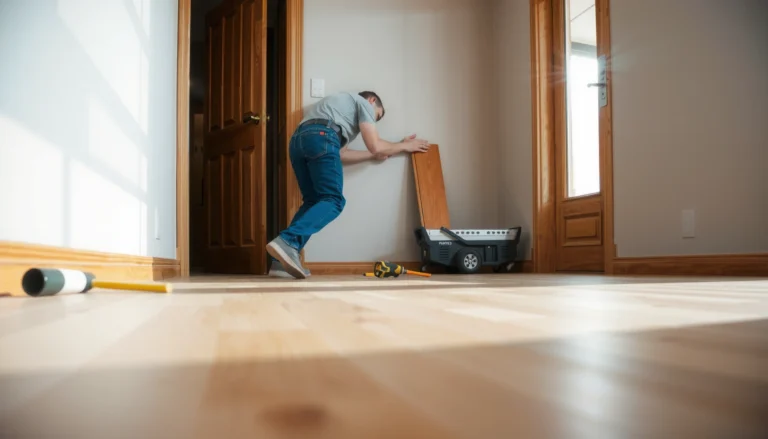
– Dry-fit several rows (especially near corners) so you don’t end up with gaps, rocking boards, or boards that bind when the floor expands/contracts.
Straightedge + tape layout helps you cut repeatable notches at toe-kick lines, which reduces “wave” edges that become visible after installation and traffic.
Removing loose filler trim (when permitted) can prevent uneven bearing—an uneven toe-kick area often creates rocking planks even if your cut lines are accurate.
Dry-fitting multiple rows around corners is one of the highest-value steps because it reveals whether the floor binds when the boards meet cabinet bases.
Cutting strategy that minimizes rework
1. Make a cut template from scrap. Mark the toe-kick clearance line using your required expansion gap, then transfer that outline to a scrap plank and test-fit.
2. Measure “reality,” not just the tape measure. Cabinets can be out of square. Use multiple measurements along the run (front edge to cabinet base and along the side walls).
3. Account for plank locking/installation mechanics. If you have a click-lock system, remember that engagement requires clearances at the joint; don’t assume the “edge of plank” is the actual “edge of joint.”
4. Preserve expansion paths. In most installations, you should not fill the perimeter gap with rigid materials that prevent movement (including full-width wedges or expanding foam). Follow the manual’s allowed sealing method instead.
Tools and technique (practical, not hype)
– A straightedge + utility knife can score certain engineered planks before a controlled break (varies by product).
– A table saw or miter saw works best for straight runs.
– For toe-kick notches, use a jigsaw or oscillating multi-tool to shape internal curves and step cuts with controlled passes.
– Keep a spare blade handy; dull blades burn or chip hardwood edges, which becomes obvious at the cabinet line.
[ADD: If you want, insert the specific tools you used (table saw vs. miter saw, blade type, and jigsaw blade spec) and your results.]
Handle expansion gaps and transitions where wood can’t move
The cleanest look around fixed cabinets comes from managing the required expansion gaps and using transitions or trim to finish edges—not by forcing the flooring to lock into immovable spaces. Done correctly, the floor stays flat and you avoid seasonal peaking or separation at seams.
– Maintain expansion gaps at all fixed boundaries (walls, cabinet framing, posts), not just at the perimeter.
– Plan transitions: use matching reducer/transition strips where needed instead of forcing a plank to “lock” into an immovable pocket.
– Where you’re sealing around cabinet edges, use an approach that won’t trap moisture or prevent movement (often limited caulk at the right locations, per the flooring manual). [ADD: source for whether your flooring allows caulk at cabinet-to-floor gaps]
Perimeter clearance must be maintained around walls and cabinet framing because hardwood movement is not limited to the outer room edge.
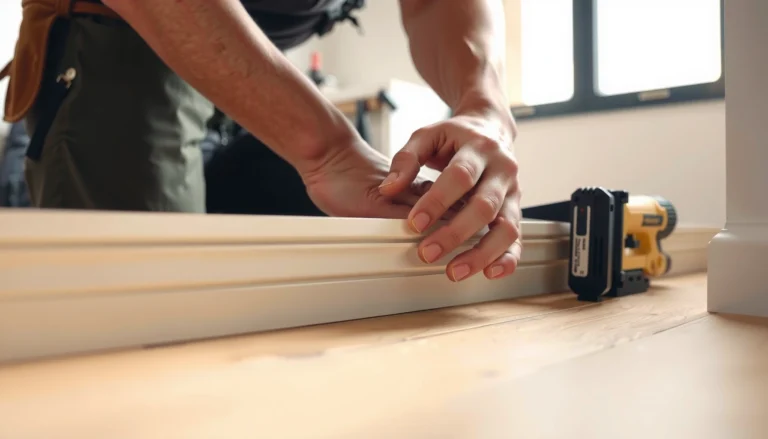
Transitions (reducers and transition strips) let you finish the floor without forcing locking joints to bind against immovable cabinet structures.
Whether you can caulk depends on the flooring system; you should only use sealants in locations that your manufacturer explicitly allows so you don’t restrict expansion.
Where homeowners commonly seal too aggressively
In kitchens, people often want to “waterproof” the toe-kick line. The risk is that broad sealing or rigid gap-filling materials can prevent the plank from sliding through its seasonal movement cycle.
– If your manual allows caulk, it usually specifies limited use and a location that doesn’t create a rigid bridge across the expansion zone.
[ADD: source for whether your flooring allows caulk at cabinet-to-floor gaps]
– If the manual doesn’t allow caulk in those zones, your best route is trim/cover transitions that hide the gap while keeping movement free.
Build intentional transitions
Where flooring meets:
– a doorway,
– an island that behaves like a fixed boundary,
– an uneven cabinet base line,
use the appropriate transition hardware rather than relying on a plank end to “solve” the geometry.
What can go wrong (and how to avoid it)
Most failures around cabinet layouts come from skipped movement planning or from forcing planks into tight pockets. When you see peaking, seam gaps, or a toe-kick line that won’t sit flat, the cause is usually traceable to one controllable step.
– Buckling or peaking boards: usually caused by missing expansion gaps or planks squeezed tight against cabinet structures.
– Uneven fit at the toe-kick: happens when the subfloor isn’t flat or the cabinet base isn’t consistent; address subfloor issues before installing hardwood.
– Gaps at seams: can result from incorrect plank alignment, lack of stagger, or inadequate acclimation—follow the manufacturer’s acclimation guidance. [ADD: source for your flooring’s acclimation requirements]
Buckling and peaking typically indicate the flooring has been restrained where it must move—expansion gaps at fixed boundaries are the primary preventive factor.
If boards rock at the toe-kick line, the problem often isn’t the plank—it’s subfloor flatness or cabinet-base variation that causes poor bearing.
Seam gaps correlate strongly with acclimation and installation accuracy because hardwood width changes with humidity, which can stress locking joints.
A short “diagnose it fast” mindset
– Peaks near cabinet runs: check for contact at the toe-kick line (no gap where the plank needs to move).
– Visible steps along a cabinet line: repeated cut inconsistency (one height/angle error carried across rows).
– Seams opening unevenly: acclimation mismatch or stagger/alignment errors during installation.
[ADD: source for your specific flooring’s acclimation requirements and any target RH/temperature ranges, if listed.]
Verdict: do it yourself carefully, or call a pro for tight cabinets
If the cabinets are staying and you’re comfortable with careful measuring, straight cutting, and strict expansion-gap planning, you can do this as a DIY project. However, if the cabinet layout is irregular, the toe-kicks vary in height, or you’re installing a nail-down system where access is limited, hiring a flooring installer can reduce the risk of irreversible mistakes.
That said, DIY still has downsides:
– Cutting precisely around toe-kicks is time-consuming and easy to get wrong without a test-fit routine.
– Mis-managing expansion gaps can lead to buckling or seam separation that’s expensive to correct.
Skip this DIY route if:
– you can’t confirm your product’s required expansion gap,
– the subfloor isn’t acceptably flat,
– the toe-kick lines are severely out of plane and you can’t correct the condition.
Quick checklist for installing hardwood around cabinets
– [ ] Confirm your hardwood type (nail-down / engineered / floating) and follow the manufacturer instructions
– [ ] Measure layout and mark cut lines on tape + test with a scrap board
– [ ] Maintain required expansion gaps at cabinet edges and other fixed boundaries
– [ ] Verify subfloor is flat and clean before installing any planks
– [ ] Dry-fit rows to avoid slivers, rocking boards, and seam misalignment
– [ ] Use the correct transitions/reducers instead of forcing boards into fixed areas
FAQ
Can I install hardwood directly up to cabinet frames?
Usually you should keep expansion gaps and avoid locking the floor against fixed cabinet framing. Use the flooring manufacturer’s instructions for the correct gap and whether any sealing method is allowed. [ADD: source for your flooring’s guidance]
Fixed cabinet frames are still fixed boundaries, so hardwood needs clearance for seasonal movement even when the floor edge looks “close.”
What tools do I need for cutting around toe-kicks?
Common options include a table saw/miter saw for straight cuts and an appropriate jigsaw/oscillating tool setup for notches. The key is accuracy and repeatability—test cuts first.
Toe-kick areas usually require controlled notch cutting, so a jig saw or oscillating tool with a suitable blade reduces chipping and helps you match the cabinet profile.
Should I remove toe-kicks to make the fit easier?
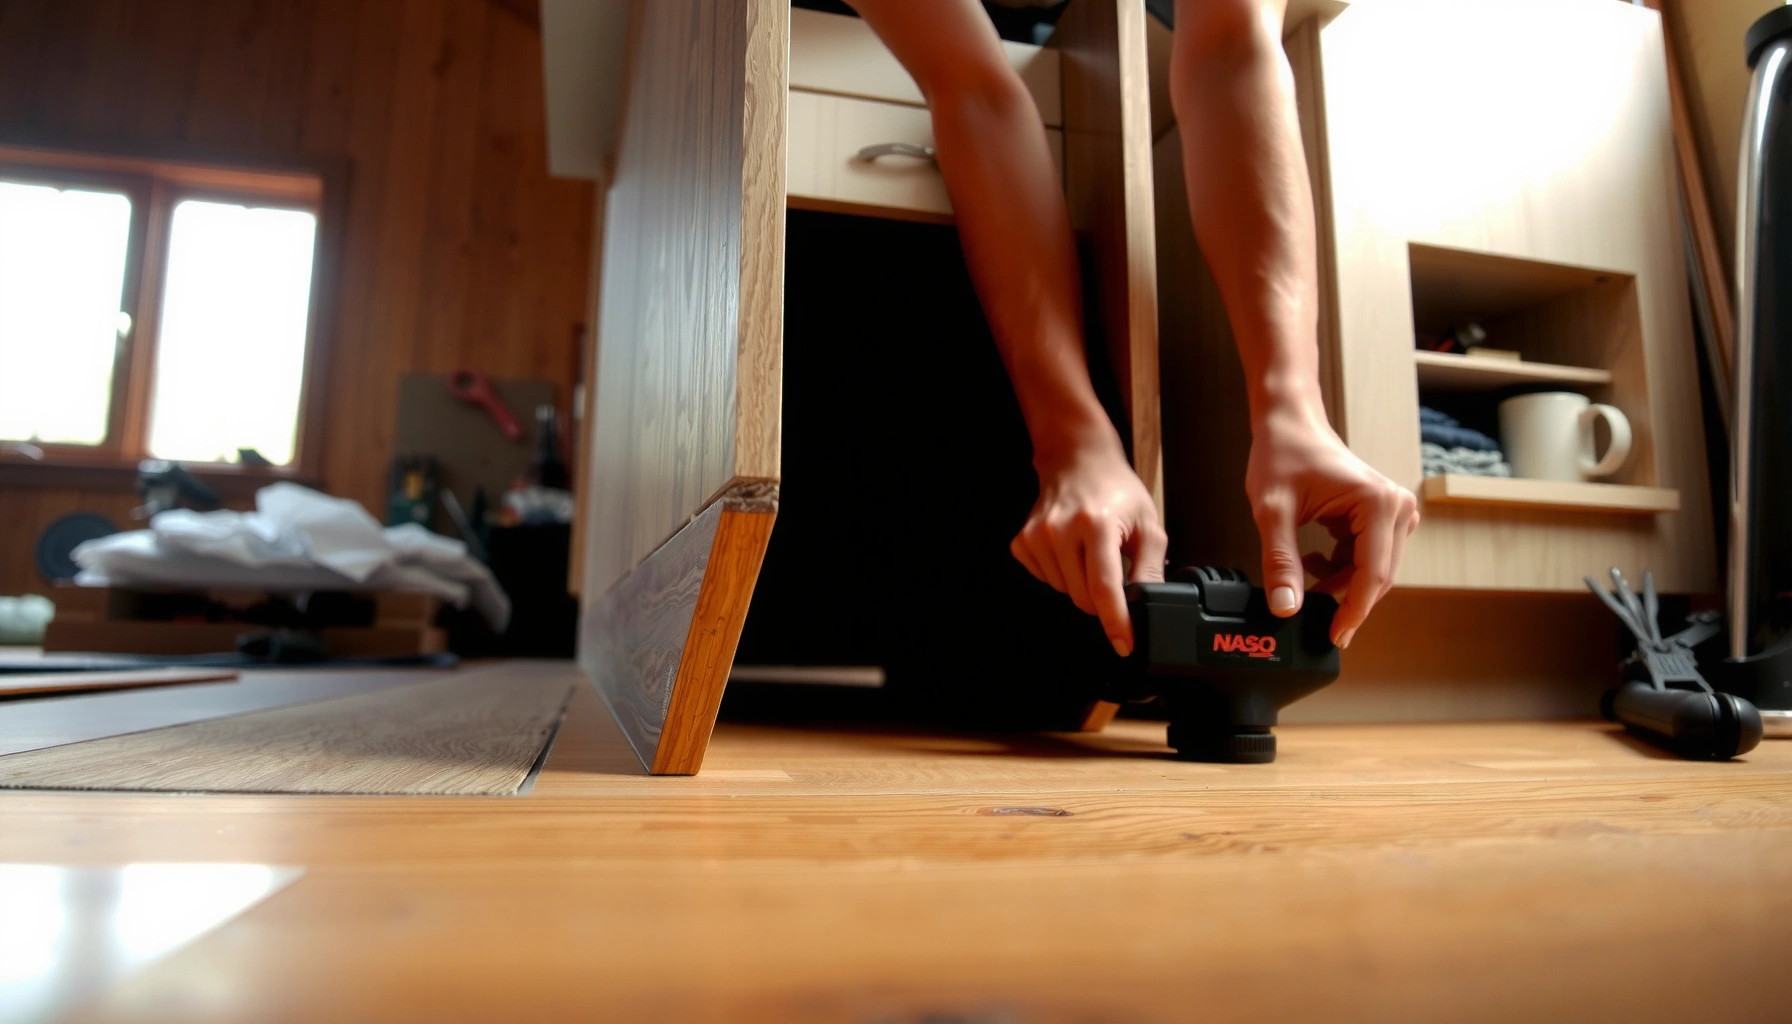
Often it’s helpful if the toe-kick is easily removable and won’t damage the cabinet. If you can’t remove it, plan to cut the planks precisely for the toe-kick profile and keep the expansion gap.
When toe-kicks can be removed safely, you can often achieve a cleaner, flatter plank fit—while still preserving the required clearance for expansion.
Will floating floors still need an expansion gap around cabinets?
Yes. Floating floors must be able to move, so fixed cabinet edges still require proper clearance per the manufacturer’s specs. [ADD: source for your product’s gap requirement]
Floating systems still rely on perimeter clearance; eliminating cabinet-edge gaps can create restriction that turns seasonal movement into buckling stress.
Is there a better finishing method than caulking around cabinets?
It depends on the flooring manual. Many installations use trim/transition pieces and limited sealing only where it won’t restrict movement—check your manufacturer guidance. [ADD: source for your flooring’s sealing recommendations]
Trim or transition reducers generally provide a cleaner finish than filling expansion space because they hide gaps without creating rigid constraints.
Sources
– [ADD: your hardwood flooring manufacturer’s installation instructions—especially expansion gap size, acclimation, underlayment (if engineered/floating), and sealing/calking guidance]
– [ADD: subfloor flatness guidance from the same manufacturer or the relevant product specification sheet]
– [ADD: any official guidance from the flooring system manufacturer for cutting/notching rules near fixed objects]
– National Wood Flooring Association (NWFA) installation guidance (for general principles on expansion and installation best practices)
Doing hardwood around installed cabinets is absolutely doable, but success depends on disciplined movement planning, careful toe-kick cutting, and finishing that doesn’t restrain the floor. Measure twice, dry-fit early, follow your product’s expansion gap and acclimation requirements, and use transitions/trim for a “finished” look. If the cabinet geometry is complex or you can’t verify the exact rules for your flooring, a professional install can save you time—and prevent costly board replacement.
Frequently Asked Questions
How do you install hardwood floors around kitchen cabinets without removing them?
Plan your layout so you install the hardwood first up to the cabinet toe-kick area, then work around the cabinet frames. Use a jamb saw or oscillating tool to carefully cut door jambs and cabinet edges so the flooring can slide underneath for a clean look. If you’re working with nailed or staple-down hardwood, you’ll typically nail only in the open areas and leave the cabinet-protected zones flat and supported.
What’s the best way to handle the gap between hardwood flooring and cabinet bases?
Leave the required expansion gap around all fixed surfaces, including cabinet bases and walls, using spacers during installation. For a finished transition, you can cover the gap with matching trim or quarter round (especially at the toe-kick line) rather than forcing boards to fit tightly. This keeps the hardwood floor safe from buckling and reduces moisture-related movement near the kitchen cabinet area.
Which hardwood installation method works best when flooring goes under cabinets—nail-down, glue-down, or floating?
Floating engineered hardwood is often the easiest for installing around cabinets because it can be installed as a continuous field and allowed to “float” with expansion. Glue-down engineered hardwood can work well too, but you must ensure proper subfloor prep and follow manufacturer instructions around fixed cabinetry. Nail-down solid hardwood can be done, but you need careful cutting and fastening near cabinet legs or consider whether you’ll be able to nail safely without interfering with cabinet structures.
How do you cut and fit hardwood planks around cabinet posts, islands, and uneven toe kicks?
Take precise measurements from multiple points—cabinet walls and toe kicks are frequently not perfectly square. Use a template or cardboard pattern for each obstacle, then cut planks to fit snugly while maintaining the expansion gap at the edges. For uneven toe kicks, consider using a toe-kick template and leave the correct clearance so boards don’t pinch as the hardwood expands.
Why is it important to leave expansion space and use the right transition details near cabinets?
Hardwood flooring expands and contracts with seasonal humidity, and cabinets are fixed in place, so no-growth contact can cause buckling or gaps. By leaving an expansion gap and using trim, caulk lines where appropriate, or transition strips at thresholds, you allow movement while keeping the installation looking professional. Following the flooring manufacturer’s specified clearance ensures your hardwood around cabinets stays stable and avoids long-term damage.
📅 Last Updated: October 07, 2026 | Topic: How to install around cabinets hardwood floors? | Content verified for accuracy and freshness.
References
- Google Scholar Google Scholar
https://scholar.google.com/scholar?q=installing+hardwood+flooring+around+cabinets - Google Scholar Google Scholar
https://scholar.google.com/scholar?q=hardwood+floor+installation+cabinet+base+leave+expansion+gap - Google Scholar Google Scholar
https://scholar.google.com/scholar?q=nail-down+hardwood+flooring+installation+around+cabinets+undercut+trim - Wood flooring
https://en.wikipedia.org/wiki/Hardwood_flooring - Flooring
https://en.wikipedia.org/wiki/Flooring - https://www.fpl.fs.usda.gov/documnts/fplgtr/fpl_gtr190.pdf
- https://www.cdc.gov/niosh/topics/wooddust/
- https://www.epa.gov/indoor-air-quality-iaq/what-you-need-know-about-hardwood-flooring
- https://www.britannica.com/technology/flooring
- https://pubmed.ncbi.nlm.nih.gov/?term=hardwood+flooring+installation+indoor+air+quality