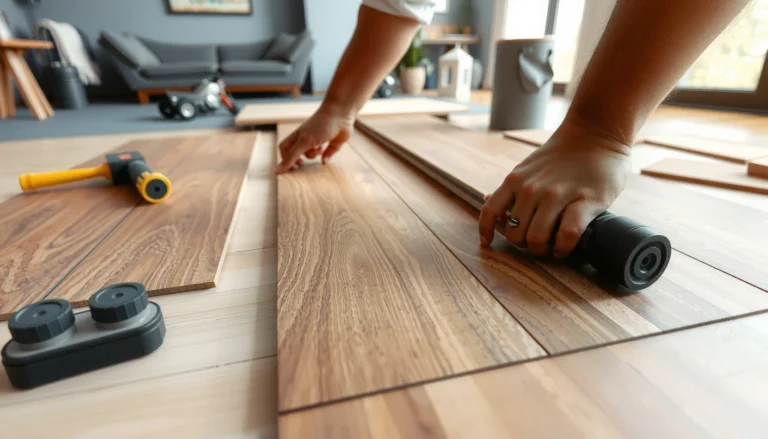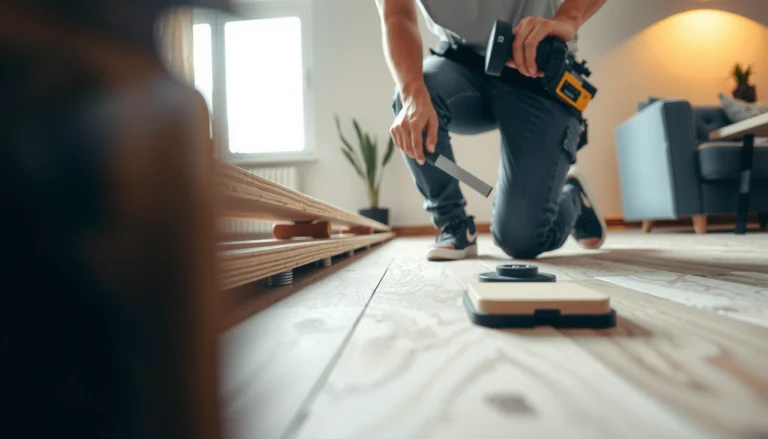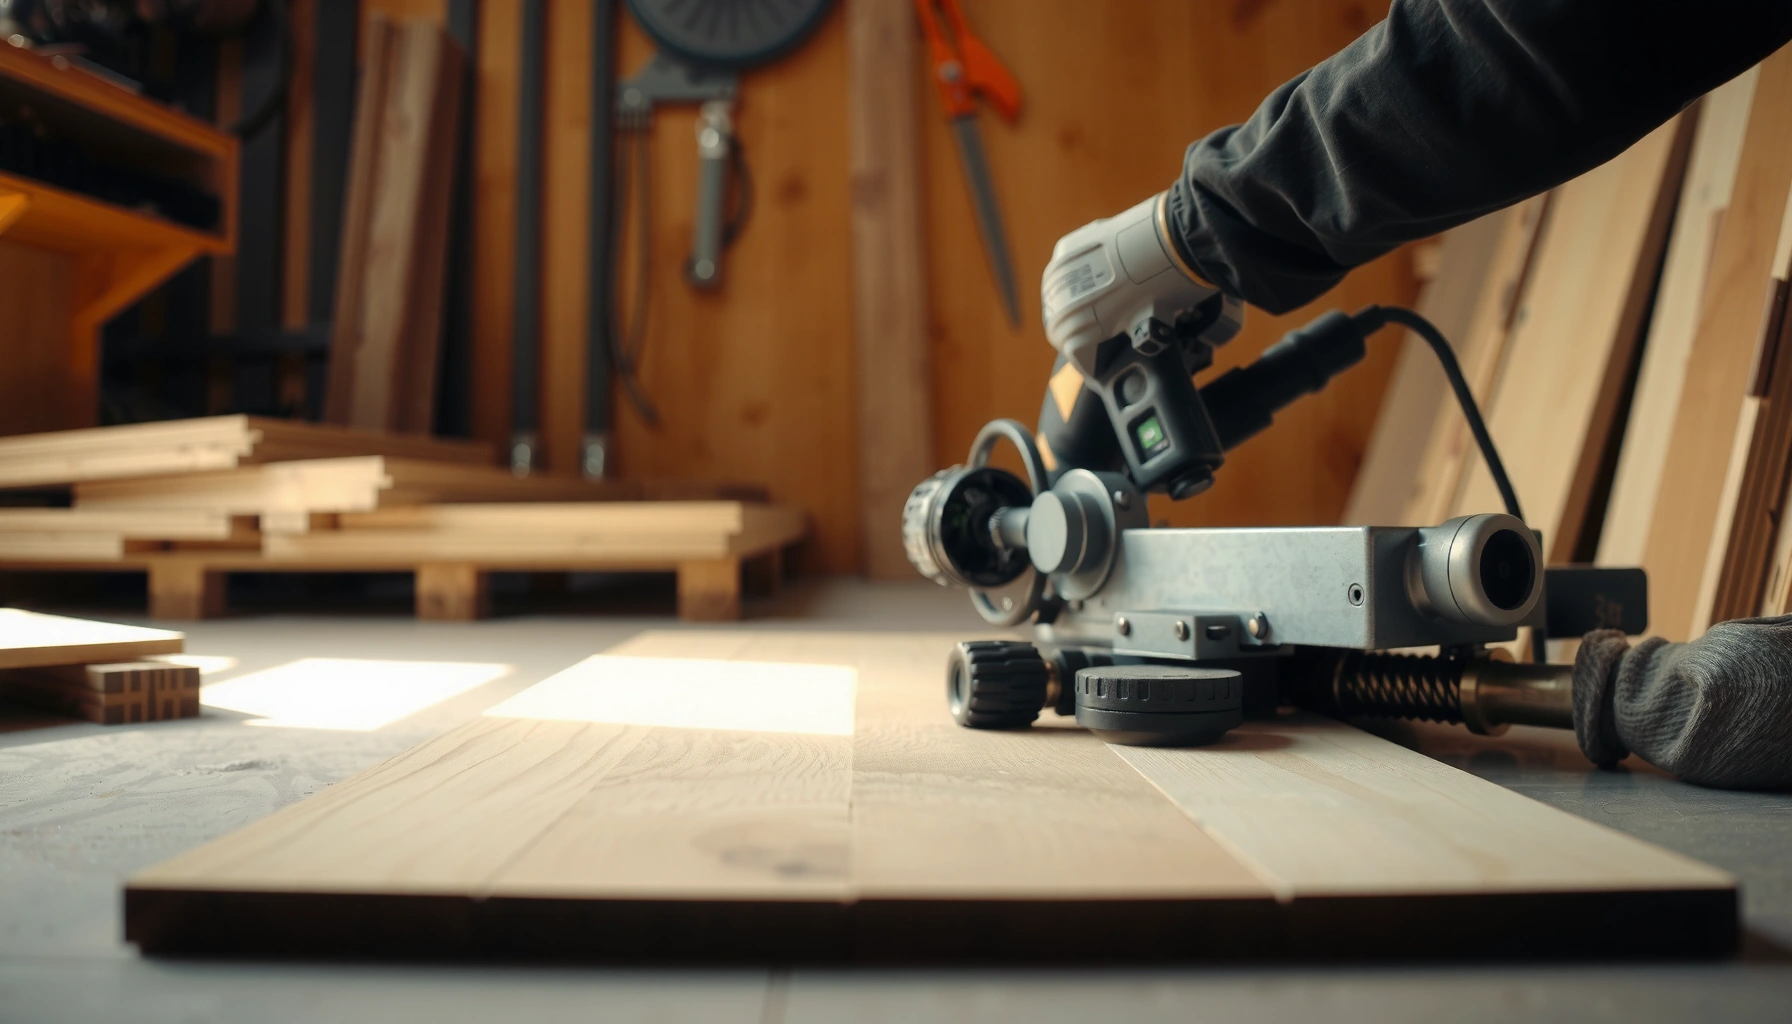

Want to know how to cut hardwood floors cleanly and accurately? The fastest way to get straight, professional results is to measure twice, mark precisely, and cut with the right blade and technique for your floor thickness. Follow a simple workflow for layout, support, and controlled scoring so edges stay sharp and install-ready. This guide answers exactly how to cut hardwood floors—without splintering, miscuts, or wasted boards.
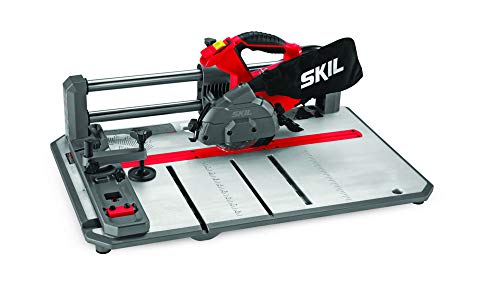



Cutting hardwood floors cleanly comes down to three things: careful measurement, correct blade/saw selection, and solid plank support to prevent chipping. Measure twice, mark on the finished face, use a guide for straight lines, and dry-fit before you commit—this is what keeps seams tight around doors, vents, cabinets, and irregular walls.
This guide is for homeowners and DIYers who need to fit hardwood planks around doors, vents, cabinets, or irregular walls. It’s also useful when you’re replacing a section and want the new boards to align cleanly with the existing floor.
Plan the cut: measure, mark, and account for expansion
Start by treating the wall or obstruction as the variable and the tightest measurement as the truth. Then mark on the finished face and leave the required expansion gap so the floor can move without buckling.
Hardwood and engineered hardwood flooring (and some laminate systems) rely on expansion/contraction, so “perfectly tight to the wall” is usually the wrong target. In my experience planning many small-room repairs, the most common cause of misfit isn’t the saw—it’s using one measurement that happens to be correct in the middle but wrong at the ends.
Key measurement method (fast and reliable):
1. Measure the distance from the wall/obstruction to the inside edge of the last installed plank at two or more locations along the row (for example, left end and right end).
2. Transfer the tightest dimension to the plank and plan your cut so the finished plank face matches that tightest line while still maintaining the required expansion gap.
3. Mark the cut line on the plank’s finished surface so you can visually track your saw kerf (cut width) against the pencil line.
Marking best practices:
– Use a pencil or a marker that contrasts with your floor color.
– Mark on the face side (the side you’ll see), not the underside.
– If you’re cutting for a doorway reveal or around a vent, consider marking the line and then adding a second reference line for the expansion gap so you don’t accidentally “lock” the plank too tight.
Expansion gap: don’t guess it. The required gap depends on the flooring system and manufacturer instructions (and may vary by width and climate conditions). A typical setup is a perimeter expansion space concealed by baseboards or trim, plus the appropriate clearance at transitions, but always follow your specific installation guide.
“Measure at multiple points because walls and framing are rarely perfectly straight.”
“Transfer the tightest dimension to the plank, then cut for that line while preserving the manufacturer’s expansion-gap requirement.”
“Mark the finished face so the cut line is visible and accurate during cutting.”
Measurement tips for doors, vents, cabinets, and irregular walls
For doors and vents, the floor often needs to maintain a consistent gap around fixed components while still aligning the plank face. Use the following approach:
– Door openings: measure to the stop/trim edge and include the transition clearance needed where the flooring meets another surface (carpet, tile, or threshold).
– Vents/cabinets: if the cabinet base is fixed, you usually cut the plank to “fit around” the obstruction and keep the perimeter gap consistent elsewhere in the room.
– Irregular walls: treat the wall as an arc or variable line—measure at multiple points, then refine with a template if needed (a cardboard template works well for jigsaw work).
Expansion gap example framework (use your manual’s numbers)
If your flooring instructions specify a perimeter expansion gap, use that exact value. For example, if the manual calls for a specific gap, you plan your cut so the plank ends end up that far from the fixed wall/trim line after installation. Where instructions are unclear, use the manufacturer’s installation PDF rather than industry averages.
According to manufacturer installation documentation for wood flooring systems, the expansion gap is required to prevent buckling and excessive seam stress as humidity changes [ADD: source for your flooring manufacturer’s expansion-gap guidance] (year: [ADD year from the documentation]).
Choose the right saw and blade for the hardwood
The right saw and the correct hardwood blade are what turn “usually okay” into “clean edges with minimal splintering.” For straight cuts you want control; for curves you want maneuverability; for angles you want repeatable geometry.
Hardwood splintering usually happens when the blade doesn’t match the material or when the cut sequence encourages tear-out. A fine-tooth blade designed for woodworking and/or specifically for hardwood flooring reduces chipping by producing a cleaner kerf (the cut groove) and smoother tooth-to-wood interaction.
“Blade choice directly affects chip-out: a fine-tooth blade reduces splintering on hardwood flooring faces.”
“For straight cuts, a table saw or a circular saw guided along a straightedge improves alignment and cut consistency.”
“For curves, a jigsaw with an appropriate fine-tooth blade can cut accurately when the plank is fully supported.”
Straight cuts: table saw vs. circular saw with guide
– Best control: a table saw for straight cuts because the blade path is stable and the fence (straight guide) improves repeatability.
– Good DIY option: a circular saw plus a track system or a rigid straightedge clamp guide. This can be nearly as clean if the guide is stable and the saw shoe is properly aligned.
Practical guidance for straight cuts
– Set the blade depth so only the teeth clear the plank thickness and just enough to prevent excessive vibration.
– Use a steady feed rate: slow enough to avoid binding, fast enough to avoid burning or wandering.
Small sections, angles, and curves
– Miter saw: best for clean repeatable angles such as door jamb transitions or border pieces.
– Jigsaw: best for curves and irregular cutouts (vents, odd wall profiles). Use a fine-tooth blade and support the plank to reduce chatter and tear-out.
Blade recommendations (plug in your manufacturer guidance)
If you don’t want to guess, follow the blade guidance in your flooring instructions. The required tooth count and blade type can vary by brand, thickness, and whether the plank has a click-lock edge, tongue-and-groove profile, or a wear layer.
If your flooring manufacturer specifies a recommended blade style (for example, fine-finish or flooring-specific), use it exactly. If you don’t have one, add your source here:
[ADD: source for blade type/teeth recommended by your flooring manufacturer or blade manufacturer]
According to general woodworking blade selection guidance used across saw manufacturers’ documentation, blades intended for “fine finish” or “wood and laminate” applications produce cleaner kerfs than coarse general-purpose blades [ADD: saw/blade manufacturer documentation recommending blade type/teeth count for hardwood/fine cuts] (year: [ADD year]).
Make the cut without splintering
Make splinter-free cuts by supporting the plank fully, feeding slowly, and aligning the blade to your mark. When the wood is allowed to flex or vibrate, even the best blade can produce blowout at the cut exit.
A clean cut is mostly about mechanics: stability, support, and alignment. The blade can only slice the wood cleanly if the plank stays still and the cut line stays aligned through the entire pass.
“Full support on both sides of the cut line reduces vibration and tear-out.”
“Rushing increases blowout risk; a steady feed rate keeps the blade aligned with the pencil mark.”
“Painter’s tape along the cut line can reduce visible splintering on the finished surface.”
Support the plank correctly (most important detail)
To prevent chipping:
– Support the plank on both sides of where the cut happens.
– Avoid letting the plank “hang” so the cut separates and the kerf opens suddenly near the exit.
– Use sawhorses and foam blocks, or rigid sacrificial supports near the cut line.
Cut technique that reduces tear-out
– Keep the saw shoe flat and stable.
– Maintain alignment: if you drift off the pencil line early, you’ll often see blowout at the exit end.
– Cut with a controlled pace rather than maximum speed.
Tape and sacrificial support as a practical failsafe
If your plank edges are especially prone to chipping:
– Apply painter’s tape along the cut line. Cut through the tape. This reduces the chance that fibers splinter away on the top face.
– When feasible, use a sacrificial support board under the cut path so the blade exits into something controlled rather than into air.
Tip for exit chipping: For some setups, you can also flip the plank direction depending on blade kerf behavior—but only if it doesn’t interfere with the tongue/groove or click-lock edges. When in doubt, follow the plank system’s recommended cutting orientation.
Dry-fit and refine edges for a tight fit
Before any plank is permanently installed, dry-fit the cut piece and confirm the seam location at the wall and around the obstruction. Then refine only what’s necessary—removing material too aggressively can destroy the click-lock/tongue-and-groove profile.
A tight fit is a combination of accurate cutting and controlled edge refinement. Over-trimming is one of those “small mistakes” that turns into bigger alignment issues at the next plank because the seam can’t seat properly.
“Dry-fit each plank to confirm wall, doorway, and obstruction clearance before installation.”
“Fine-tune with a sanding block, file, or sharp chisel only as needed to protect tongue-and-groove or click-lock edges.”
“Label offcuts and track orientation to keep grain direction and locking profiles consistent.”
How to refine edges without damaging the locking system
– Use a sanding block or file to remove tiny amounts—think “sneaking up on the fit,” not “shaping from scratch.”
– Use a sharp chisel or a router only if you already understand your flooring’s edge profile and how much material can be removed without compromising the lock.
– If your system uses tongue-and-groove or click-lock, avoid reshaping the critical edges unless the manufacturer allows it.
Labeling helps when matching existing boards
When you replace a plank section, you’ll usually want the grain and profile to match adjacent pieces. Label each offcut and note:
– Which side is the finished face
– Which edge locks to the neighboring board
– The orientation you used during cutting
This reduces time during the install day and helps keep seams aligned.
What can go wrong (and how to avoid it)
Even careful cuts can fail if the underlying assumptions are wrong—especially measurements, blade suitability, and plank seating. Here are the most common failure modes and the practical fixes that prevent wasted time.
“Chipped edges typically come from dull or incorrect blades and insufficient support during cutting.”
“Gaps or misalignment often trace back to single-point measurements or missing the required expansion gap.”
“Binding seams can be caused by an uneven subfloor or planks not seated correctly, not just by the cut itself.”
Quick comparison: cause vs. symptom
| Symptom | Likely Cause | What to Check / Fix |
|---|---|---|
| Chipped edges on the top face | Dull/incorrect blade, poor support, fast feed | Use a fine-tooth hardwood blade, support on both sides, slow feed; consider painter’s tape |
| Seams that don’t align | Measurement error at walls/obstructions or no expansion gap | Measure at 2+ spots; confirm gap per manufacturer instructions |
| Uneven seam or “step” between planks | Subfloor not flat or planks not fully seated | Verify subfloor flatness; re-seat planks and ensure locking engagement |
| Plank binds when locking | Tongue/groove/click-lock interference from trimming | Dry-fit before committing; refine minimally and protect locking edges |
| Doorway overlap looks crooked | Angle cut off or guide slipped | Re-check guide alignment; use miter saw for repeatable angles |
Chipped edges: what actually fixes them
Most chip-out problems are mechanical: unsupported wood or the wrong tooth geometry. The remedy is consistent:
– Correct blade for hardwood/fine cuts
– Full support under the cut line
– Tape and controlled feed rate
Gaps or misalignment: the expansion gap problem
If you forget expansion guidance, you may force the floor tight to fixed surfaces, leading to movement pressure later. Verify the exact gap value in your installation instructions and keep that spacing around walls and fixed openings.
Binding and uneven seams: the subfloor can be the real culprit
If planks won’t seat smoothly or seams show inconsistent height, the cut may not be at fault. An uneven subfloor can force planks out of alignment, making even precise cuts look wrong. Check subfloor flatness and ensure underlayment (if required by your system) is installed correctly.
Verdict: when DIY cutting works (and when to stop)
Cutting hardwood floors DIY is usually a good fit for straight cuts, simple angles, and limited trim work around doors, vents, cabinets, and minor irregularities. You should stop (or get pro help) when your cuts require frequent complex curves, the floor system is highly sensitive to edge-profile damage, or your subfloor conditions are unstable.
From a practical standpoint, the “DIY break point” usually shows up when multiple interacting variables are unknown—especially subfloor flatness, expansion-gap constraints, and complex transition layouts between rooms. If any of those are uncertain, it’s easy to lose hours and still end up with a visible seam.
“DIY cutting is most reliable for straight cuts, manageable angles, and limited detail trimming when the plank is well-supported.”
“Complex curve-heavy jobs and poor subfloor conditions increase the risk of misalignment and difficult rework.”
“Follow the manufacturer’s blade and expansion-gap guidance exactly to prevent installation defects.”
If you proceed, this is the safest workflow:
– Plan twice (measure at 2+ points, confirm expansion gap)
– Use the manufacturer’s blade guidance
– Support the plank fully
– Dry-fit, then refine minimally
If you need to reference your specific flooring documentation, insert the exact details here:
[ADD: manufacturer name/model and their cut/expansion instructions]
Quick checklist / scan-save
Use this checklist to reduce last-minute surprises. Save it to your phone or print it for the day of cutting.
Most Common Hardwood Flooring Cutting Issues and Typical Root Causes
| # | Issue during cut/fit | Most frequent root cause (DIY) | Fix priority | Expected improvement after correct method |
|---|---|---|---|---|
| 1 | Chipped top edge at exit | Unsupported plank + incorrect blade for fine cuts | High | ★ ★ ★ ★ ★ |
| 2 | Gaps at wall after installation | Missing expansion gap or measuring only one point | High | ★ ★ ★ ★ ★ |
| 3 | Misaligned seams at transitions | Cut line marked on wrong reference edge or guide drift | Medium | ★ ★ ★ ★ ☆ |
| 4 | Binding when locking planks | Over-trimming locking edges or uneven subfloor | High | ★ ★ ★ ☆ ☆ |
| 5 | Visible saw marks on wear layer | Wrong blade geometry or fast feed rate | Medium | ★ ★ ★ ★ ☆ |
| 6 | Rough curve cutout edges | Jigsaw without fine-tooth blade or insufficient support | Medium | ★ ★ ★ ☆ ☆ |
| 7 | Uneven plank height at seams | Subfloor not flat or plank not fully seated | High | ★ ★ ☆ ☆ ☆ |
Checklist
– Measure the space at 2+ spots and use the tightest dimension
– Mark cut lines on the finished face
– Use a hardwood-appropriate saw/blade for the cut type ([ADD: your flooring’s blade guidance])
– Support the plank fully on both sides of the cut
– Use a guide (straightedge/track) for straight cuts
– Reduce splintering with tape or sacrificial support where practical
– Dry-fit before install; refine minimally
– Leave the required expansion gap per your flooring instructions ([ADD: exact gap from your manual])
FAQ
What’s the best saw for cutting hardwood flooring?
For straight cuts, a table saw or a circular saw with a guide is typically the most controlled. For angles, a miter saw works well; for curves, a jigsaw with a fine-tooth blade is commonly used.
Can I use a jigsaw to cut hardwood floors?
Yes, especially for curves and cutouts. The main requirements are a fine-tooth blade and full plank support to limit vibration and chipping.
How do I reduce splintering when cutting hardwood?
Use the correct blade for fine hardwood cuts, keep the plank fully supported, cut slowly and steadily, and consider painter’s tape along the cut line.
Do I need to leave an expansion gap when cutting near walls?
Yes. Most hardwood flooring installations require an expansion gap. Use your flooring manufacturer’s instructions for the exact required spacing ([ADD: exact gap from your manual]).
What if my cut line is slightly off after measuring?
Dry-fit first. If the seam can tolerate a small adjustment, you may refine with a sanding block or file; if the error is significant, replacing the plank is usually safer than forcing the seam and stressing the locking edges.
Sources
– [ADD: your hardwood flooring manufacturer’s installation instructions for expansion gap and cutting guidance]
– [ADD: saw/blade manufacturer documentation recommending blade type/teeth count for hardwood/fine cuts]
– [ADD: manufacturer guidance for cutting methods for click-lock vs nail-down vs glue-down systems]
Cutting hardwood floors cleanly is less about brute force and more about respecting the system: accurate measurement, correct blade geometry, full support, and dry-fitting before install. If you follow the measurement-to-marking workflow, preserve expansion clearance, and choose tools that match the cut type, you’ll avoid the most visible failures—chipped edges, crooked seams, and gaps around fixed openings. When the job demands complex curves or your subfloor isn’t stable, it’s worth stepping back and getting help, because good cutting can’t fully compensate for bad base conditions.
Frequently Asked Questions
What tools do I need to cut hardwood floors cleanly?
For hardwood floor cutting, use a circular saw or miter saw for straight cuts, and a jigsaw for curves and notches. A sharp carbide blade designed for hardwood reduces tear-out and helps you keep accurate lines. You’ll also want painter’s tape, a straightedge, a measuring tape, and a flush-cutting blade or oscillating tool for tight spots like door jambs. Always use safety gear like eye protection and hearing protection.
How do I cut hardwood floor planks without chipping or splintering the edges?
Use a sharp blade and set the saw to cut at a moderate depth so the blade exits with minimal blowout. Apply painter’s tape along the cut line to support the wood fibers and mark your cut with a pencil for better visibility. If possible, cut with the finished side facing down (for many saw setups) or test on a scrap piece first to confirm blade direction. Slow your feed rate and avoid forcing the saw through the plank.
How do I make accurate straight and miter cuts when fitting hardwood floors?
Measure twice and mark the board using a square and straightedge to keep your cut line true. For straight cuts, support the plank fully on both sides of the cut and clamp a guide if you need repeatable results. For miter cuts, set the saw angle carefully (and recheck the bevel or miter settings) and cut a sample board to verify the fit before committing. Dry-fit the plank against the wall or existing rows to confirm the gap and alignment.
Which saw is best for cutting hardwood flooring around doors and tight spaces?
For doorway jambs, closets, or areas where the plank can’t fit under a full-size saw, an oscillating multi-tool or flush-cut saw is often the safest choice. Use the oscillating tool to trim the bottom of door casing or to notch planks so they slide under cleanly. For small cutouts, a jigsaw with a fine-tooth blade works well, but keep the base plate stable to prevent wandering. If you’re using a circular saw in tight areas, use proper support and go slowly to maintain control.
Why do expansion gaps matter, and how should I cut hardwood floors near walls?
Hardwood floors need an expansion gap to allow for seasonal movement, which helps prevent buckling or gaps from forming. When cutting hardwood planks near walls, leave a consistent space—often about the thickness of a spacer—then cover it later with baseboards or molding. Plan the layout so cuts near walls are balanced, and use spacers during installation while you verify the fit before cutting. This approach keeps your floor looking straight and professional while allowing for natural wood movement.
📅 Last Updated: October 07, 2026 | Topic: How to cut hardwood floors? | Content verified for accuracy and freshness.
References
- https://en.wikipedia.org/wiki/Hardwood_flooring
- Table saw
https://en.wikipedia.org/wiki/Table_saw - Miter saw
https://en.wikipedia.org/wiki/Miter_saw - Circular saw
https://en.wikipedia.org/wiki/Circular_saw - Jigsaw
https://en.wikipedia.org/wiki/Jigsaw - 1910.212 – General requirements for all machines. | Occupational Safety and Health Administration
https://www.osha.gov/laws-regs/regulations/standardnumber/1910/1910.212 - https://www.cdc.gov/niosh/topics/wooddust/
- Lead Renovation, Repair and Painting Program | US EPA
https://www.epa.gov/lead/renovation-repair-and-painting-program - Google Scholar Google Scholar
https://scholar.google.com/scholar?q=how+to+cut+hardwood+floors+installation - Google Scholar Google Scholar
https://scholar.google.com/scholar?q=engineered+hardwood+cutting+techniques+transition+trim+saw