To install vinyl plank flooring in your bathroom, start by gathering quality tools and moisture-resistant planks. Thoroughly clean and level the floor, then measure and plan your layout carefully. Acclimate the planks at room temperature for 48 hours. Cut each plank precisely to fit around fixtures. Lay the first row with spacers for expansion gaps, then continue row by row, staggering seams. Fit trim around edges, seal with waterproof caulk, and clean thoroughly. Following these steps guarantees a durable, professional finish—here’s how to perfect each stage.
Gather Necessary Tools and Materials
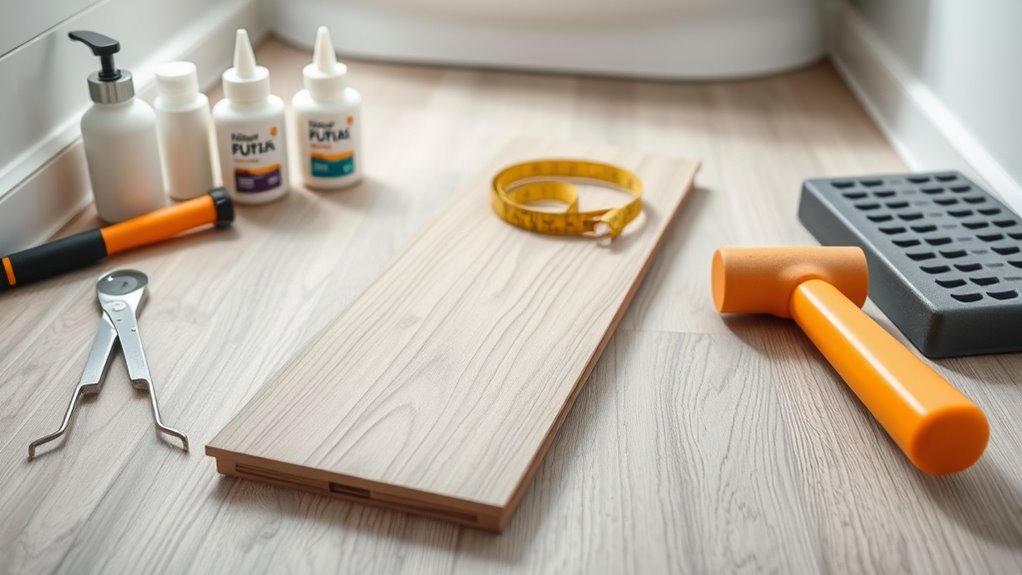
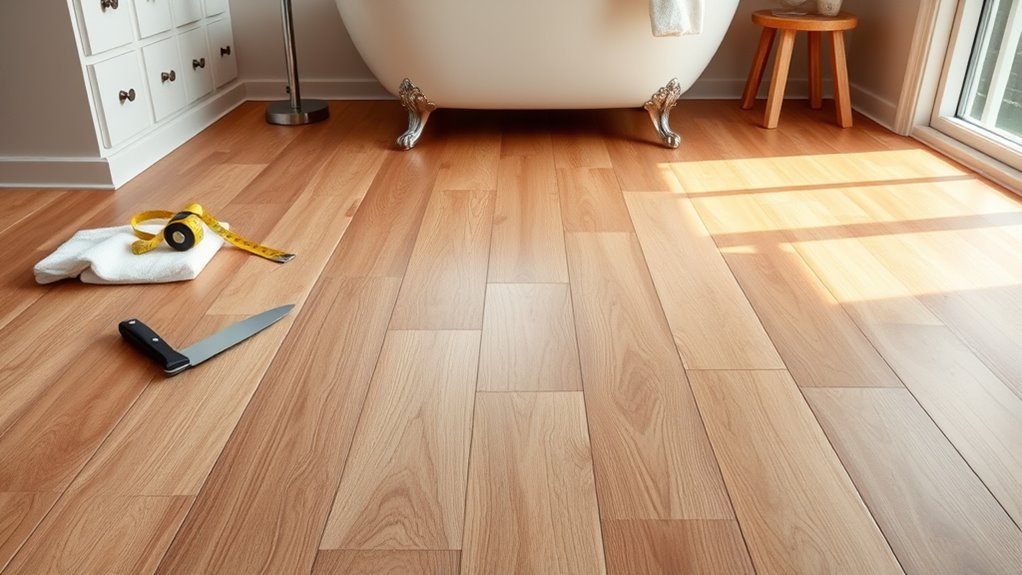
Before you begin installing vinyl plank flooring in your bathroom, you’ll need to gather all the essential tools and materials to guarantee a smooth process. Focus on precise tool selection: a utility knife, tape measure, straightedge, spacers, tapping block, and rubber mallet are crucial. Choose material types that suit bathroom conditions—water-resistant vinyl planks with a durable wear layer are ideal. You’ll also need underlayment designed for moisture control, ensuring longevity. Avoid generic tools or subpar materials that compromise your freedom from future repairs. Having these items ready keeps your work efficient and accurate, empowering you to transform your bathroom floor with confidence. Prioritize quality in both tools and materials to enjoy not just freedom in installation but lasting satisfaction.
Prepare the Bathroom Floor Surface
Since a flawless installation depends on a perfectly prepared subfloor, you’ll need to thoroughly clean and level the bathroom floor surface before laying any vinyl planks. Begin by removing all debris, dust, and residues through meticulous surface cleaning; this guarantees optimal adhesion and prevents imperfections. Next, inspect the floor for any cracks, holes, or uneven spots. Use a floor leveling compound to fill gaps and smooth irregularities, allowing it to dry fully per the manufacturer’s instructions. If your floor is concrete, check for moisture issues and address them to avoid future damage. Proper floor preparation is essential, as it provides a stable, clean foundation that assures your vinyl planks lay flat and secure, guaranteeing a durable, water-resistant bathroom floor you can enjoy freely.
Measure and Plan the Layout
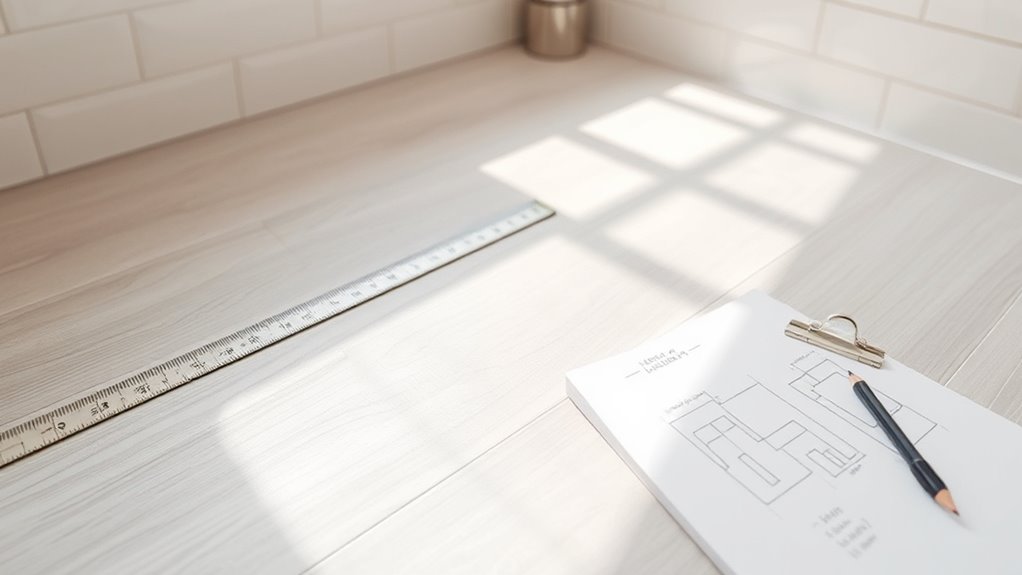
You’ll need to take accurate measurements of your bathroom floor to guarantee the vinyl planks fit perfectly without gaps or unnecessary cuts. Use a tape measure to record the length and width at multiple points, accounting for any irregularities. Then, visualize your layout by sketching a detailed floor plan or using layout software to plan plank placement and minimize waste.
Accurate Measurements Essential
Although installing vinyl plank flooring might seem straightforward, achieving a flawless fit depends entirely on taking accurate measurements and carefully planning your layout. Using reliable measurement tools like a laser measure or steel tape guarantees precision. Adopt measurement techniques such as measuring twice and recording dimensions systematically to avoid errors. Your freedom to customize hinges on these steps.
| Step | Tool Needed | Emotional Impact |
|---|---|---|
| Measure room length | Steel tape | Confidence in fit |
| Mark cut lines | Pencil & ruler | Control over outcome |
| Double-check angles | Protractor | Assurance & freedom |
Mastering these will save time, reduce waste, and assure your bathroom flooring looks flawless and feels liberating.
Layout Visualization Techniques
With accurate measurements in hand, the next step is to visualize the layout of your vinyl plank flooring to guarantee each piece aligns perfectly within your bathroom’s unique dimensions. Start by creating detailed layout sketches that map out the placement of each plank, paying close attention to corners, doorways, and fixtures. To enhance precision, utilize visualization software designed for flooring projects; this lets you experiment with patterns and plank orientation virtually, reducing errors before cutting. By combining traditional layout sketches with advanced visualization software, you gain complete control over your design, ensuring a seamless, professional finish. This methodical planning phase empowers you to execute confidently, avoiding costly mistakes and maximizing material efficiency for a bathroom floor that’s both functional and visually stunning.
Acclimate the Vinyl Planks
Before installation, you need to acclimate your vinyl planks at room temperature between 65°F and 85°F for at least 48 hours. Lay the planks flat in the bathroom or a similar environment to guarantee they adjust to the humidity and temperature. Proper acclimation prevents expansion or contraction issues after installation.
Ideal Room Temperature
Temperature plays an essential role in preparing your vinyl planks for installation in a bathroom. To guarantee the best results, maintain ideal humidity and temperature consistency in the room before laying your flooring. Here’s what you need to do:
- Keep the room temperature steady between 65°F and 85°F (18°C to 29°C).
- Avoid sudden temperature fluctuations to prevent plank warping.
- Maintain an ideal humidity level around 40-60% to prevent moisture damage.
- Use a thermostat and humidifier/dehumidifier to control the environment precisely.
Duration for Acclimation
Allow at least 48 hours for your vinyl planks to acclimate to the bathroom environment before installation. This acclimation duration is essential; it guarantees the material adjusts to the room’s temperature and humidity, preventing expansion or contraction after laying. Understanding the importance acclimation holds will save you from costly repairs and warping.
| Acclimation Duration | Room Temperature | Humidity Level |
|---|---|---|
| Minimum 48 hours | 65-85°F (18-29°C) | 30-50% |
| Ideal Conditions | Stable | Controlled |
| Outcome | Material stability | Prevents gaps |
Plank Placement Tips
Proper plank placement is essential for a seamless and durable vinyl floor in your bathroom. To guarantee ideal results, follow these plank placement tips:
- Plan plank orientation—lay planks parallel to the longest wall or light source to enhance room flow and visual appeal.
- Acclimate planks by letting them sit in the bathroom environment for at least 48 hours to adjust to temperature and humidity.
- Execute staggered installation by offsetting each row’s seams at least 6 inches to prevent weak points and increase floor strength.
- Measure and cut precisely to fit edges snugly against walls and fixtures, allowing a small expansion gap for natural movement.
Cut Vinyl Planks to Fit
To achieve a flawless fit, you’ll need to carefully measure and cut each vinyl plank to match the bathroom’s dimensions and any irregularities. Start by marking precise measurements on the plank using a pencil and a straightedge. Employ the right plank tools—such as a utility knife for straight cuts or a jigsaw for intricate shapes—to guarantee clean edges. Use proper cutting techniques: score the plank deeply with the utility knife, then snap it along the scored line for a sharp break. For curves or around fixtures, trace the shape onto the plank and cut slowly with a jigsaw. Accuracy here is key; poorly cut planks compromise the floor’s appearance and durability. Mastering these cutting techniques gives you freedom to customize your flooring perfectly to your bathroom’s unique layout.
Apply Adhesive or Use Click-Lock Method
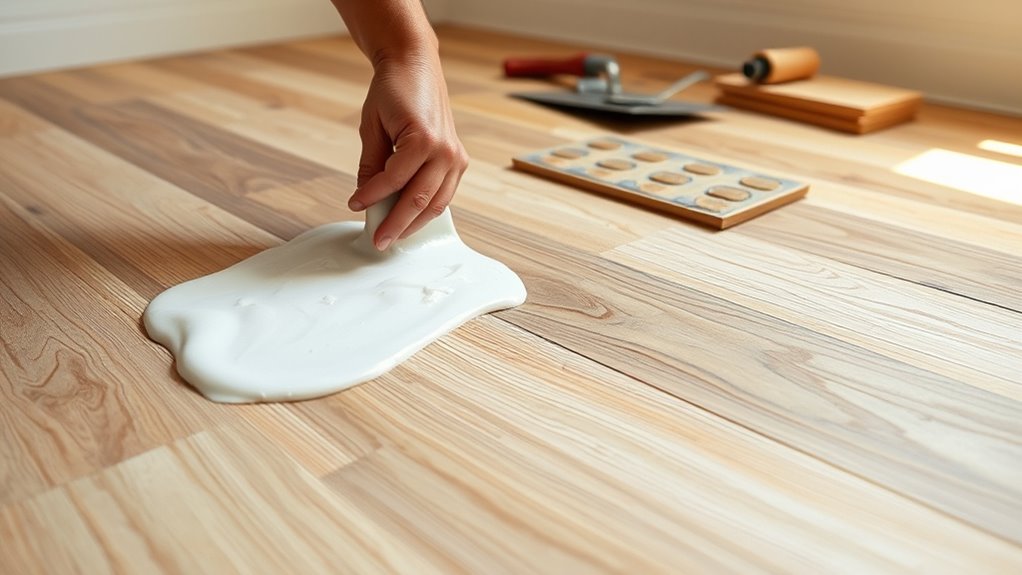
You have two main options when securing your vinyl plank flooring: applying adhesive or using the click-lock method. Adhesive application involves spreading a high-quality vinyl adhesive evenly on the subfloor, guaranteeing a strong bond that prevents moisture infiltration. Alternatively, click lock installation offers a floating floor system where planks snap together without glue, allowing easy removal and repositioning.
Here’s how to approach each:
- For adhesive application, use a notched trowel to spread adhesive uniformly.
- Work in small sections to avoid premature drying.
- For click lock installation, align planks at an angle and snap them firmly together.
- Confirm each joint is tight to create a seamless surface.
Choose the method that best fits your bathroom’s moisture levels and your desire for future flexibility.
Lay the First Row of Vinyl Planks
Start by carefully aligning the first row of vinyl planks straight along your reference line to guarantee a clean, professional look. Use spacers to maintain the correct expansion gap between the planks and the wall, preventing future buckling. Regularly check for levelness as you lay each plank to ensure a smooth, even surface throughout the bathroom.
Align Planks Straight
Although it may seem straightforward, aligning the first row of vinyl planks perfectly straight is essential for the entire bathroom flooring installation. To guarantee accuracy, use plank alignment techniques combined with straight edge tools. Here’s what you’ll do:
- Position your first plank along the longest wall, ensuring its edge is flush and straight.
- Use a straight edge tool to check the plank’s alignment, adjusting as needed for a perfect line.
- Continue laying planks, maintaining tight seams and consistent spacing to prevent gaps.
- Periodically verify alignment with the straight edge to avoid cumulative errors.
Use Spacers Correctly
Since vinyl plank flooring expands and contracts with temperature and humidity changes, using spacers correctly during the first row installation is essential to maintain proper expansion gaps. Choose spacer types designed for vinyl flooring—plastic wedges or T-shaped spacers work well. Place spacers between the wall and each plank end, ensuring a consistent 1/4-inch gap around the perimeter. Pay close attention to spacer placement at corners and doorways to allow unrestricted movement. Incorrect spacer placement risks buckling or warping over time. By setting spacers evenly and securely, you grant your flooring the freedom to expand without damage, preserving both the installation’s integrity and your bathroom’s aesthetic. This precise step is non-negotiable for a professional, durable vinyl plank floor.
Check for Levelness
Before laying the first row of vinyl planks, you need to confirm the subfloor is perfectly level, as any unevenness can cause gaps or buckling later on. Start with a thorough flooring inspection to identify high or low spots. Use a long level or straightedge to check the entire surface. Apply these leveling techniques if needed:
- Sand down high spots with a floor sander or hand block.
- Fill low areas using a self-leveling compound.
- Allow the compound to cure fully, confirming a solid, flat base.
- Recheck levelness with your straightedge before proceeding.
Taking these precise steps confirms your vinyl planks lay flat and secure, giving you the freedom to enjoy a flawless bathroom floor without worry.
Continue Installing Remaining Rows
Continue laying the vinyl planks row by row, guaranteeing each plank locks securely into place with the previous one. Maintain consistent alignment and stagger the seams by at least 6 inches for stability and aesthetic balance. When you reach corners, take extra care by measuring and cutting planks precisely—installing corners accurately prevents gaps and guarantees a seamless look. Use a tapping block and mallet to gently secure planks without damaging edges. As you approach the last few rows, double-check measurements to avoid unnecessary cutting. Stay focused on tight seams and flush edges; these finishing touches not only enhance durability but also freedom from water damage. With patience and precision, you’ll have a flawless installation that stands up to bathroom moisture and wear.
Trim and Fit Around Fixtures
Three key steps guarantee vinyl plank flooring fits perfectly around bathroom fixtures: accurate measurement, precise cutting, and careful placement. Start by measuring the exact dimensions around pipes, toilets, and sinks to accommodate fixture adjustments. Choose appropriate trim types—quarter round or T-molding—based on aesthetic and expansion needs. Follow this process:
- Mark cut lines on planks using a template or direct measurement.
- Use a fine-toothed saw or utility knife for clean, precise cuts.
- Test fit planks around fixtures, verifying no gaps or pressure points.
- Install trim types to cover expansion gaps and create a polished look.
This method guarantees your vinyl planks fit snugly, allowing freedom to design without compromising durability or appearance.
Seal Edges and Clean Up
Once the planks are securely in place around your fixtures, you’ll need to seal the edges to prevent moisture infiltration and secure longevity. Apply a high-quality, waterproof sealant specifically designed for vinyl plank flooring along all perimeter joints and around fixtures. Use a caulking gun for a smooth, continuous bead and smooth it with a wet finger or tool to guarantee full coverage. This edge sealing step is critical to block water from seeping beneath the floor, which could cause damage over time. After sealing, focus on cleaning techniques to remove dust, adhesive residue, and debris without damaging the vinyl surface. Use a damp microfiber cloth and a gentle cleaner suited for vinyl floors. Proper edge sealing and cleaning secure your bathroom floor remains durable, attractive, and free from water damage.


