To install vinyl planks on concrete, start by inspecting the subfloor for cracks and moisture, repairing any damage and ensuring it’s level. Clean thoroughly, then test moisture levels and apply a primer or sealer if needed. Next, plan your layout carefully and measure the room precisely. Cut planks to fit, then snap or glue them down, staggering seams for strength. Finish with trim for a polished look. Follow these essential steps, and you’ll achieve a flawless vinyl floor installation.
Assess and Prepare the Concrete Subfloor
Before installing your vinyl flooring planks, you need to thoroughly assess and prepare the concrete subfloor. Start with a detailed subfloor inspection to identify cracks, uneven spots, or moisture issues. These imperfections can compromise the durability and appearance of your flooring materials. Use a straightedge or level to check for flatness; any deviations over 3/16 inch within 10 feet require correction. Moisture testing is essential—excess moisture can lead to adhesive failure or warping. If you detect high moisture levels, apply a suitable vapor barrier or moisture mitigation system. Address all defects by filling cracks and leveling uneven areas with a patching compound. Proper preparation guarantees your vinyl planks lay flat, adhere well, and last longer, giving you the freedom to enjoy a flawless, resilient floor.
Clean the Concrete Surface Thoroughly
Before laying your vinyl planks, you need to remove all dust and debris from the concrete surface to guarantee proper adhesion. Repair any cracks or holes to create a smooth, even base. Finally, make certain the floor is completely dry and spotless to prevent future issues.
Remove Dust and Debris
To guarantee your vinyl flooring planks adhere properly, start by removing all dust and debris from the concrete surface. This step is essential for a smooth, long-lasting installation. Use effective cleaning tools to make certain dust prevention and a spotless base.
Here’s how to clear the concrete thoroughly:
- Sweep the floor with a stiff-bristle broom to gather loose dirt.
- Vacuum the surface to pick up fine dust particles.
- Wipe the concrete with a damp mop or microfiber cloth.
- Use a degreaser for any oily spots, then rinse well.
- Allow the floor to dry completely before proceeding.
Repair Cracks and Holes
Three key steps will guarantee cracks and holes in your concrete are properly repaired before laying vinyl flooring planks. First, clean the concrete surface thoroughly to remove dust, dirt, and loose debris; this guarantees strong adhesion for your repair materials. Next, select an appropriate crack filler designed for concrete floors. Using precise repair techniques, apply the filler into each crack or hole, pressing firmly to eliminate air pockets. Smooth the surface with a putty knife or trowel, leveling it flush with the surrounding concrete. Allow the filler to cure fully according to the manufacturer’s instructions. By following these repair techniques and using the right crack filler, you create a stable, even base that prevents future damage and guarantees a flawless vinyl floor installation.
Ensure Dryness and Cleanliness
Although you’ve repaired cracks and holes, your concrete surface still needs to be completely dry and clean before installing vinyl flooring planks. Proper surface preparation is essential for effective moisture control and to guarantee the adhesive bonds well. Start by:
- Sweeping away dust and debris with a stiff broom
- Vacuuming to remove fine particles embedded in pores
- Mopping with a mild detergent solution to eliminate oils and stains
- Allowing the surface to dry fully, using fans or dehumidifiers if needed
- Testing for moisture using a reliable moisture meter or plastic sheet method
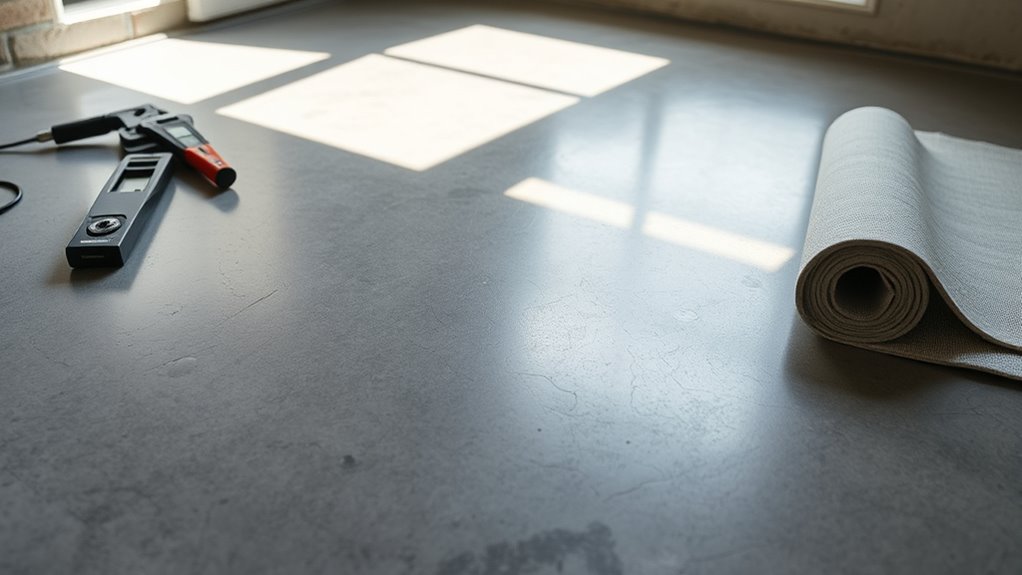
Test for Moisture in the Concrete
Before laying vinyl planks, you need to test the concrete for moisture using reliable methods like the calcium chloride test or a moisture meter. Ideal moisture levels should be below the manufacturer’s specified threshold to prevent damage. Ensuring proper moisture content will help your flooring last longer and perform better.
Moisture Testing Methods
Since moisture can seriously damage vinyl flooring, you need to accurately test the concrete subfloor before installation. Identifying moisture sources and using the right testing equipment guarantees your floor lasts. Here are common moisture testing methods:
- Calcium Chloride Test: Measures moisture vapor emission rate from concrete.
- Relative Humidity (RH) Test: Inserts probes into the slab to check internal moisture.
- Polyethylene Sheet Test: Tape a plastic sheet and observe condensation after 24-48 hours.
- Moisture Meter: Uses pin or pinless meters to detect surface moisture levels.
- Visual Inspection: Look for cracks, efflorescence, or damp spots indicating moisture presence.
Each method offers unique insights, so combining tests gives a clearer picture. Proper moisture testing helps you avoid costly damage and guarantees your vinyl planks stay secure and beautiful.
Ideal Moisture Levels
Knowing how to test for moisture is only part of the process—you also need to understand what moisture levels are safe for vinyl flooring installation. Ideally, the concrete’s moisture content should be below 3 pounds per 1,000 square feet over 24 hours using a calcium chloride test, or less than 75% relative humidity when measured with a moisture meter. Staying within these limits guarantees proper moisture protection, preventing damage like warping or adhesive failure. Maintaining consistent humidity control in the room further safeguards your flooring investment. If moisture exceeds recommended levels, take corrective actions like sealing the concrete or improving ventilation before proceeding. By respecting these ideal moisture levels, you secure a durable, attractive vinyl floor that stands up to daily wear without compromising your freedom to enjoy your space.
Repair Any Cracks or Imperfections
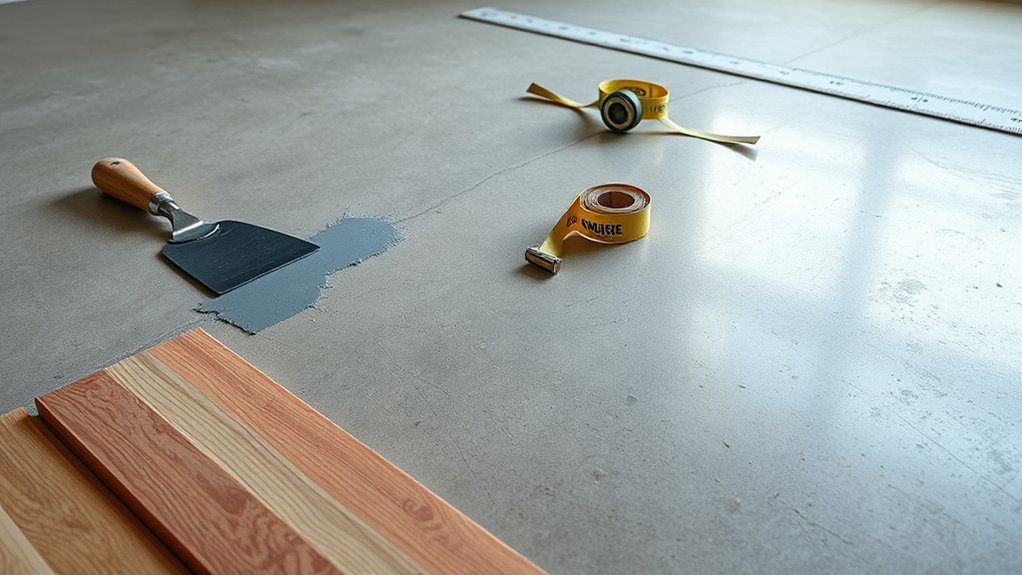
To assure a smooth vinyl flooring installation, you’ll need to repair any cracks or imperfections in the subfloor first. Proper crack repair and surface preparation assure your planks lay flat, preventing future damage or uneven wear. Start by cleaning the area thoroughly, removing dust and debris. Then, patch cracks or holes using a suitable concrete filler or patching compound.
Visualize this process:
- Inspect the entire concrete surface for visible cracks
- Clear out loose particles from imperfections
- Apply patching compound evenly with a putty knife
- Allow sufficient drying time as per product instructions
- Sand patched areas smooth for a uniform surface
Taking these steps assures a flawless foundation, freeing you to enjoy your new vinyl floor without worry.
Apply a Concrete Primer or Sealer
Before laying your vinyl planks, you’ll want to apply a concrete primer or sealer to enhance adhesion and protect the subfloor. There are various types of sealers designed for different moisture levels and concrete conditions, so choosing the right one is essential. Proper application techniques guarantee an even coat that prevents future issues like peeling or bubbling.
Purpose of Primer
A concrete primer or sealer plays an essential role in preparing your subfloor for vinyl flooring installation. Understanding primer benefits helps you appreciate why primer application is a vital step. It creates a smooth, stable surface that enhances adhesion and prevents moisture issues. Here’s what primer does for you:
- Seals porous concrete, blocking moisture vapor
- Improves bonding between concrete and vinyl planks
- Reduces dust and debris for a cleaner installation
- Prevents adhesive from soaking into the concrete
- Extends the durability and lifespan of your flooring
Types of Sealers
While selecting a sealer for your concrete subfloor, you’ll find several types designed to address different moisture levels and surface conditions. Water based sealers are popular for their low odor, quick drying times, and easy cleanup. They penetrate the concrete, providing a breathable barrier that helps manage moisture without trapping it. On the other hand, solvent based sealers create a tougher, more durable film on the surface, ideal for high-traffic areas or where moisture levels are higher. These sealers offer excellent adhesion but require proper ventilation during application due to stronger fumes. Choosing between water based sealers and solvent based sealers depends on your specific environment and moisture concerns. Selecting the right sealer guarantees a stable base, protecting your vinyl flooring investment.
Application Techniques
Since proper adhesion is essential for your vinyl flooring, you’ll want to apply the concrete primer or sealer evenly and carefully. Mastering these application techniques guarantees your installation methods result in a durable, long-lasting floor. Start by thoroughly cleaning the concrete surface. Use a roller or brush to spread the primer or sealer uniformly, avoiding puddles. Allow the product to dry completely before proceeding.
Keep in mind:
- Work in small sections for better control
- Maintain consistent pressure with your applicator
- Apply a thin, even coat to prevent peeling
- Provide adequate ventilation during application
- Check manufacturer’s drying time recommendations
Following these steps secures a smooth base, releasing the full potential of your vinyl flooring installation.
Lay Down a Vapor Barrier or Underlayment
Before you start laying the vinyl planks, you’ll need to install a vapor barrier or underlayment to protect against moisture and provide a smooth surface. Concrete can emit moisture that damages vinyl flooring, so choosing the right vapor barrier type is essential. Common options include polyethylene sheets and specialized moisture-resistant membranes. Alongside moisture protection, underlayment benefits include sound reduction, added comfort, and minor subfloor imperfections’ concealment. Some underlayments combine both moisture barriers and cushioning for efficiency. When selecting materials, consider your environment’s humidity and the flooring manufacturer’s recommendations. Proper installation involves overlapping seams and taping edges to guarantee a continuous shield. By laying down the right vapor barrier or underlayment, you’ll extend your floor’s lifespan and enjoy a stable, comfortable surface that stands up to daily wear.
Plan the Layout and Measure the Room
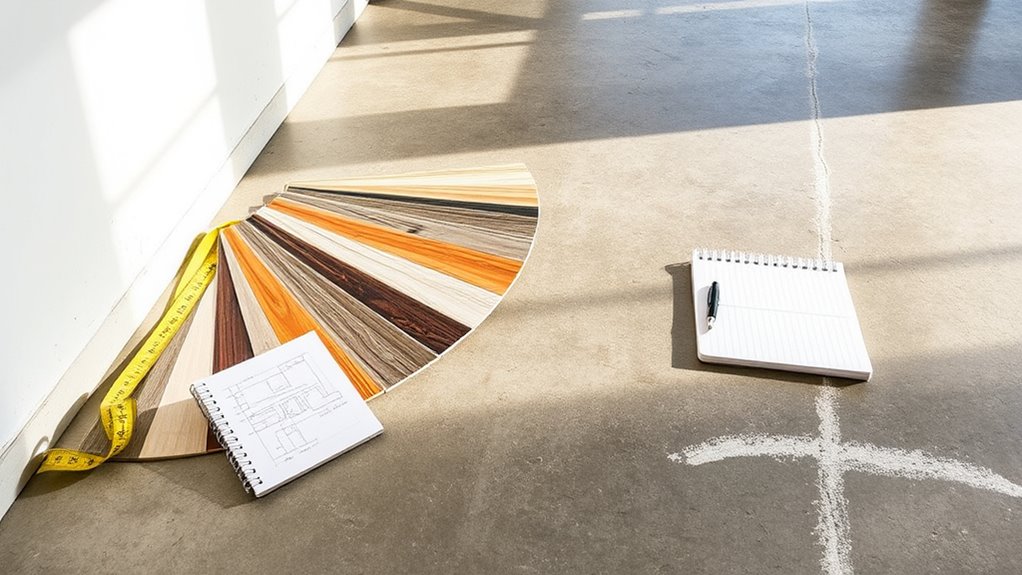
Although the vapor barrier is in place, you’ll want to carefully plan your vinyl plank layout and measure the room accurately to confirm a seamless installation. Start by sketching your layout design, considering plank direction and focal points. Use reliable measurement tools like a tape measure or laser distance measurer to capture room dimensions precisely. Note any irregularities, such as doorways or alcoves, that affect layout. Remember, proper planning prevents waste and guarantees an even look.
- Measure length and width at multiple points
- Mark reference lines for plank alignment
- Account for expansion gaps around edges
- Visualize plank pattern and stagger joints
- Double-check measurements before cutting
With accurate layout design and measurements, you’re set to install your vinyl flooring freely and confidently.
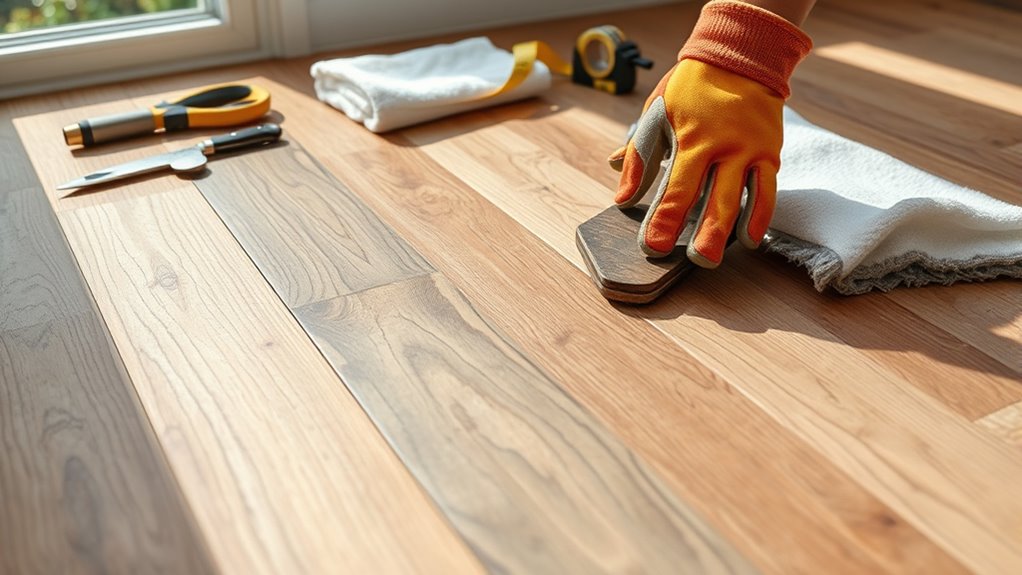
Cut and Fit the Vinyl Planks
Start by carefully cutting each vinyl plank to fit your room’s dimensions and unique features. Use precise cutting techniques, such as a utility knife with a straight edge, to guarantee clean, accurate cuts. Always measure twice before cutting to avoid mistakes that could limit your freedom to adjust later. Pay close attention to plank alignment as you cut, making certain each piece will fit snugly against walls and around obstacles like door frames or vents. Make relief cuts where necessary to accommodate irregular shapes without compromising the plank’s integrity. Remember, well-cut planks not only enhance the floor’s appearance but also help maintain its durability and ease of installation. Taking the time to cut and fit carefully sets the foundation for a seamless and professional-looking vinyl floor.
Install the Vinyl Flooring Planks
With your vinyl planks cut and fitted accurately, you’re ready to lay them down. Begin by selecting the best installation techniques to guarantee a secure, lasting fit. Focus on plank alignment to keep each row straight and tight. Start at a straight wall and work your way across the room, tapping planks gently into place using a tapping block and mallet. Remember to stagger joints for a natural look and added strength.
Ensure tight, straight rows by tapping vinyl planks gently and staggering joints for strength and a natural look.
Visualize the process:
- Lining up each plank edge precisely
- Snapping planks together with a satisfying click
- Maintaining consistent spacing from walls
- Using spacers for expansion gaps
- Checking alignment regularly with a straightedge
These steps give you freedom to create a smooth, durable vinyl floor that lasts.
Finish With Trim and Transition Strips
Complete your vinyl flooring installation by adding trim and junction strips to cover expansion gaps and create a polished look. Trim installation is essential for securing edges against walls and preventing plank movement. Choose baseboards or quarter-round molding that complements your flooring style. When shifting between different floor types or rooms, explore transition options like T-molding, reducers, or threshold strips. These not only bridge height differences but also guarantee a seamless flow and enhance durability. Measure carefully and cut trims and strips precisely to fit snugly without forcing them. Secure them with finishing nails or adhesive, depending on the material. Properly installed trims and transitions free you from unsightly gaps and allow your vinyl flooring to expand naturally, maintaining both aesthetics and functionality over time.


