First, measure your bathroom carefully and pick the best vinyl type—planks, tiles, or sheets. Prepare the subfloor by cleaning and leveling it, then gather tools like a utility knife, tape measure, and roller. Remove old flooring safely, then choose adhesive or peel-and-stick vinyl for installation. Lay the vinyl starting from the center, cut excess edges, and seal all edges with waterproof sealant. Follow these steps closely, and you’ll guarantee a durable, water-resistant bathroom floor that looks great—there’s more to learn for a flawless finish.
Measure Your Bathroom Floor
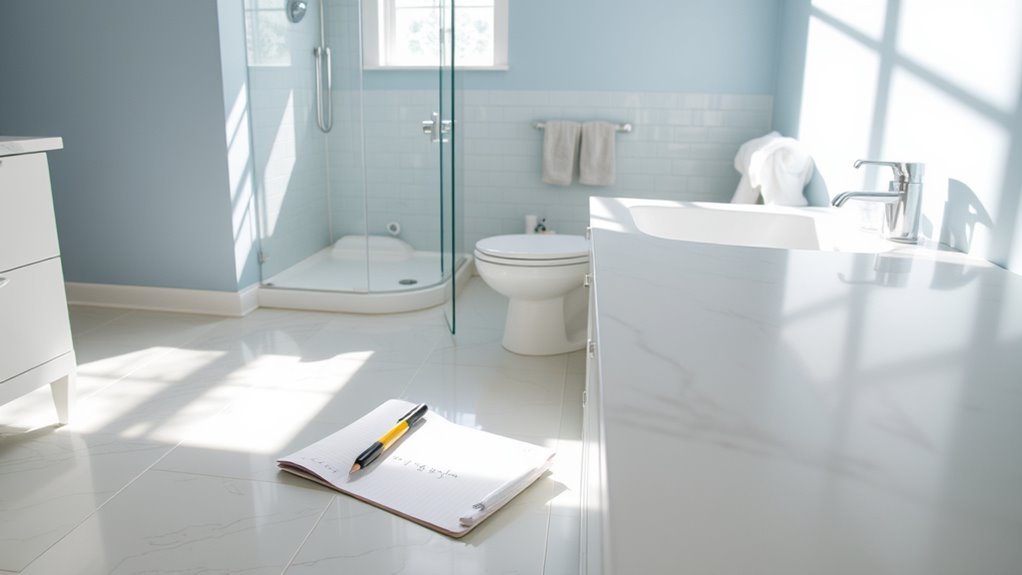
Before you begin installing vinyl flooring, you’ll need to measure your bathroom floor accurately to confirm you purchase the right amount of material. Start by noting the bathroom dimensions—length and width—using a tape measure. Measure at multiple points if the room isn’t perfectly square, then use the largest numbers to avoid running short. Sketch a simple flooring layout to visualize how the vinyl planks or sheets will fit, considering obstacles like fixtures or cabinets. This plan helps prevent waste and guarantees a smooth installation. Don’t forget to add about 10% extra material for cutting mistakes and future repairs. Taking these careful measurements and planning your flooring layout will save you time, money, and frustration, giving you the freedom to enjoy your new bathroom floor with confidence.
Choose the Right Type of Vinyl Flooring
Once you’ve measured your bathroom floor and planned your layout, the next step is picking the right type of vinyl flooring for your space. Different vinyl flooring types offer unique benefits and impact your bathroom aesthetics. Consider durability, water resistance, and design to match your style.
| Vinyl Flooring Type | Key Features |
|---|---|
| Sheet Vinyl | Seamless, highly water-resistant |
| Vinyl Planks | Easy to install, mimics wood |
| Vinyl Tiles | Versatile patterns, budget-friendly |
Choosing wisely means your bathroom looks great and stands up to moisture. Think about how each type fits your lifestyle and the freedom to refresh your space effortlessly. This choice sets the tone before installation, so pick the one that suits your vibe and needs.
Prepare the Subfloor Surface
A clean, smooth subfloor is essential for a successful vinyl flooring installation. Start with a thorough subfloor inspection to identify any damage, uneven spots, or moisture issues. Repair any cracks or holes and sand down high areas to create a flat surface. Since bathrooms are prone to moisture, it’s vital to install a moisture barrier before laying your vinyl. This barrier protects your flooring from water damage and mold, ensuring durability. Make sure the subfloor is completely dry before proceeding; any trapped moisture can cause problems later. Taking these steps gives you a solid foundation, so your vinyl flooring stays secure and looks great for years. Preparing the subfloor properly sets you free from worries about future repairs or peeling floors.
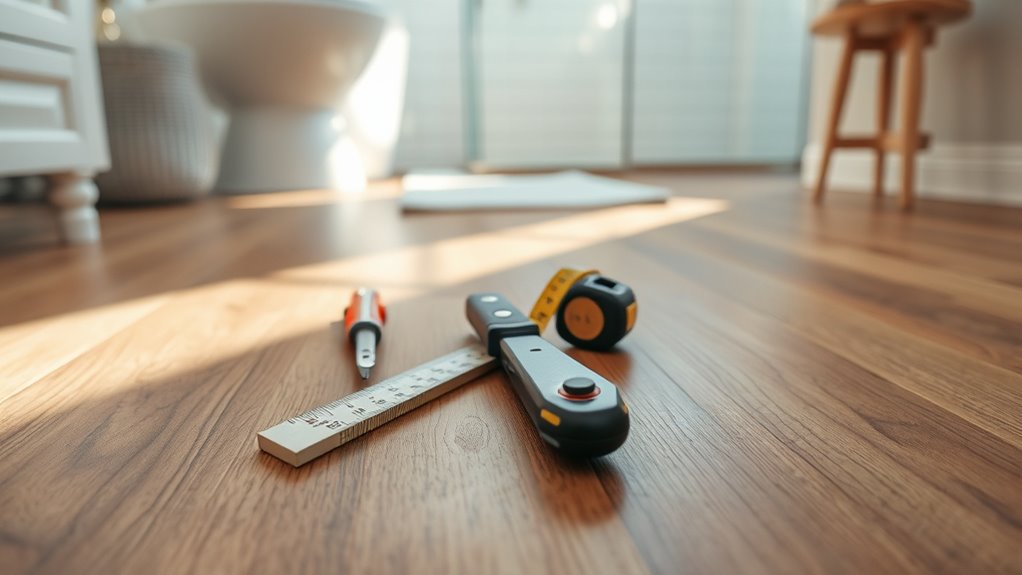
Gather Necessary Tools and Materials
Before you start installing your vinyl flooring, make certain you have all the essential tools like a utility knife, measuring tape, straight edge, and a roller. Choosing high-quality vinyl planks or sheets will guarantee durability and a better finish. Gathering the right materials and tools upfront saves time and helps the installation go smoothly.
Essential Tools Checklist
Although gathering the right tools might seem straightforward, having everything you need on hand will save you time and frustration during your vinyl flooring installation. Vinyl flooring benefits include easy maintenance and water resistance, key for bathroom design ideas. To achieve a smooth installation, you’ll want these tools ready:
| Tool | Purpose | Tip |
|---|---|---|
| Utility Knife | Cutting vinyl precisely | Use fresh blades for clean cuts |
| Measuring Tape | Accurate measurements | Measure twice, cut once |
| Straight Edge | Guide for straight cuts | Metal edges work best |
| Roller | Press vinyl down firmly | Make certain no air bubbles |
With these tools, you’ll enjoy a hassle-free process and a finished floor that complements your bathroom’s style and function effortlessly.
Selecting Quality Materials
Since the quality of your vinyl flooring materials directly affects both the look and durability of your finished floor, you’ll want to choose wisely. Start by focusing on material durability; opt for vinyl designed specifically for bathrooms, as it resists moisture and wear better. Consider thickness—thicker vinyl usually means longer-lasting floors. Next, explore design options that match your style while complementing your bathroom’s overall vibe. From wood-look planks to intricate patterns, there’s plenty to choose from. Don’t forget to check the wear layer thickness; a thicker wear layer enhances protection against scratches and stains. By selecting high-quality materials that balance durability with appealing design, you guarantee your vinyl floor stays beautiful and functional for years, giving you freedom from frequent repairs or replacements.
Remove Existing Flooring

Before installing your new vinyl flooring, you’ll need the right tools like a pry bar, scraper, and utility knife to remove the old floor efficiently. Make certain to clear all debris and check the subfloor for damage or uneven spots that could affect your installation. Preparing the surface properly guarantees your new flooring lays flat and lasts longer.
Flooring Removal Tools
To effectively remove existing flooring, you’ll need a few essential tools that make the job faster and safer. Start with a pry bar and a utility knife to carefully lift and cut through various flooring types, whether it’s tile, laminate, or vinyl. A hammer helps to loosen stubborn sections, while a floor scraper can remove adhesive residues left behind from previous installation techniques. For larger areas, consider a power scraper or oscillating tool to save time and effort. Don’t forget protective gloves and safety goggles to shield yourself from debris. Using the right tools guarantees you can remove old flooring cleanly without damaging the subfloor, setting you up for a smooth vinyl flooring installation that lasts. Choosing the right approach depends on your flooring type and how it was installed.
Surface Preparation Tips
Although removing existing flooring can seem challenging, proper surface preparation is essential for ensuring your new vinyl installation adheres well and lasts longer. Start by carefully pulling up old tiles or vinyl, using the right tools to avoid damaging the subfloor. Once cleared, use subfloor inspection techniques—look for cracks, uneven spots, or water damage. Smooth out any imperfections with sanding or patching compounds. Moisture barrier considerations are critical, especially in bathrooms; check for dampness or mold. If needed, install a moisture barrier to protect your new flooring from water damage and prolong its life. Taking these steps lets you create a clean, dry, and level surface, giving your vinyl flooring a solid foundation and the freedom to shine for years to come.
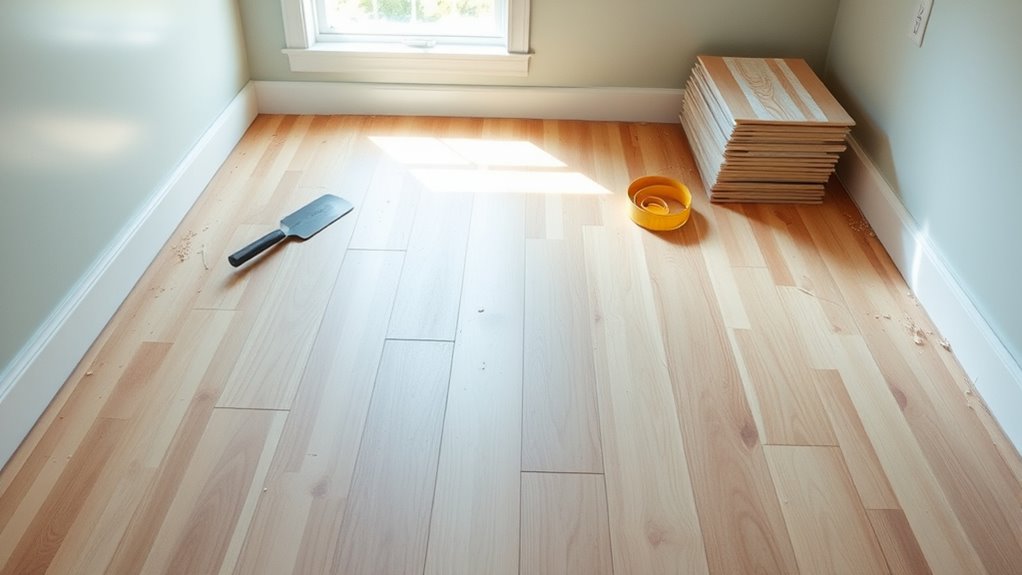
Cut Vinyl Flooring to Fit the Space
Measure the area carefully and mark your vinyl flooring with a pencil to guarantee each piece fits perfectly. Accurate measurements guarantee clean cuts and smooth installation. When cutting vinyl, use precise cutting techniques like scoring with a utility knife and snapping along the line for straight edges. For fitting corners and irregular shapes, take extra time to trace the exact outline onto the vinyl before cutting. Remember these tips:
Measure carefully and use precise cutting techniques for a perfect vinyl flooring fit every time.
- Use a sharp utility knife for clean cuts.
- Score first, then gently bend vinyl to snap.
- Create templates for complex corners.
- Trim excess gradually for a perfect fit.
Apply Adhesive or Use Peel-and-Stick Vinyl
Now that you’ve cut your vinyl to size, it’s time to decide between applying adhesive or using peel-and-stick vinyl. You’ll want to pick the right adhesive for your subfloor type to guarantee a strong bond, or if you choose peel-and-stick, prepare the surface carefully for proper adhesion. Following these steps will help your flooring stay secure and look professional.
Choosing the Right Adhesive
When deciding on the best adhesive for your vinyl flooring, you’ll want to evaluate whether to use a traditional glue or opt for peel-and-stick vinyl. Understanding adhesive types and proper application techniques guarantees your flooring stays secure and looks great longer. Traditional adhesives often require more prep but offer a strong, lasting bond, while peel-and-stick options simplify installation with less mess. Consider these factors to choose wisely:
- Surface compatibility and moisture resistance
- Drying time and working window
- Ease of cleanup and ventilation needs
- Durability and flexibility of the adhesive
Peel-and-Stick Application Tips
If you choose peel-and-stick vinyl, the installation process becomes more straightforward since the adhesive is already applied to the backing. Start by thoroughly cleaning and drying your bathroom floor to guarantee proper surface preparation—any dirt or moisture can affect adhesion. Measure and cut your vinyl planks or tiles carefully before peeling off the backing paper. Align each piece precisely, then press down firmly to secure it in place. Use a roller or a flat tool to smooth out air bubbles and improve bonding. When applying peel-and-stick vinyl, work slowly and methodically, as repositioning can weaken the adhesive. These installation techniques help you achieve a durable, professional-looking finish, giving you the freedom to refresh your bathroom floor with confidence and ease.
Lay the Vinyl Flooring Carefully
Before you start laying the vinyl flooring, make certain the subfloor is clean, dry, and level to secure a smooth installation. Align your vinyl patterns thoughtfully to enhance your bathroom aesthetics and create a cohesive look. Work slowly to avoid air bubbles or wrinkles as you press the vinyl down. Use a roller or firm hand pressure to guarantee strong adhesion.
Keep these tips in mind as you lay the vinyl:
- Start from the center and work outward for symmetry
- Overlap seams slightly if needed for a tight fit
- Smooth out any bubbles immediately to prevent imperfections
- Check alignment frequently to maintain consistent vinyl patterns
Trim Excess Vinyl Around Edges
Carefully trim the excess vinyl around the edges using a sharp utility knife to guarantee a clean, professional finish. Mastering vinyl trimming techniques helps you achieve smooth, precise cuts without damaging the flooring. Take your time, and make sure the blade is fresh for best results. After trimming, consider your edge finishing options to give your bathroom floor a polished look while allowing freedom in design.
| Vinyl Trimming Techniques | Edge Finishing Options |
|---|---|
| Use a straightedge guide | Quarter round molding |
| Score before cutting | Flexible vinyl trim strips |
| Trim in small sections | Caulk for seamless edges |
These simple steps let you customize your flooring confidently and neatly.
Seal the Edges to Prevent Water Damage
Three key steps help you effectively seal vinyl flooring edges to prevent water damage. First, choose high-quality waterproof sealants designed for bathroom use. These provide a reliable barrier against moisture. Next, apply edge treatments carefully along all seams and around fixtures to block water infiltration. Finally, smooth the sealant evenly to guarantee full coverage and a neat finish.
To seal your vinyl flooring edges properly, remember to:
- Clean and dry edges thoroughly before sealing
- Use painter’s tape to keep sealant application precise
- Apply sealant in thin, consistent layers
- Allow sealant to cure fully according to manufacturer instructions
Following these steps ensures your bathroom vinyl flooring stays protected, maintaining its look and durability over time.


