To install floor trim moulding, first gather tools like a miter saw, nail gun, and measuring tape. Measure your room’s perimeter, then select moulding that matches your style. Cut pieces to length, making precise miter cuts for corners. Prepare walls by cleaning and patching imperfections. Attach moulding with nails and glue, then fill holes with wood filler. Finally, sand, paint, or stain for a polished look. Keep following along to master each step with confidence.
Gather Your Tools and Materials
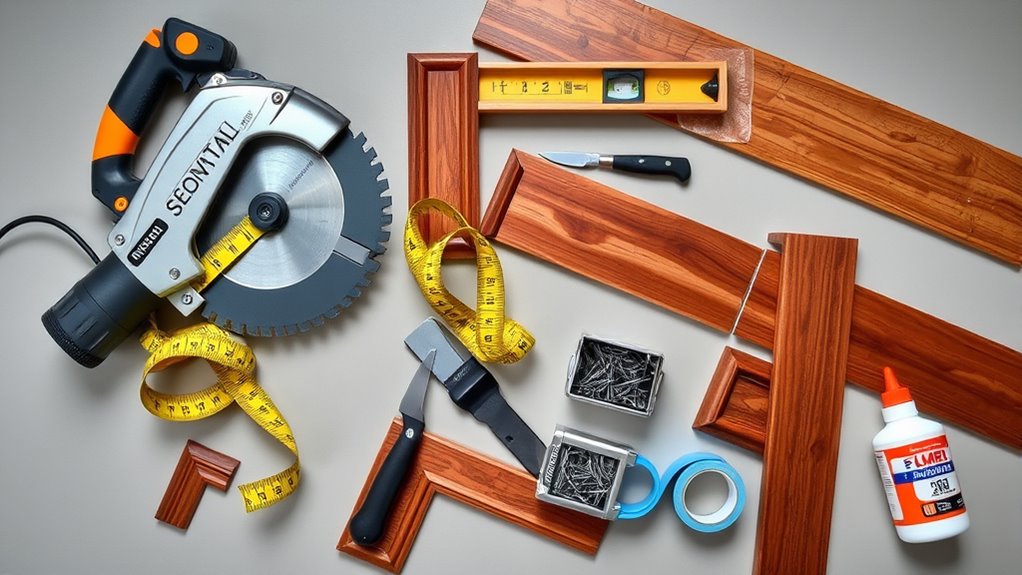
Before you begin installing floor trim moulding, you’ll need to gather all the necessary tools and materials to guarantee a smooth process. Start by selecting your preferred moulding style options—consider profiles that complement your space’s design. You’ll require a miter saw for precise cuts, a measuring tape, a pencil for marking, a nail gun or hammer with finishing nails, and wood glue for added stability. Sandpaper will help smooth rough edges. Don’t forget safety gear like goggles and gloves. Installation tips include choosing the right adhesive and nails based on your flooring type. Having everything ready avoids interruptions and makes the project more manageable, giving you the freedom to focus on a clean, professional finish without unnecessary delays.
Measure the Perimeter of the Room
You’ll need a tape measure and a notepad to get accurate measurements of your room’s perimeter. Measure each wall carefully, keeping the tape straight and noting any irregularities. Write down the exact lengths as you go to guarantee you order the right amount of trim.
Tools Needed
While measuring the perimeter of the room, you’ll need a few essential tools to secure accuracy and efficiency. Start with a reliable tape measure—preferably one that locks in place—to capture exact lengths. A pencil and notepad are vital for jotting down measurements and noting different moulding types you plan to use. A laser distance measurer can speed up the process, especially in larger rooms, offering precise readings. Consider using a stud finder if your installation tips require attaching moulding to specific wall studs. Finally, a level will help guarantee your trim sits straight during installation. Having these tools ready simplifies measuring, letting you focus on choosing the right moulding types and applying smart installation tips to achieve a flawless finish.
Measuring Techniques
Since accurate measurements are vital for a seamless trim installation, start by measuring the entire perimeter of the room carefully. Use a reliable measuring tape and follow consistent measuring techniques to avoid errors. Measure along the base of the walls, keeping the tape straight and snug against the surface. Take note of any doorways, vents, or irregularities that may affect the trim length. Work systematically around the room, measuring each wall segment individually rather than guessing the total length. This approach guarantees you capture every detail and get accurate measurements. Remember, precise measuring techniques save you from material waste and fit issues later on. Taking your time here gives you the freedom to install your floor trim moulding with confidence and a perfect fit.
Record Exact Dimensions
After carefully measuring each wall segment, it’s important to record the exact dimensions to confirm accuracy when cutting and fitting your floor trim moulding. Use reliable recording techniques, such as writing down each measurement immediately or inputting them into a digital note app. Label each dimension clearly by wall or corner to avoid confusion. Double-check your numbers for dimension accuracy before moving on. Measuring the entire perimeter this way confirms you have precise total lengths and reduces waste. Keep your notes organized and accessible during the installation process. This disciplined approach gives you the freedom to work confidently, knowing your cuts will fit perfectly without guesswork or unnecessary adjustments. Accurate recording is the foundation for a smooth, professional-looking floor trim installation.
Choose the Right Type of Moulding
You’ll want to pick moulding that suits your room’s style and existing décor. Consider the material—wood, MDF, or PVC—based on durability and finish preferences. Also, choose a profile that complements your space, whether simple or decorative.
Moulding Material Options
When selecting floor trim moulding, it’s important to take into account the material because it affects durability, appearance, and ease of installation. You’ll often choose between wood vs. composite options—wood offers authentic grain and can be sanded or stained, while composite is more resistant to moisture and pests. Both materials come in various decorative styles, so consider your space’s needs and your installation skills.
| Material | Durability | Installation Ease |
|---|---|---|
| Wood | Moderate; can dent or warp | Moderate; requires careful handling |
| Composite | High; resists moisture and insects | Easy; often pre-primed and ready to paint |
| MDF | Low; prone to swelling with moisture | Easy; cuts cleanly but less durable |
Select material based on your environment and desired finish freedom.
Styles and Profiles
Although selecting the right material is essential, choosing the proper style and profile of floor trim moulding will define the overall look and function in your space. You’ll want to reflect on traditional styles if you prefer classic elegance—these often feature intricate curves and detailed edges that add character. On the other hand, modern profiles emphasize clean lines and minimal ornamentation, perfect for a sleek, contemporary feel. Think about the height and thickness of the moulding too; taller profiles can make a room feel grander, while slimmer ones suit smaller spaces. Make your choice based on the room’s purpose and your personal style, ensuring the moulding complements the architectural elements without overwhelming them. This careful selection will give you freedom to create a cohesive and polished finish.
Matching Existing Décor
Since floor trim moulding plays a key role in tying a room’s design together, it’s important to choose a type that matches your existing décor. Focus on decor styles and color coordination to guarantee harmony. Consider the room’s overall vibe—modern, traditional, or rustic—and pick moulding that complements it. Don’t forget to match the color or stain to other woodwork or flooring to maintain visual flow.
Here’s a quick guide to help you decide:
| Décor Style | Recommended Moulding Type |
|---|---|
| Modern | Simple, flat, minimal |
| Traditional | Ornate, detailed profiles |
| Rustic | Rough-hewn or natural wood |
| Changeable | Clean lines with subtle curves |
Choose moulding that enhances, not distracts, for a cohesive look.
Cut the Moulding to Length
Measure each wall carefully and mark the moulding pieces to the exact lengths needed. Getting the moulding length right is essential for a seamless fit. Use reliable cutting techniques to guarantee straight, clean edges. Here’s how to proceed efficiently:
- Use a tape measure and pencil to mark precise lengths on each moulding piece.
- Employ a miter saw or a fine-toothed handsaw for smooth, controlled cuts.
- Double-check measurements before cutting to avoid waste and rework.
- Support the moulding firmly while cutting to prevent splintering or damage.
Make Accurate Miter Cuts for Corners

To get clean, tight corners, you need to measure the angles precisely before cutting. Use a miter saw set to the exact angle of your corner, usually 45 degrees for inside corners. Double-check your measurements to avoid gaps when installing the trim.
Measuring Angles Precisely
When you’re ready to cut your floor trim moulding, getting the angles right is essential for a seamless fit. Accurate angle measurement techniques guarantee your corners meet perfectly, avoiding gaps or overlaps. Start by identifying the corner type—inside or outside—and measure with a reliable protractor or angle finder for precise results. Use these precision cutting methods to guide your measurements:
- Mark the wall angle clearly before cutting.
- Double-check measurements to avoid costly mistakes.
- Transfer angles accurately to your moulding piece.
- Keep your measuring tools calibrated and steady.
Using a Miter Saw
Mastering the miter saw is key to making clean, accurate cuts for your floor trim corners. Start by setting your saw to the exact angle you measured previously, usually 45 degrees for standard corners. Always prioritize miter saw safety: wear eye protection and keep hands clear of the blade. Secure your trim firmly against the fence to avoid any movement during the cut. Use a slow, steady motion to guide the blade through the wood, ensuring a smooth finish. Regular miter saw maintenance is essential—clean the blade and check alignment before each use to maintain precision. With these steps, you’ll achieve tight-fitting corners, giving your floor trim a professional look while enjoying the freedom to work confidently and safely.
Test Fit the Moulding Pieces
Although cutting the moulding pieces accurately is essential, you should always test fit them before final installation to confirm they align perfectly with your walls and corners. Test fitting helps you spot any discrepancies and avoid costly mistakes. Take your time adjusting lengths as needed to guarantee a seamless fit.
When you test fit the moulding pieces, focus on:
- Checking tightness at corners and joints
- Confirming the moulding sits flush against the wall and floor
- Verifying consistent spacing and alignment throughout
- Marking any spots that require trimming or sanding
This step gives you control and freedom to make precise adjustments, resulting in a professional-looking finish that complements your space flawlessly. Don’t rush—test fitting sets the foundation for success.
Prepare the Wall and Floor Surface

After test fitting the moulding pieces to confirm a perfect fit, the next step is to prepare the wall and floor surfaces where you’ll be installing the trim. Proper wall preparation guarantees the trim adheres securely, and thorough floor cleaning prevents debris from interfering with installation.
| Wall Preparation | Floor Cleaning |
|---|---|
| Remove old baseboards | Sweep and vacuum thoroughly |
| Patch holes and smooth walls | Mop to eliminate dust |
| Verify surface is dry | Check for uneven spots |
Take time to smooth out any wall imperfections and make certain the floor is spotless. This foundation step frees you to install your trim confidently, ensuring a clean, lasting finish.
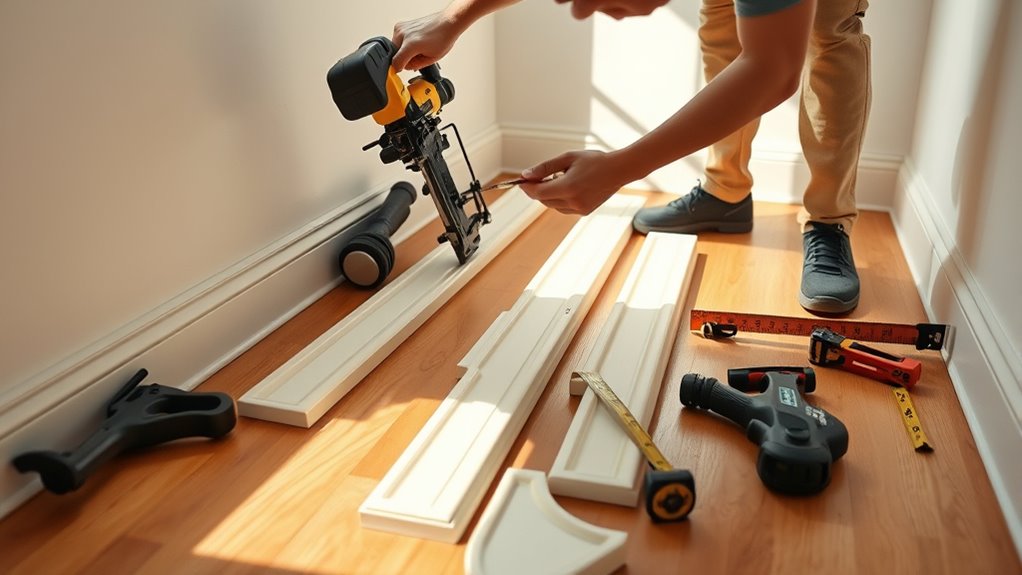
Attach the Moulding to the Wall
Before you start attaching the moulding, make certain you have all the necessary tools ready, including a nail gun or hammer, finishing nails, a level, and wood glue. Selecting the right types of adhesives is key for durability; wood glue works well alongside nails for a secure bond. Use these securing techniques to guarantee a tight fit:
Ensure you have all tools ready—nail gun, finishing nails, level, and wood glue—for a secure moulding fit.
- Apply wood glue evenly along the back of the moulding
- Position the trim against the wall, checking alignment with a level
- Secure the moulding with finishing nails at regular intervals, ideally into studs
- Countersink nails slightly for a neat finish
These steps help you firmly attach the trim while keeping it flush against the wall, creating a clean, professional look that lasts.
Fill Nail Holes and Seams
Once the moulding is securely attached, you’ll want to fill nail holes and seams to guarantee a smooth, polished surface. Start by selecting a wood filler that matches your trim color or can be painted over. Use a putty knife to press the filler into each nail hole and seam, ensuring it’s level with the moulding. Allow the filler to dry according to the manufacturer’s instructions. After drying, lightly sand the filled areas with fine-grit sandpaper to blend them seamlessly with the trim. These filling techniques are essential finishing touches that prevent imperfections from showing through your final finish. Taking this step seriously means your floor trim will look professional and flawless, giving you the freedom to move on confidently to painting or staining.
Paint or Stain the Moulding
Though the filler is dry and smooth, you’ll want to prepare the moulding for its final look by choosing whether to paint or stain it. Selecting the right finish enhances both durability and style. Consider your room’s decor and the wood type when deciding.
Here are key points to guide your choice:
Consider paint or stain carefully to enhance your moulding’s beauty and durability.
- Use paint techniques like brushing or spraying for a smooth, even coat.
- Opt for stain options that highlight the wood grain and add warmth.
- Apply a primer before painting to improve adhesion and longevity.
- Seal stained moulding with a clear protective finish to prevent wear.
Taking these steps guarantees your floor trim moulding looks polished and stands the test of time.


