To install engineered hardwood flooring, first prepare your clean, dry, and level subfloor, then acclimate the wood in the room for 48–72 hours. Gather all tools and materials, plan your layout parallel to the longest wall, and install appropriate underlayment. Begin laying planks, staggering joints by at least six inches, maintaining expansion gaps with spacers. Cut precisely around obstacles, then finish with baseboards and threshold molding. Proper cleaning and maintenance will preserve your floor’s integrity. Follow these steps carefully to master your installation technique.
Prepare the Subfloor
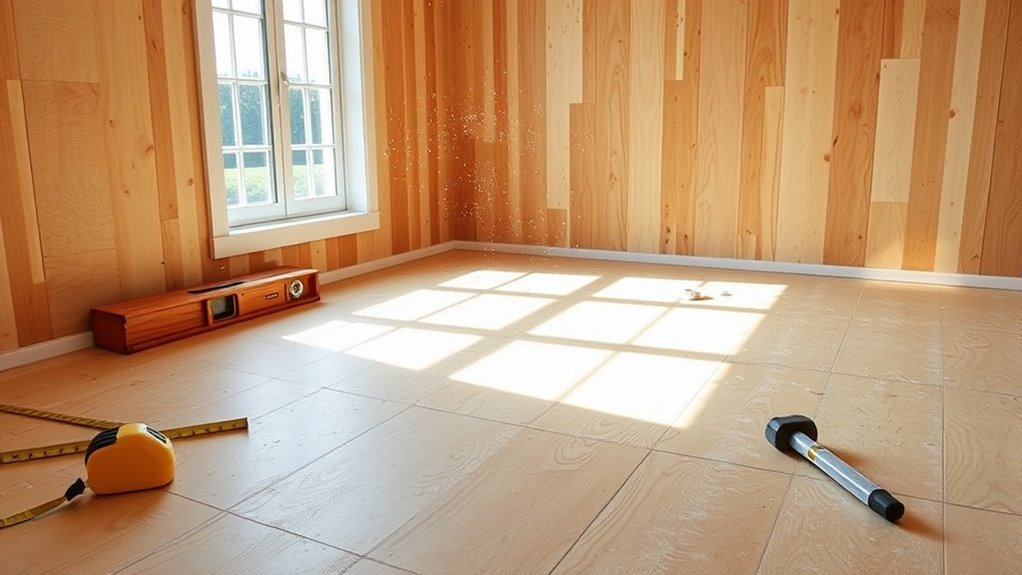
Before you begin installing engineered hardwood flooring, you’ll need to make sure the subfloor is clean, dry, and level. Start with a thorough subfloor assessment, checking for debris, damage, or uneven areas that could compromise the installation. Use a straightedge or level to identify dips or high spots exceeding 3/16 inch over 10 feet. Next, perform moisture testing on the subfloor—whether it’s concrete or plywood—using a reliable moisture meter. Excess moisture can cause warping or adhesive failure, so make sure readings fall within the manufacturer’s recommended limits. If moisture levels are too high, address the source before proceeding. Correct any irregularities by sanding or applying leveling compound. This precise preparation guarantees your engineered hardwood has a stable foundation, granting you the freedom to enjoy a flawless, durable floor.
Acclimate the Flooring
Although the subfloor is now prepared, you’ll need to acclimate the engineered hardwood flooring to your room’s temperature and humidity before installation. This step guarantees dimensional stability and prevents future warping.
Acclimating engineered hardwood ensures stability and prevents warping before installation.
Follow these steps for effective acclimation:
- Unpack and Stack: Remove the flooring from packaging and stack it flat in the installation room to allow air circulation.
- Maintain Environment: Use humidity control devices to keep room humidity between 30-50% and stabilize flooring temperature within 60-80°F (15-27°C).
- Wait Period: Allow the flooring to acclimate for 48-72 hours, depending on manufacturer recommendations and environmental conditions.
Gather Necessary Tools and Materials
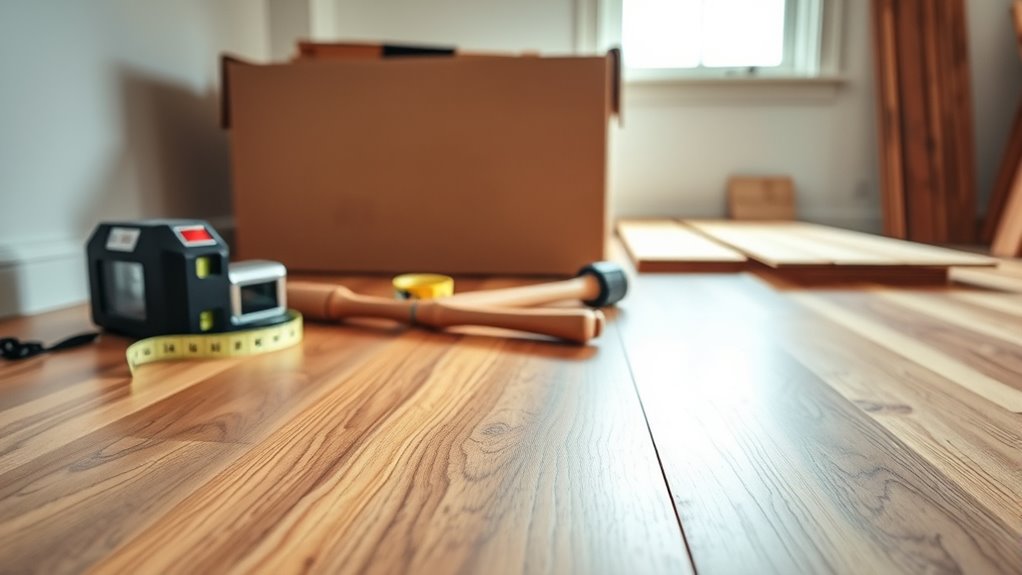
Once your engineered hardwood flooring has properly acclimated to the room’s conditions, you’ll need to assemble the specific tools and materials required for installation. Start by consulting a thorough tools checklist, including a tape measure, spacers, saw (miter or table), rubber mallet, tapping block, pry bar, chalk line, and a level. These tools guarantee precise cuts and proper alignment. Next, gather the appropriate material types: underlayment for moisture protection and sound absorption, adhesive or fasteners if specified by the manufacturer, and transition strips for finishing edges. Having these tools and materials ready streamlines your workflow, granting you the freedom to focus on accurate, efficient installation. Prepare thoroughly to maintain control over every step, avoiding interruptions and guaranteeing lasting results.
Plan the Layout
Start by measuring the room’s dimensions accurately to determine the best layout for your engineered hardwood flooring. Effective layout planning guarantees a seamless finish and maximizes material use. Keep these design considerations in mind:
- Direction of Planks: Install planks parallel to the longest wall or main light source to enhance the room’s visual flow and perceived space.
- Starting Point: Choose a straight, visible wall as your starting point for easier alignment and fewer cut pieces.
- Expansion Gaps: Leave consistent expansion gaps around the perimeter to accommodate natural wood movement.
Install the Underlayment
Before laying your engineered hardwood, select an underlayment compatible with both your flooring and subfloor type. Confirm the subfloor is clean, dry, and level to provide a stable base. Then, carefully roll out and secure the underlayment sheets, overlapping edges as specified by the manufacturer.
Choosing the Right Underlayment
How do you guarantee your engineered hardwood flooring performs at its best? It starts with choosing the right underlayment. The underlayment type influences sound insulation, moisture control, and floor stability. Here’s what you need to take into account:
- Underlayment Types: Select foam for cushioning, cork for soundproofing, or rubber for durability. Match the underlayment to your room’s needs and flooring specs.
- Moisture Barrier: In moisture-prone areas, opt for underlayments with built-in moisture barriers to prevent damage and warping.
- Thickness and Density: Choose a thickness that balances comfort with structural support—too thick can compromise locking mechanisms.
Picking the right underlayment guarantees your flooring stays stable, quiet, and protected, giving you the freedom to enjoy a flawless finish.
Preparing the Subfloor
Although selecting the right underlayment is crucial, properly preparing your subfloor is the next essential step to guarantee a smooth installation. Start with a thorough subfloor inspection—check for damage, unevenness, or debris that could compromise the flooring. Address any cracks or holes by patching them with a suitable compound. Next, perform moisture testing using a reliable moisture meter to confirm the subfloor’s dryness; excessive moisture can lead to warping or mold. Verify the subfloor is level within manufacturer specifications; sand high spots and fill low areas as needed. A clean, dry, and level subfloor creates the ideal foundation for your engineered hardwood. Taking these precise steps will free you from future issues and set the stage for a flawless underlayment installation.
Installing Underlayment Sheets
Three key factors guarantee a successful underlayment installation: selecting the right material, laying it flat without gaps, and securing it properly. First, identify underlayment types compatible with your engineered hardwood, prioritizing those with built-in moisture barriers for added protection. Next, roll out the sheets perpendicular to your flooring direction, ensuring edges meet but don’t overlap. Third, tape all seams with moisture-resistant tape to maintain a continuous moisture barrier, preventing damage from subfloor dampness. Make sure the underlayment lies perfectly flat to avoid uneven flooring later. Avoid wrinkles or folds, which can compromise stability. Proper installation of the underlayment enhances your flooring’s durability and comfort, giving you freedom from worry about moisture or structural issues beneath your beautiful hardwood.
Begin Laying the First Row
To begin laying the first row, position the boards carefully along the longest, straightest wall, ensuring the tongue side faces the room’s center. Accurate first row placement is critical; use alignment techniques such as a chalk line to maintain straightness. Leave an expansion gap between the wall and boards to allow for natural wood movement.
| Step | Action | Tip |
|---|---|---|
| 1 | Align first board with wall | Use spacers for expansion gap |
| 2 | Secure first row boards | Nail or staple through tongue |
| 3 | Check straightness continuously | Adjust using alignment tools |
Follow these precise steps to establish a stable foundation for your engineered hardwood floor, ensuring freedom from future alignment issues.
Continue Installing Subsequent Rows
As you continue installing subsequent rows, make certain each board aligns seamlessly with the previous one to guarantee a tight fit. Stagger the end joints by at least 6 inches to enhance stability and visual appeal. Always maintain the recommended expansion gap along walls to accommodate natural wood movement.
Align Boards Seamlessly
Although you’ve laid the first row carefully, aligning the boards seamlessly in the subsequent rows is essential to guarantee structural integrity and an even appearance. To master aligning techniques and maintain consistent board patterns, follow these steps:
- Position each board snugly against the previous row, ensuring the tongue fits securely into the groove without gaps.
- Use a tapping block and mallet to gently tap boards into place, preventing damage while achieving tight seams.
- Continuously check alignment with a straightedge or chalk line, adjusting boards as needed before securing them.
Stagger End Joints
Once the boards are aligned seamlessly, focus on staggering the end joints to enhance the floor’s stability and visual appeal. Begin each subsequent row by cutting the first board to a length that guarantees the end joints do not align with those in the previous row. This offset, typically at least 6 inches, prevents weak spots along the floor and distributes stress more evenly. As you continue, maintain consistent joint alignment by ensuring staggered boards are installed with their end joints offset row by row. This technique reduces the risk of structural failure and creates a dynamic, natural pattern. Always measure and plan your cuts carefully to preserve freedom in layout while adhering to precise joint alignment standards for a durable, attractive engineered hardwood floor.
Maintain Expansion Gap
While continuing to install subsequent rows, you must maintain a consistent expansion gap around the perimeter of the floor to accommodate natural wood movement. This gap prevents buckling and warping as the engineered hardwood expands and contracts with humidity changes.
Follow these steps to maintain the expansion gap:
- Use spacers between the wall and the flooring to guarantee a uniform gap of 1/4 to 1/2 inch.
- Check the gap regularly as you install each row to avoid uneven spacing.
- Remove spacers only after the installation is complete, then cover the gap with baseboards or molding.
Maintaining this expansion gap is essential for the flooring movement, assuring your floor remains stable and free from damage.
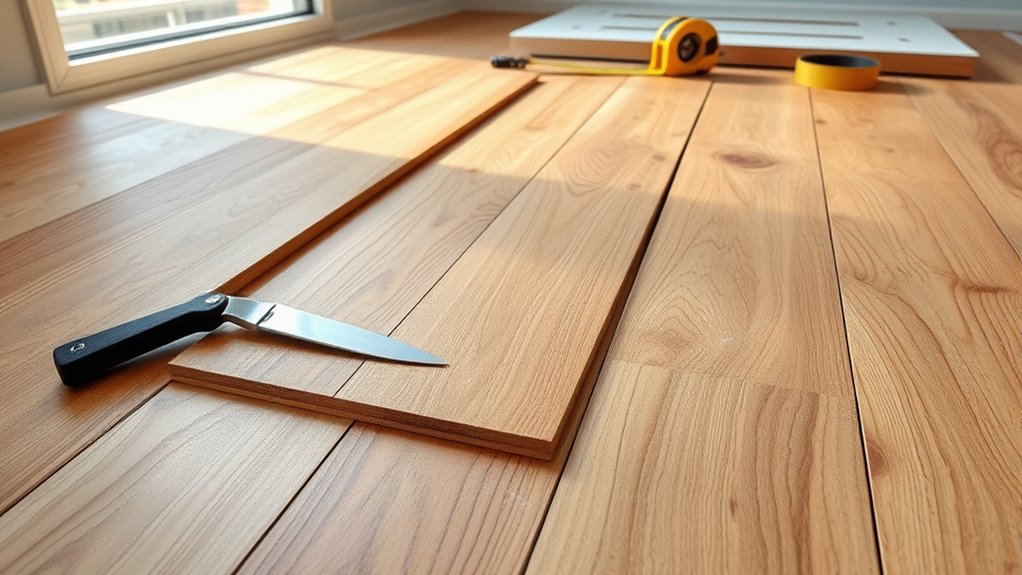
Cut Flooring to Fit Around Obstacles
A critical step in installing engineered hardwood flooring is accurately cutting planks to fit around obstacles such as door frames, vents, and pipes. Begin by measuring the exact dimensions of the obstacle and marking the plank accordingly. Use precise cutting techniques like a jigsaw or coping saw for curved cuts and a miter saw for straight edges. When maneuvering around pipes, drill relief holes to prevent splitting and guarantee a snug fit. Always account for the expansion gap by maintaining a small clearance around obstacles. Test fit each cut piece before final installation to verify accuracy. Mastering these cutting techniques and obstacle maneuvering guarantees a seamless, professional finish, allowing you the freedom to customize your flooring layout confidently without compromising structural integrity.
Install Transition Molding and Baseboards
Three key components—border molding, baseboards, and quarter round—complete your engineered hardwood flooring installation by covering expansion gaps and providing a polished look. Here’s how to proceed with border molding options and baseboard installation:
- Choose the right border molding options for doorways or where flooring meets other surfaces. Secure them firmly with adhesive or screws, allowing room for natural expansion.
- For baseboard installation, measure and cut baseboards accurately to fit each wall. Nail them into studs carefully without compressing the flooring expansion gap.
- Attach quarter round molding at the baseboards’ bottom edge to conceal any remaining gaps, ensuring a seamless finish.
Clean and Maintain Your New Floor
To keep your engineered hardwood floor in ideal condition, you’ll need to follow regular cleaning protocols using recommended products that won’t damage the finish. Avoid abrasive tools and excessive moisture to prevent surface and structural damage. Implementing preventive measures like protective pads and controlled humidity will extend your floor’s lifespan.
Regular Cleaning Tips
Maintaining your engineered hardwood flooring requires consistent attention to prevent damage and preserve its finish. To optimize cleaning frequency and select appropriate cleaning tools, follow these steps:
- Vacuum or sweep daily using a soft-bristle broom or a vacuum with a hardwood floor attachment to remove loose dirt and grit that can scratch the surface.
- Mop weekly with a damp microfiber mop, ensuring it’s only slightly moist to avoid water damage; use a cleaner specifically designed for engineered hardwood.
- Immediately wipe spills with a dry or slightly damp cloth to prevent staining or warping.
Preventing Floor Damage
Although engineered hardwood is durable, protecting it from scratches, dents, and moisture is crucial to prolong its lifespan. For effective floor protection, always use felt pads under furniture legs to prevent indentations. Avoid dragging heavy items across the surface to minimize abrasion and damage. Implement area rugs or mats in high-traffic zones to shield the floor from dirt and grit that cause scratches. Control indoor humidity levels between 35-55% to reduce expansion and contraction, which can lead to warping. Immediately wipe up spills to prevent moisture damage. Regularly inspect the flooring for signs of wear or damage, addressing issues promptly to maintain integrity. These damage prevention strategies guarantee your engineered hardwood floor remains resilient and visually appealing, granting you the freedom to enjoy your space without constant worry.
Recommended Maintenance Products
When you care for your engineered hardwood floor, selecting the right maintenance products is crucial to preserve its finish and structural integrity. Use specialized cleaning solutions formulated for engineered wood to avoid damaging the surface or penetrating the wear layer. Avoid harsh chemicals or oil-based products that can dull or stain. Additionally, install floor protectors on furniture legs to prevent scratches and dents during daily use or moves. Follow these key recommendations:
- Choose pH-neutral cleaning solutions designed specifically for engineered hardwood floors to maintain the protective finish.
- Use microfiber mops or soft cloths for cleaning to prevent abrasion.
- Apply floor protectors like felt pads or rubber caps to all movable furniture to minimize impact damage.
Proper product selection guarantees longevity and freedom to enjoy your floor without worry.


