To install click lock vinyl flooring in 7 easy steps, start by gathering all your tools and materials. Prepare your subfloor by cleaning and leveling it. Let the planks acclimate in the room for at least 48 hours. Plan your layout to align planks properly and maintain expansion gaps. Begin installing the first row, using spacers. Click and lock each subsequent row securely. Finish by adding trim moldings and removing spacers. Keep following to understand detailed techniques for a flawless finish.
Gather Your Tools and Materials
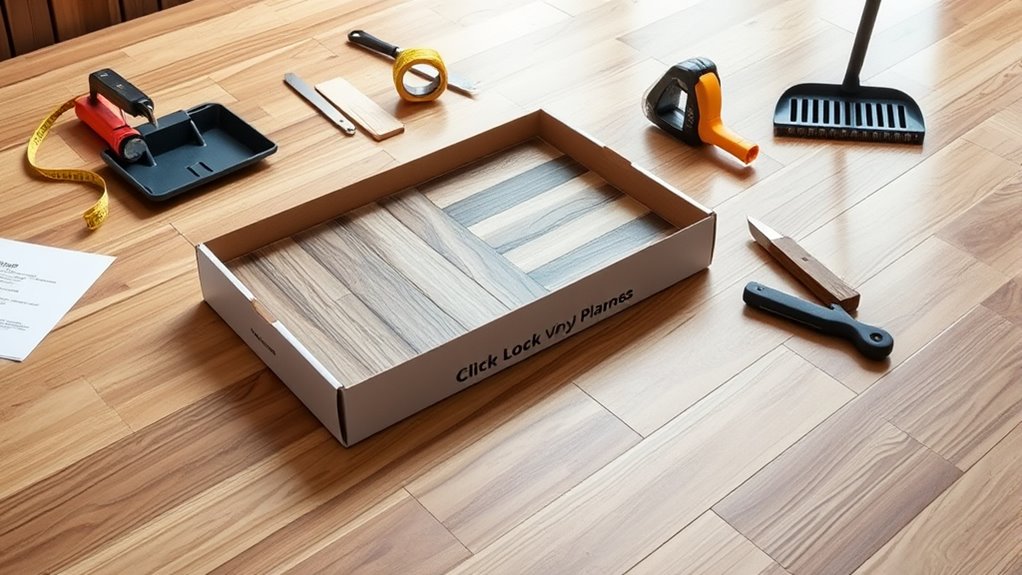
Before beginning the installation, you’ll need to gather all necessary tools and materials to secure a smooth workflow and avoid interruptions. Start by reviewing your material checklist: click lock vinyl planks, underlayment (if needed), spacers, and adhesive (if required). For tool essentials, make certain you have a utility knife, measuring tape, straight edge, rubber mallet, tapping block, pull bar, and pencil. A jigsaw or handsaw may be needed for precise plank cuts. Having these items ready eliminates downtime and keeps your project on track. Double-check your material checklist against the room size to confirm you have enough flooring, including extra planks for cuts and mistakes. Organizing your tool essentials and materials beforehand empowers you to maintain control and efficiency throughout the installation process.
Prepare the Subfloor
Once you’ve gathered all your tools and materials, focus on preparing the subfloor to guarantee proper adhesion and stability of your click lock vinyl flooring. Subfloor preparation is essential; it must be clean, dry, level, and free of debris. Identify the subfloor type—concrete, plywood, or existing vinyl—and address any imperfections. Use a leveling compound on uneven concrete or secure loose plywood to prevent movement. Moisture barriers may be necessary, depending on the subfloor type.
| Subfloor Type | Preparation Steps | Notes |
|---|---|---|
| Concrete | Clean, level, moisture test | Use moisture barrier if needed |
| Plywood | Secure loose boards, sand | Confirm no squeaks or gaps |
| Existing Vinyl | Clean, repair damage | May require underlayment |
| OSB | Check for moisture, sand | Less stable, consider overlay |
| Tile | Remove or level with compound | Avoid loose tiles |
Acclimate the Vinyl Planks

Although it might be tempting to install vinyl planks immediately, you need to acclimate them to the room’s temperature and humidity to guarantee proper expansion and contraction. Follow these steps for effective temperature adjustment and moisture control:
- Unbox the vinyl planks and spread them flat in the installation room.
- Maintain the room temperature between 65°F and 85°F (18°C–29°C) during acclimation.
- Let the planks sit for at least 48 hours to absorb the ambient moisture levels.
- Avoid placing planks near heat sources or direct sunlight to prevent uneven expansion.
Proper acclimation eliminates warping and gaps after installation, ensuring your floor remains stable and durable under changing environmental conditions.
Plan Your Layout
A successful installation starts with a well-planned layout that maximizes both aesthetics and material efficiency. Begin your layout planning by measuring the room’s dimensions accurately, noting any irregularities. Sketch the space to visualize plank placement, ensuring you account for expansion gaps along walls. Prioritize space optimization by positioning full planks in high-visibility areas, minimizing narrow cuts along edges. Align planks parallel to the longest wall or main light source to enhance the room’s visual flow. Consider staggering seams at least 6 inches apart to increase stability and appearance. This systematic approach to layout planning gives you the freedom to customize flooring patterns while reducing waste. Proper preparation sets the foundation for a seamless, professional-looking installation.
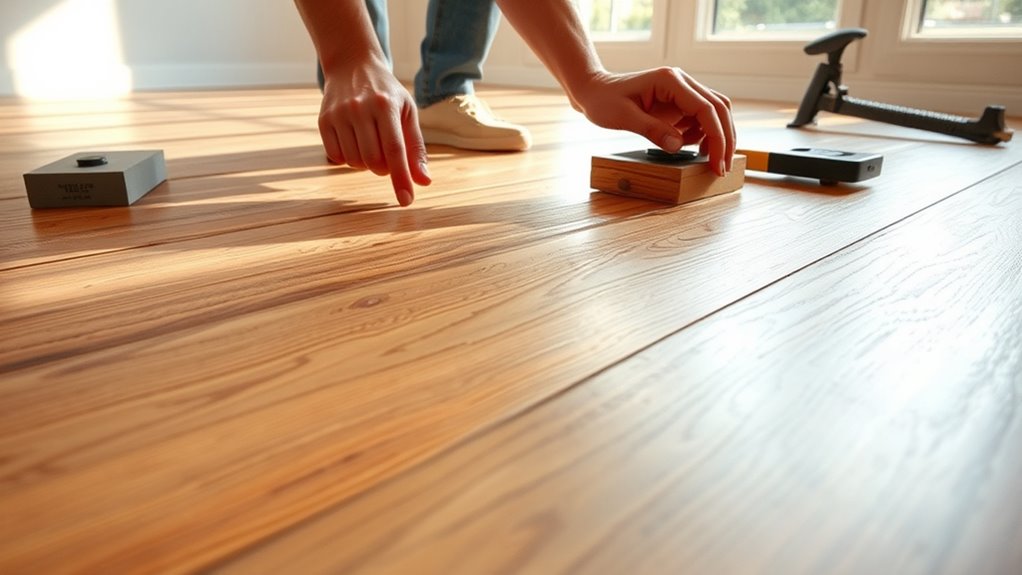
Install the First Row
Before you lay the first row, guarantee the subfloor is clean, dry, and level for proper adhesion. Start by aligning the starter planks carefully along your reference line, leaving a small expansion gap at the walls. Secure the first row by clicking each plank firmly into place, making sure they lock tightly without gaps.
Preparing the Subfloor
Since a properly prepared subfloor is essential for a successful click lock vinyl flooring installation, you’ll need to confirm the surface is clean, dry, and level before laying the first row. Begin with a thorough subfloor inspection to identify any damage or unevenness. Then, install a moisture barrier to prevent moisture from compromising your flooring. Follow these steps:
- Remove all debris, dust, and old adhesives to confirm a smooth surface.
- Check the subfloor level; use a leveling compound to correct imperfections exceeding 3/16 inch over 10 feet.
- Lay a moisture barrier suited for your subfloor type, overlapping seams by at least 6 inches.
- Allow the moisture barrier to cure completely before placing planks to maintain flooring integrity.
This preparation confirms long-lasting, stable flooring that supports your freedom of movement.
Aligning Starter Planks
Start by laying the first row of starter planks along your longest, straightest wall, ensuring they run parallel to it. Begin aligning edges carefully, making sure each plank fits snugly without gaps. Use a chalk line or straightedge to check for straightness continually as you proceed. This alignment is critical because any deviation here will affect the entire floor’s layout. Position the planks so their edges are tightly joined, promoting a clean, uniform appearance. If necessary, trim the last plank in the row to fit precisely against the opposite wall. Take your time during this step—it’s essential for maintaining freedom in later installation stages. Properly aligning starter planks sets the foundation for a flawless, professional-looking vinyl floor.
Securing the First Row
With the starter planks properly aligned and positioned, you’re ready to secure the first row. First row alignment is essential to guarantee a straight foundation for the entire floor. Follow these steps precisely for securing planks:
- Gently tap each plank using a tapping block and mallet to engage the click lock mechanism without damaging edges.
- Check that each plank sits flush against the wall spacer to maintain expansion gaps.
- Secure the first row by applying slight pressure along the length, confirming all seams are tight.
- Use a pull bar for the last plank in the row, making sure it locks firmly without gaps.
Click and Lock Subsequent Rows
Although the first row sets the foundation, clicking and locking subsequent rows requires careful alignment to guarantee a secure fit. Begin by positioning the plank at a slight angle to the installed row. Engage the click lock mechanism by inserting the tongue of the new plank into the groove of the previous row. Once aligned, press down firmly to snap it into place. Maintain consistent row alignment by ensuring each plank is flush with its neighbors, preventing gaps or uneven surfaces. Use spacers to keep an expansion gap along walls. Continue this process row by row, staggering seams for structural integrity and aesthetic appeal. Proper row alignment and a secure click lock connection will provide a durable, free-floating floor that withstands movement and use.
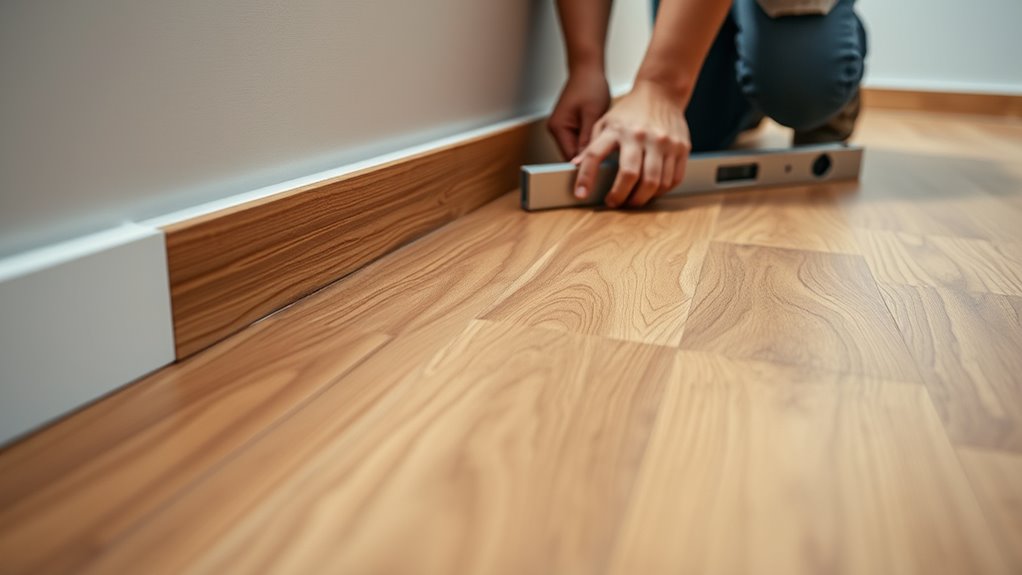
Finish Edges and Trim Moldings
Once all planks are securely locked in place, you’ll need to address the perimeter by installing finish edges and trim moldings to conceal expansion gaps and create a polished look. Proper trimming techniques are essential for precise edge finishing. Follow these steps:
- Measure and cut baseboards or quarter-round moldings to fit the room’s dimensions.
- Use a miter saw for angled cuts, guaranteeing clean joints at corners.
- Attach moldings with finishing nails or adhesive, avoiding pressure on the flooring.
- Seal gaps between molding and walls with flexible caulk to accommodate movement.
This process secures your vinyl flooring’s freedom to expand while maintaining a seamless shift to adjacent surfaces. Mastering these trimming techniques guarantees a durable, visually appealing finish that complements your installation’s integrity.


