To cut LifeProof flooring in 3 easy steps, first gather your tools: a utility knife, tape measure, pencil, and safety gear like gloves and glasses. Next, measure the plank precisely, marking your cut line using a straightedge to guarantee accuracy. Finally, score the plank firmly with the utility knife, then snap it along the line for a clean edge—perfect for installation. Keep going, and you’ll find tips to make your cuts even smoother and safer.
Gather the Necessary Tools and Materials
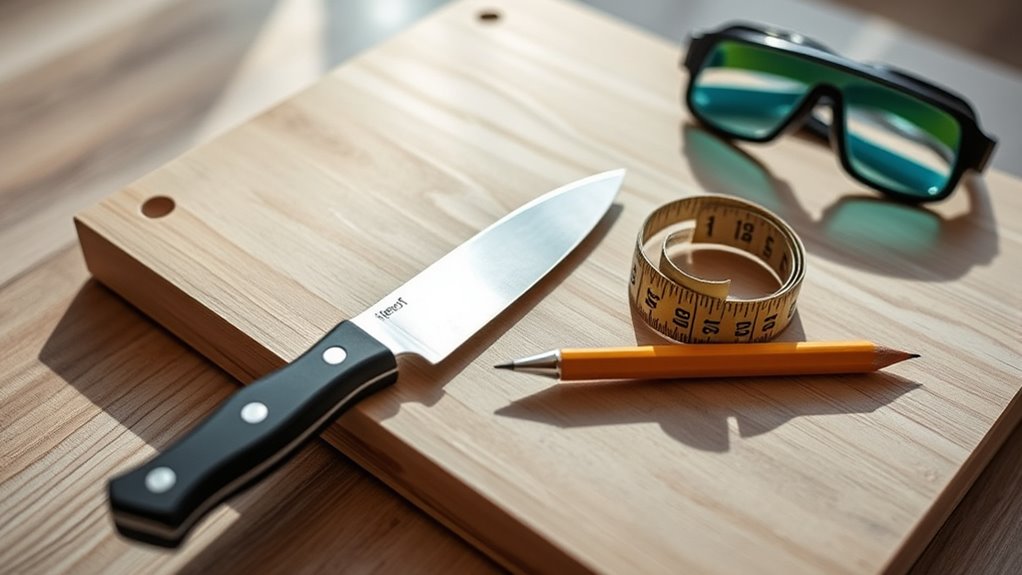
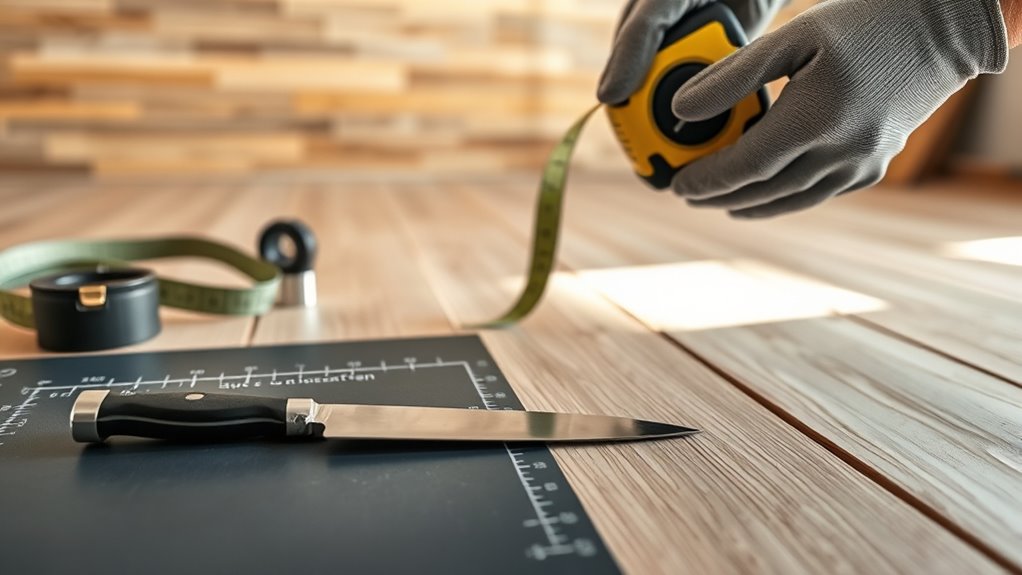
Before you begin cutting LifeProof flooring, you’ll need to gather a few essential tools and materials to guarantee the process goes smoothly. Start with reliable cutting tools like a utility knife with a sharp blade, a fine-toothed handsaw, or a jigsaw, depending on your comfort and the complexity of cuts. You’ll also want a straightedge or a carpenter’s square to guide your cuts precisely. Don’t forget safety gear, such as gloves and safety glasses, to protect yourself. Regarding flooring materials, have extra LifeProof planks on hand for practice cuts or mistakes. Gathering these tools and materials upfront gives you the freedom to work efficiently, minimizing interruptions and ensuring your LifeProof flooring installation is clean and accurate from start to finish.
Measure and Mark Your Cuts Accurately
Once you’ve gathered your tools and materials, the next step is to measure and mark your cuts with precision. Using reliable measuring techniques, like a tape measure or ruler, guarantees your cuts fit perfectly. Marking methods such as a pencil or chalk line help create clear, visible lines without damaging the flooring. Accuracy here saves time and frustration later.
| Measuring Techniques | Marking Methods |
|---|---|
| Tape measure | Pencil |
| Carpenter’s square | Chalk line |
| Ruler | Fine-tip marker |
Take your time, double-check measurements, and use the appropriate marking tool for the surface. This approach lets you work confidently and freely, shaping your LifeProof flooring exactly as needed.
Execute the Cut Safely and Cleanly
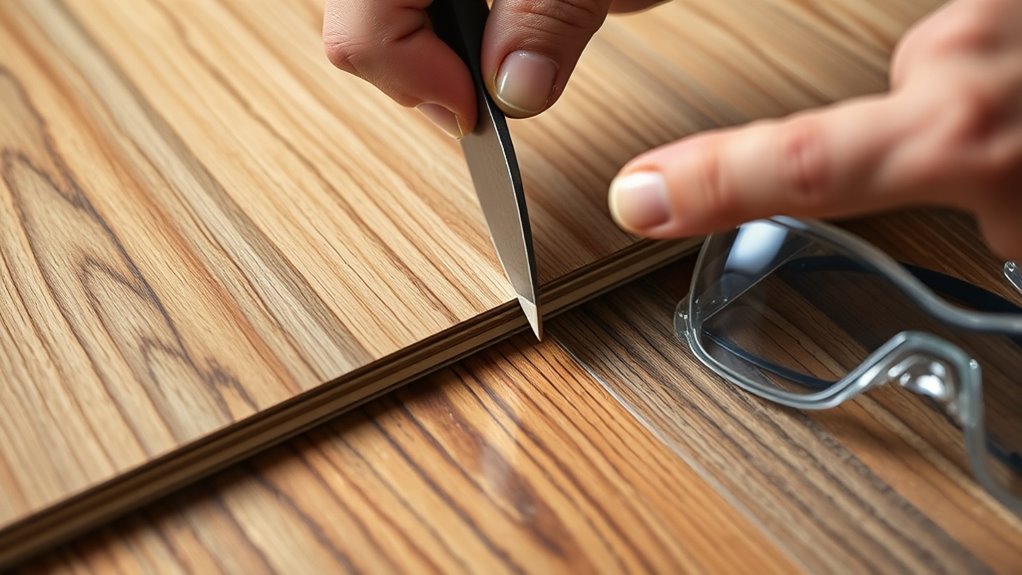
Although cutting LifeProof flooring requires care, using the right tools and techniques will help you make clean, precise cuts without damaging the material. First, always follow safety precautions: wear safety glasses and gloves to protect yourself from debris and sharp edges. Secure the plank firmly using clamps or a stable surface to prevent slipping during the cut. Use a fine-toothed saw or a utility knife, depending on the cut type. For straight cuts, a saw provides clean edges, while a utility knife works well for scoring and snapping. Apply steady, even pressure, and avoid rushing to maintain control. By combining these cutting techniques with proper safety precautions, you’ll achieve neat results and keep your workspace safe, giving you the freedom to complete your flooring project confidently.


